Growing plants indoors with an AeroGarden can be a great addition to your home. You’ll love how easy it is to grow fresh herbs, veggies, and flowers right in your kitchen.
Want to get the most out of your AeroGarden? I’ve got you covered with 19 awesome tips to help your plants thrive. Ready to take your gardening skills to the next level? Let’s dive in and make your home a green oasis.
- Related article: Select the Right AeroGarden Model
8 Key Takeaways on AeroGarden Tips
- Select an AeroGarden size based on what you want to grow and how much space you have. Whether it’s a compact herb garden or a larger setup for veggies, picking the right size is crucial.
- Opt for plants that thrive indoors under special lights. Consider their water and light needs to ensure they grow healthy and strong in your AeroGarden.
- Plant together those with similar growth rates and needs to avoid competition for resources like light and space.
- Use fewer pods for larger plants to give them room to spread out.
- Keep lights close initially and adjust as plants grow to maintain ideal distances.
- Help heavier plants with trellises or ties to prevent them from toppling over as they grow and bear fruit.
- Regularly trim roots and prune plants to keep them healthy.
- Replace water periodically to prevent algae and maintain nutrient balance.
19 AeroGarden Tips and Tricks
These tricks work whether you’re just starting or have been at it for a while. You’ll learn how to boost growth, fix common problems, and keep your indoor garden looking great. Let’s get to it!
1. Choose the Right AeroGarden Size
Picking the perfect AeroGarden size can make or break your indoor gardening experience. You’ll want to consider what you’re growing and how many mouths you’re feeding.
Are you dreaming of a mini herb garden for your kitchen counter or do you envision a lush veggie patch to feed the whole family? Your answer will guide you to the right size.
Here’s a handy table to help you decide on which AeroGarden Family is right for you:
| AeroGarden Sprout (latest price) | AeroGarden Harvest (latest price) | AeroGarden Bounty (latest price) | AeroGarden Farm (latest pice) | |
| Seed Pod Capacity | 3 | 6 | 9 | 12 or 24 |
| What Can Be Grown | herbs | herbs, salad greens | herbs, salad greens, small vegetables and fruits | herbs, salad greens, small to medium vegetables and fruits |
| No. of People to Feed | 1-2 people | 2-3 people | 3-4 people | 4+ people |
2. Select the Right Plants to Grow
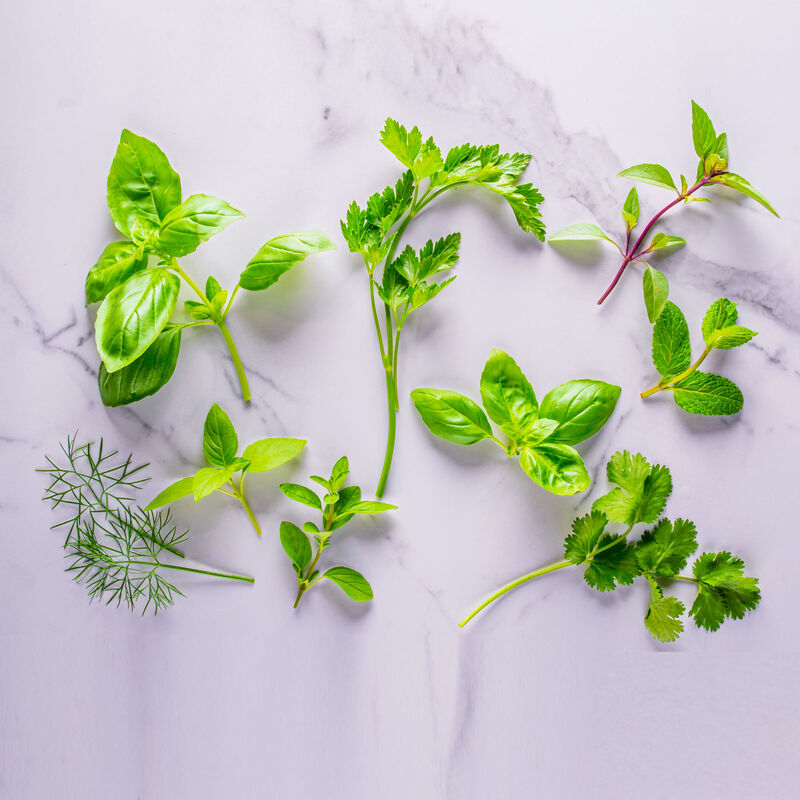
Picking the right plants to grow in your AeroGarden is key to success. You’ll want to think about how much light and water each plant needs. Some are thirsty, while others prefer less water. You might also consider mixing different plants to create a thriving mini-garden.
AeroGardens are indoor smart gardens. This means you should focus on plants that love growing inside under special lights. Check out AeroGarden’s seed pod kit options for inspiration. They’ve done the homework for you! If it’s not on their list, you might want to reconsider planting that particular seed.
Your AeroGarden’s size matters too. Do you have a smaller unit? No worries! You can still grow tomatoes in your AeroGarden. Just go for cute cherry tomatoes instead of big beefsteaks. I once tried growing full-size tomatoes in my compact Harvest. Let’s just say it didn’t end well!
3. Grow Similar Plants Together
Growing plants together in your AeroGarden can be tricky. You want to make sure that neighboring plants all get along and have enough space to thrive. It’s like planning a seating chart for a dinner party. You need to consider who plays nice with whom.
Here are some tips to keep your plants happy:
- Plant seeds at the same time
- Choose plants with similar growth rates
- Avoid pairing tall and short plants
Why does this matter? Well, if you plant a tall sunflower next to a short basil plant, the sunflower might hog all the light. It’s all about finding that perfect balance.
Some herbs can be real divas when it comes to their neighbors too. For example, mint is known for its aggressive growth and will take over the rest if given the chance. Fennel doesn’t play well with most herbs as it can inhibit their growth due to phytotoxins. And dill and cilantro? Well, they prefer to be loners.
Just because two plants can grow to the same height doesn’t mean they’re a perfect match. Some plants are just picky! Plus, plants with similar water and light needs will not force you to play favorites when it comes to care.
4. Use Fewer Pods for Larger Plants
Growing tomatoes and other large plants in your AeroGarden can pose challenges. I’ve learned this firsthand. But don’t worry, I’ve got a solution for you.
Use fewer pod spaces at once and cover the rest with pod spacers (purchase here). This gives your plants more room to spread out while protecting them from algae.
Getting rid of overcrowding also ensures that your plants do not fight for light or nutrients. For my Bounty Elite, I only use 4 spaces when growing tomatoes. That’s about half the available slots.
You can apply this “half-space” rule to your AeroGarden too. It’s not set in stone, though. Feel free to experiment and find what works best for you. As you grow, you’ll discover the perfect balance for your plants.
5. Adjust the Grow Lights Accordingly
You’ll want to keep those AeroGarden lights close to have healthier plants. When you first plant your pods, start with the lowest position. Then raise or lower it accordingly in the following weeks so they’re 6-8 inches above the tallest plant. Plants like herbs, have higher light requirements so you can keep it at a 3-inch distance.
Don’t forget to adjust the lights after trimming or harvesting as well. Bring them back down to that sweet spot. Watch out for leaves touching the lights though! When AeroGarden lights are too bright, they may also burn your plants’ leaves.
6. Use Light Reflectors
Light reflectors are used to direct light toward other areas that are not at the top of your AeroGarden. They are useful for getting lights to the sides and bottom of plants to help them grow better.
You can DIY your own light reflectors with cardboard, tape, and aluminum foil or mylar film (purchase here).
7. Give Your Plants Time to Rest
Ever wonder why your plants look a bit tired? It’s not just you who needs beauty sleep. Plants crave darkness too. They love soaking up the sun, but they also need their nighttime rest. Too much light can mess with their growth.
I learned this the hard way with my AeroGarden. I thought more light meant happier plants. Boy, was I wrong! My poor leafy friends were stressed out. They couldn’t produce anything because they never got a break. It’s best to give your plants some shut-eye too.
8. Don’t Forget to Add Nutrients
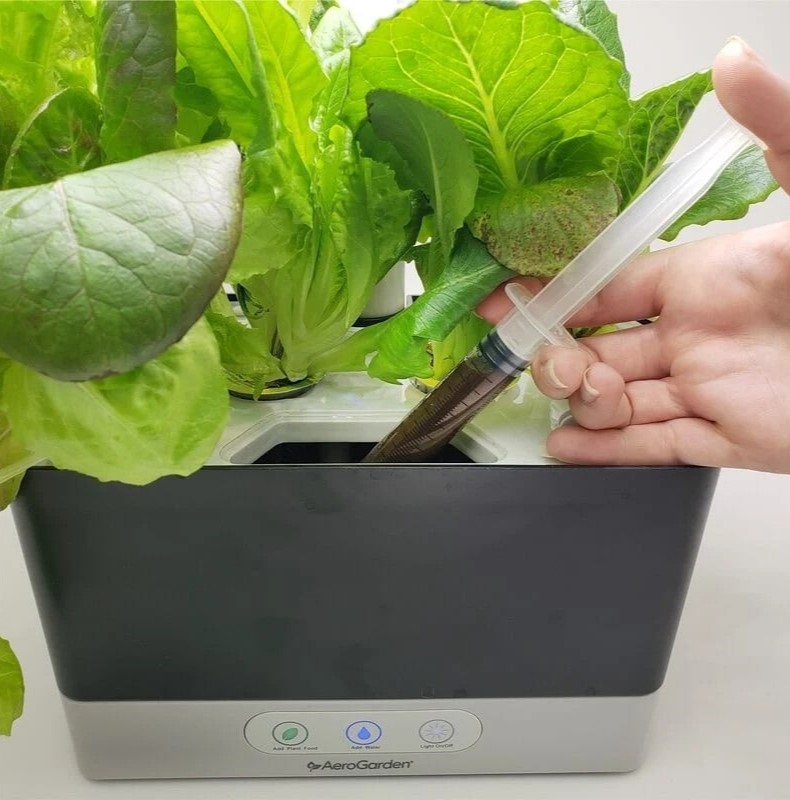
You know those little nutrient lights on your hydroponic setup? They’re like your plants’ way of saying, “Feed me!” When those lights start blinking, it’s chow time for your leafy friends.
Think of plant nutrients as a buffet for your garden. When the reminder lights pop on, it’s your cue to add more of that liquid plant food goodness.
A well-fed plant is a happy plant. By staying on top of nutrient additions, you’re basically giving your plants their much-deserved TLC.
9. Keep an Eye on the Water Level
Keeping your AeroGarden well-watered is important to plant health. You might think the “Add Water” light has your back, but don’t rely on it alone. These indicators can be a bit finicky sometimes, especially in older models where they’re on a timer instead of measuring actual water levels.
It’s best to take a peek at the water level yourself every now and then. You will also get a sense of this by simply looking at your plants. When they appear droopy, you might want to take a look.
Thirsty plants won’t be able to reach their full potential. They might grow slower, stay small, or even kick the bucket if things get too dry. A little extra attention goes a long way.
10. Change Your AeroGarden Water Every Few Weeks

You might not think about it, but swapping out the water in your AeroGarden every few weeks will do your garden well. After all, nobody would want a gross, slimy mess on their herbs.
Here’s why fresh water is so important:
- It prevents algae growth
- It stops fungus and bacteria from thriving
- It keeps plant diseases at bay
- It avoids nutrient buildup that can clog the pump
Distilled water is your best bet for hydroponic gardening. It’s free of minerals, which is perfect for AeroGarden’s liquid plant food. When you mix them, you get the right pH balance for your plants.
Tap water, filtered water, and bottled water often cause problems. They can have too many minerals or other stuff that throws off the balance. Even softened water can have high levels of sodium, which isn’t great for plants.
11. Store AeroGarden Herbs Properly
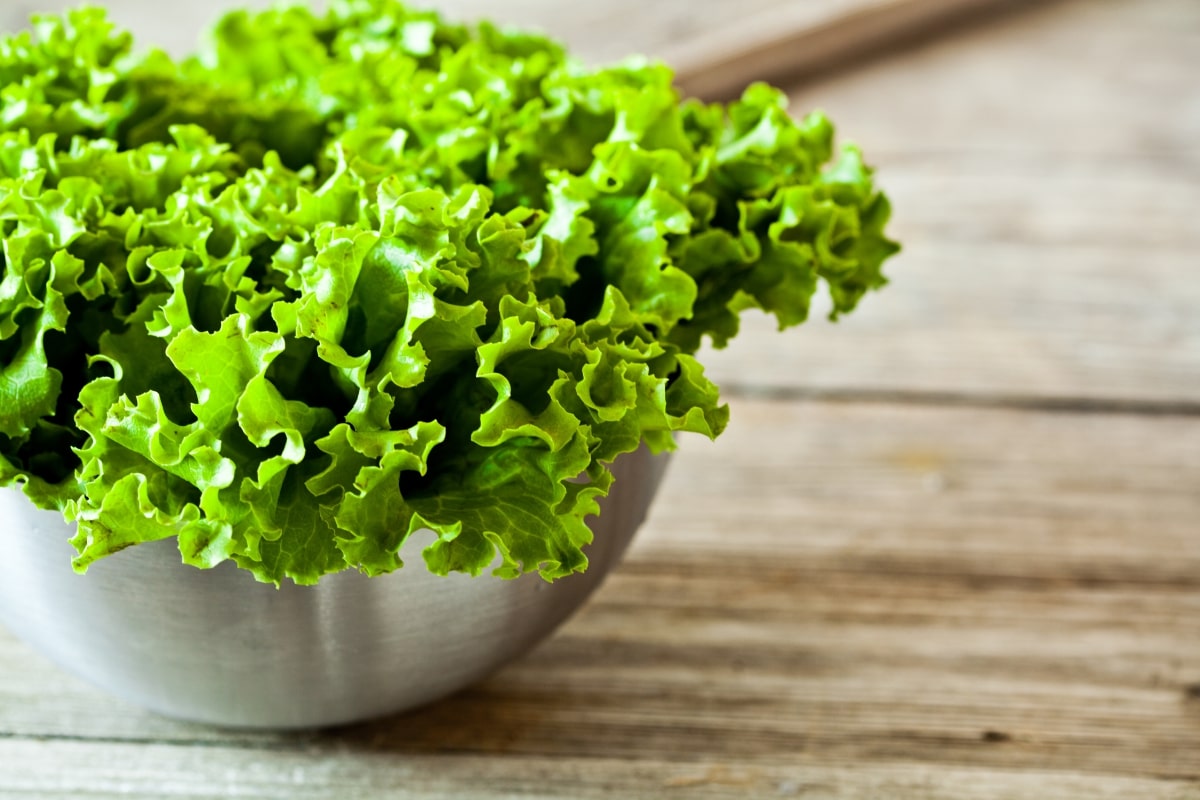
Fresh herbs are best used within a week of picking. But what if you can’t use them all that fast?
Here’s how to keep your herbs fresh longer:
- Store in a cool, dry spot
- Keep away from sunlight
- Use airtight containers or bags
- Avoid heat sources like ovens
Keep in mind, however, that the fresher the herb, the better the flavor.
12. Store AeroGarden Herbs in the Freezer

Planning to keep those herbs longer? I’ve got you covered! Freezing is your secret weapon for keeping those leaves fresh and packed with nutrients.
Give your herbs a quick dip in boiling water. This blanching trick locks in their goodness. Then, grab a vacuum bag and seal those babies up tight. Pop them in the freezer, and voila! You’ve got a stash of herbs ready to jazz up your meals anytime.
Ever tried this method? You’ll save money and always have herbs on hand for your culinary adventures. Plus, it’s oddly satisfying to see those neatly packed herb bags lined up in your freezer.
13. Keep Your AeroGarden Clean
I keep my AeroGarden spotless to avoid any nasty surprises. You should too! I check for gunk, weird spots, or leftover plant bits in the base. If you spot anything, jump into action right away.
Swapping out the water every few weeks is my secret against buildup. I also give the top deck a quick wipe every week or two. It’s overwhelming how much dust can collect there! Oh, and I’m always on leaf patrol. I pluck off any dead ones I see.
Trust me, it’s way easier to deal with them before they stick to the surface. Don’t forget about the water pump and water reservoir. They need some TLC too. How often do you clean your AeroGarden?
14. Give Those Plant Roots a Trim
I’ve trimmed those pesky roots in my AeroGarden more times than I can count! It’s an important task to keep your garden thriving.
Big roots can spell trouble for your AeroGarden. They might tangle up in the pump and break it. But don’t worry – you can easily fix this problem.
Here’s what you need to do:
- Grab a pair of scissors or pruning shears
- Carefully cut back the overgrown roots
- Avoid snipping any stems by mistake
I once forgot to trim the roots and my pump stopped working. It was a mess! Learning how to trim roots in your AeroGarden will save you from trouble.
15. Give Your Plants a Good Pruning
Keeping your AeroGarden plants in check is key to a thriving indoor garden. I’ve learned that regular trimming works wonders. It’s not just about looks. Pruning helps your plants grow better and stops them from getting too tall or lopsided.
Pruning helps boost new growth. I’ve seen my plants become more productive after a good trim. Just remember not to go overboard and stick to trimming no more than 1/3 of the plant at once.
You’ll notice some plants grow quicker while others are slower. This is normal. Focus on the plants with true leaves as these are the ones ready for trimming. Keep an eye out for dead or brown leaves too. Removing these helps your plants stay healthy.
16. Provide Support to Higher Aerogarden Plants
Let’s talk about another way to maintain a healthy garden. You know how some fruits can get pretty heavy? Well, your plants might struggle to hold them up all on their own. That’s where plant support comes in handy.
So, how do you do it? Grab a trellis system and some soft plant ties (buy item). I’ll leave it to you to tie things together until it suits your liking. Your plants will be standing tall and proud in no time.
A little support goes a long way. Your plants will grow better, look better, and produce more. Isn’t that what we all want from our garden?
17. Know When to Remove Those Grow Domes
If you’re wondering when the best time to remove AeroGarden domes is, I’ve got you covered. Once your seeds have sprouted, the domes aren’t needed anymore. Your AeroGarden already keeps things nice and humid.
But don’t toss those domes just yet! They’re great for planting your next batch of seeds. The domes help control temperature and moisture while seeds germinate. But once you see tiny leaves, it’s time to say goodbye to the dome. It’s done its job.
Have you noticed how quickly seeds germinate with the domes? It’s pretty amazing to watch!
18. Buy Plant Food in Bulk
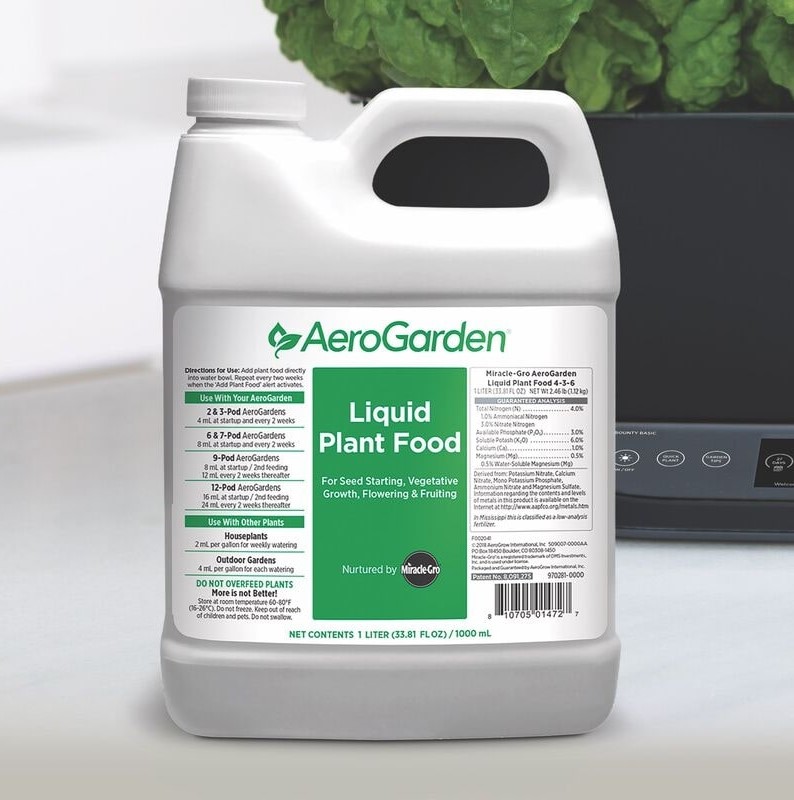
Buying nutrients in bulk can really help you save some cash when growing plants in your AeroGarden. They offer a big 1-liter bottle (buy now) that’ll keep your plants fed for over 100 feedings. That’s a lot of growing time!
Make sure to give that bottle a good shake before you use it. The nutrients can settle at the bottom, and you want to be certain that your plants get all the good stuff.1
19. Buy Individual Grow Sponges
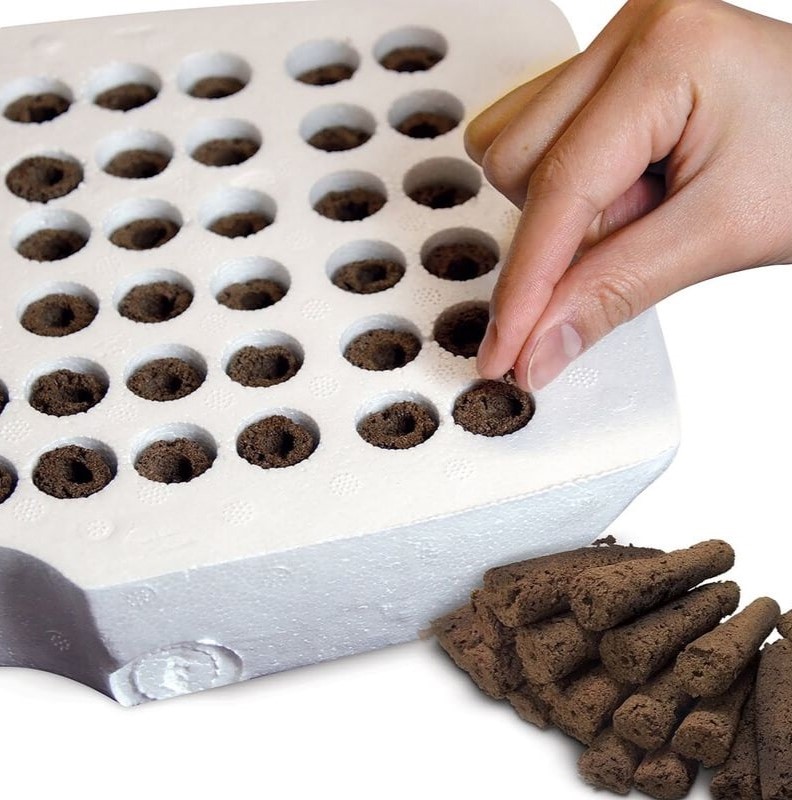
Growing healthy plants in your AeroGarden doesn’t have to break the bank. You can save some cash by buying Grow Sponges (see item) separately instead of splurging on complete seed pod kits. These sponges are cheaper and give you the freedom to pick any seeds you fancy.
Want to try your hand at growing exotic herbs or rare flowers? No problem! Just grab some individual seeds and pop them into your grow sponges. It’s that easy. You’ll need the Grow Baskets that came with your kit to hold the sponges, so don’t toss them out after your plants are done. They’re reusable.
AeroGarden Tips Final Thoughts
Growing a lush indoor garden with your AeroGarden is easier than you think. You’ve got this! From picking the right size to choosing plants that thrive, these tips will help you create your dream garden at home. It’s all about finding what works for you and your space.
Don’t be afraid to experiment a bit. Try different plant combinations or adjust your watering schedule. Each garden is unique, just like you. The key is to have fun with it and learn as you go.
And always consider this fact: Your plants need love and attention to flourish. It’s not as time-consuming as you might think. A few minutes of TLC each day can make a big difference. So go ahead and adjust that grow light and prune those true leaves.
Start small, be patient, and watch your garden grow. Before you know it, you’ll be harvesting fresh herbs and veggies right from your kitchen counter. Let’s get growing!
AeroGarden Tips FAQs
1. What Cannot Be Grown in an AeroGarden?
Thinking big? Not when it comes to indoor gardening! You’ll want to steer clear of space-hogging crops like corn, sweet potatoes, and beans. These huge growers demand lots of room but don’t give much back indoors.
2. Should I Mist My AeroGarden?
Want to give your AeroGarden plants a little extra love? You might think misting is the way to go, but hold up! Your AeroGarden’s got this covered all on its own. Spraying water on your plants could do more harm than good. Too much moisture can turn your garden into a playground for nasty fungi. Trust me, you don’t want that party in your plants! I suggest you keep it simple and let your AeroGarden do its thing.
3. Should AeroGarden Be on at Night?
AeroGarden has a timer for light that goes on and off after a couple of hours (this will depend on the model that you have). This gives your plants just the right amount of “sun” without any fuss. Don’t worry about when the lights are off. Your plants will thrive as long as they get their daily dose of light. However, if your AeroGarden is located in the same area where you sleep, you might want to reset it so that it doesn’t bother you at night.
If you’re intrigued and eager to learn more about AeroGardens, take a look at these resources: