Are you planning to start an organic garden? It might be easier and cheaper than you think. Many gardeners prefer organic vegetable gardening. It’s also great for beginners.
I’ll discuss how to start an organic garden. I’ll offer tips for newcomers to get big harvests. You’ll also learn how to begin chemical-free gardening at home.
Organic gardening can be more work due to not using chemicals, but it is worth the extra effort. Your organic garden will surely be one of your proudest gardening achievements.
7 Key Takeaways on Organic Gardening
- Organic gardening doesn’t use synthetic chemicals. It focuses on eco-friendly practices that imitate natural ecosystems. This approach is good for both your health and the environment.
- Pick a sunny spot with good drainage and close to a water source for a successful organic garden. The right location helps it thrive.
- Healthy soil is the foundation of an organic garden. Use compost and organic matter to improve soil quality and ensure a good balance of sand, clay, and silt.
- Compost adds important organic nutrients to the soil. Mulch helps keep moisture in, prevents weeds, and adds nutrients. Start a compost pile and use organic mulch to make the soil healthier.
- Select plants that are well-suited to your soil and climate. Use organic seeds or seedlings. Include a variety of flowers. They attract helpful insects and pollinators.
- Use homemade compost and natural fertilizers like comfrey and nettle mixtures. Also, protect your plants with organic pest control methods. These include row covers, diatomaceous earth, and natural sprays.
- It’s important to maintain your garden regularly. This can be done by watering, weeding, and controlling pests. Organic gardening may require more work. But it helps support biodiversity. It also improves soil and produces healthier crops.
What Is Organic Gardening?
Organic gardening is a type of sustainable gardening. It does not use synthetic chemicals, like pesticides and chemical fertilizers.
The goal is to make an ecosystem that mirrors what would naturally occur in that location. It uses native plants and animals. This makes an environment where pests and diseases can’t thrive. They lack natural hosts or populations living there.
Why Choose Organic Gardening?
Organic gardening is hugely beneficial for the environment. Chemical fertilizers and synthetic pesticides harm the ecosystem. Unlike them, organic gardens are havens for wildlife. They attract beneficial pollinators and insects that improve soil quality.
Factory farms favor chemical processes. They save labor but come at a cost. Chemical and synthetic fertilizers strip the soil of valuable nutrients and organic matter. This leads to a cycle of increasing chemical use to make up for the lost nutrients.
In contrast, organic gardening uses methods like composting and mulching. It also uses companion planting and crop rotation. These methods maintain soil richness and provide fresh nutrients naturally.
Organic gardens may have more insect pests, but there are many natural ways to fight them. It’s usually better to encourage helpful insects. Use natural solutions, not toxic pesticides.
Some individuals prefer organic gardening to avoid pesticide residues in their food. Others choose it to save money on groceries by using natural materials.
There is no conclusive evidence that organic produce is tastier or more nutritious. But, some studies have found that consumers think it is.
How Do You Start an Organic Garden?
Starting an organic garden boosts your skills and offers fresh, chemical-free produce. The following sections will guide you in creating and maintaining a successful organic garden.
Whether new to gardening or seeking to refine your techniques, you’ll discover all you need to begin.
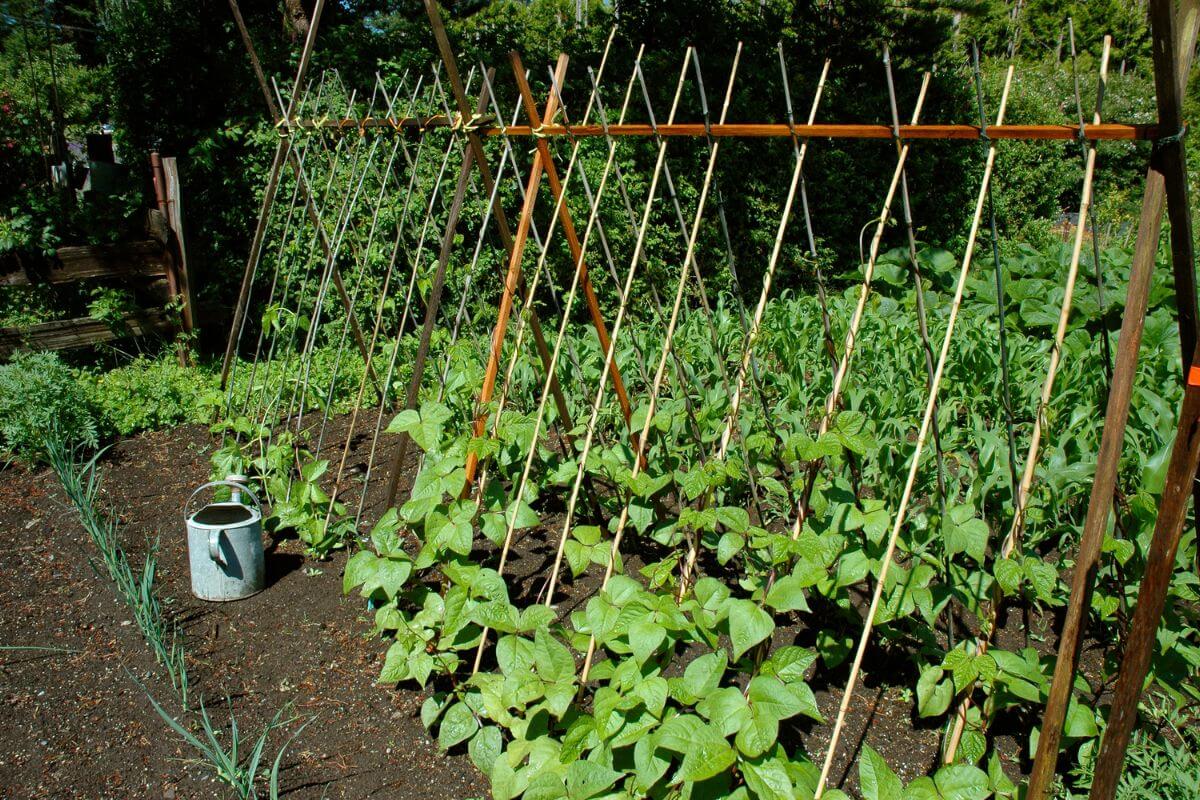
1. Select a Good Site
Choose a site with good drainage to prevent water from gathering. This can cause plant diseases like root rot. Good garden soil is loose and crumbly. It lets water, air, and roots in easily.
Be sure the site for your organic garden gets 6 to 8 hours of sunlight daily. Also, it should be near a water source.
2. Check Soil Health
Excellent garden soil is the key to a successful garden. Cultivating nutrient-rich soil is important. It helps ensure your garden thrives. The ideal well-draining soil has a balanced sand, clay, and silt mix.
Evaluate the soil type or soil characteristics. Grab a handful of soil and see if it holds its form or falls through your fingers. You’ll want to go for something that’s in between that.
Too clayey or sandy soil may be unsuitable for optimal plant growth. However, several methods can be used to improve soil quality.
Mixing in grit sand can improve areas with heavy clay soil. But if your soil is sandy, adding lots of organic matter can help improve it. This includes well-rotted manure or compost.
Are you growing seasonal vegetables? Try crop rotation. It boosts soil health and structure. First, split your garden into four. Then, plant different crops in each section yearly.
Healthy soil provides a strong foundation for productive plants. One way to ensure this is by adding plenty of humus. Humus is the organic matter that forms after plant and animal materials decompose.
2. Create Compost and Apply Mulch
Many organic gardeners pride themselves on their compost. Sometimes, maybe even more than their plants. Compost is organic matter that has been broken down to form nutrient-rich soil.
Starting an organic compost heap is easy. There are various designs online, but in its simplest form, it is just a heap of organic matter left to rot.
You can add any organic material to your compost pile. This includes vegetable peelings, tea bags, coffee grinds, chopped garden waste, grass cuttings, and manure. Aged manure, such as chicken manure, from plant-eating animals is best for improving soil structure.
An open compost heap placed directly on the soil is highly beneficial. It allows helpful bugs to access it from below and be dropped in from above by birds. Worms, woodlice, millipedes, and flies all help break down organic matter. They turn it into nutrient-rich compost with helpful soil organisms.
Many people worry that compost heaps will attract rats, but you won’t have a problem if you don’t put any cooked food or meat onto your heap. They can still get rather smelly, so avoid the temptation to build it close to the kitchen.
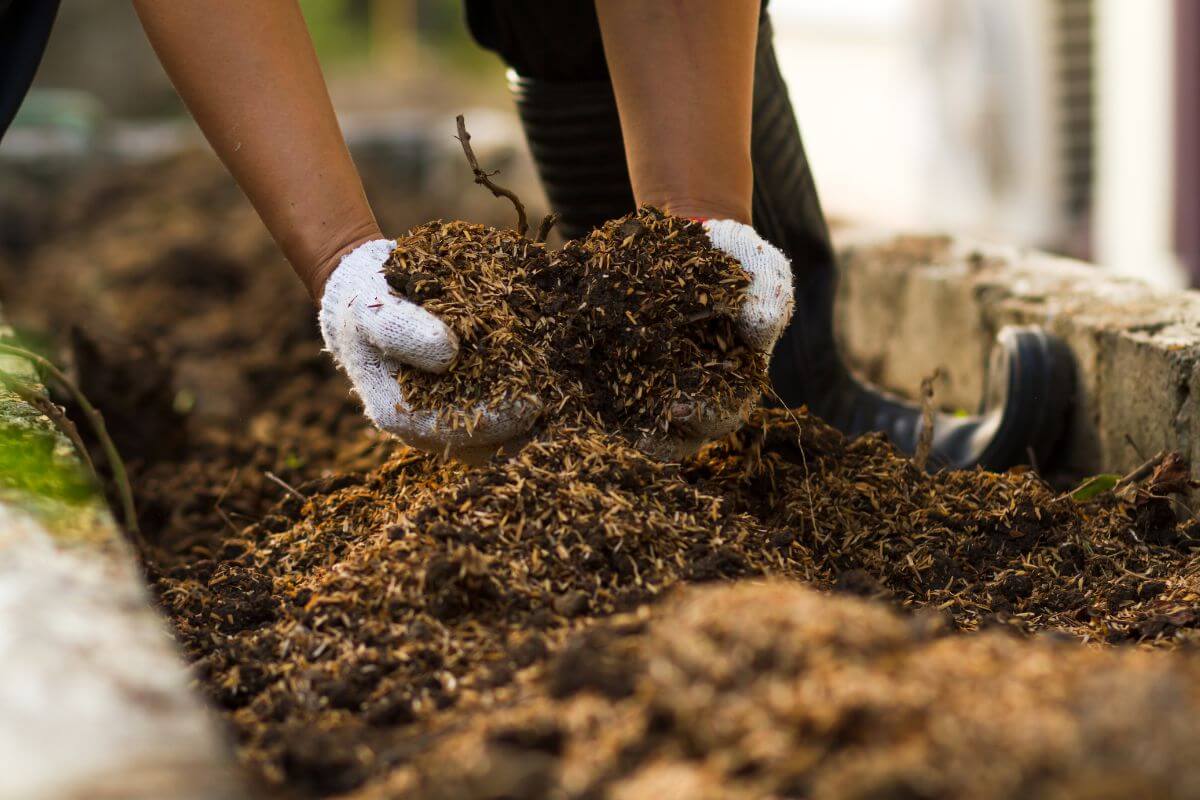
Mulch is a layer of organic matter spread on the soil for various purposes. It helps suppress weeds, retain soil moisture, and add nutrients as it decomposes and drains into the soil.
Organic mulch, like hay, straw, wood chips, or manure, acts as a natural blanket for the soil. Compost can also work as mulch, especially for mature plants, when digging it into the soil isn’t possible. Other options for organic mulch include shredded or chipped bark, straw, leaves, and grass clippings.
Consider using the Miracle-Gro All Purpose In-Ground Soil (check the latest prices) to kickstart your organic garden. It already includes aged compost. Mix 3 inches of Miracle-Gro with the top 6 inches of your garden soil to get started.
3. Pick Plants Ideal for Your Garden Conditions
You can have a mix of plants to choose from when it comes to organic gardening, from leafy greens to fruits to vegetables to edible crops. Consider your soil type, climate, personal preferences, and gardening goals when selecting what to plant.
You don’t have to choose heirloom or open-pollinated seeds if you don’t want to, as many hybrid plants and seeds are still organic. However, it is good to plant various flowers to attract pollinators and other beneficial insects to keep pests away.
Growing organic fruits and vegetables is a good idea because they’re healthy and tasty. Plant your edible garden rows from north to south for the best sunlight and air circulation.
Choose organic plants grown without chemical fertilizers and pesticides when buying seedlings. You can find organic seeds in seed catalogs and at nearby organic farms and markets. These places may also offer native plants and varieties well-suited to your area.
- Learn more in this Organic Seeds Guide
4. Use Organic Fertilizer
You have a variety of organic fertilizers to choose from, and homemade compost works wonders for enriching your soil. If your plants need an extra boost, you can make a fertilizer using comfrey and nettles.
Comfrey’s deep roots fill its leaves with nutrients like B12, ideal for flowering plants and fruits. Meanwhile, nettle leaves are packed with vitamins, minerals, nitrogen, and chlorophyll.
Place the comfrey and nettle leaves in a bucket of water to make a homemade fertilizer. The mixture will get stinky, so use a bucket lid.
After placing the leaves in the bucket, let them sit for a week or two. When watering your plants weekly, add a few cupfuls of the homemade fertilizer mixture to your watering can.
5. Water Your Garden Efficiently
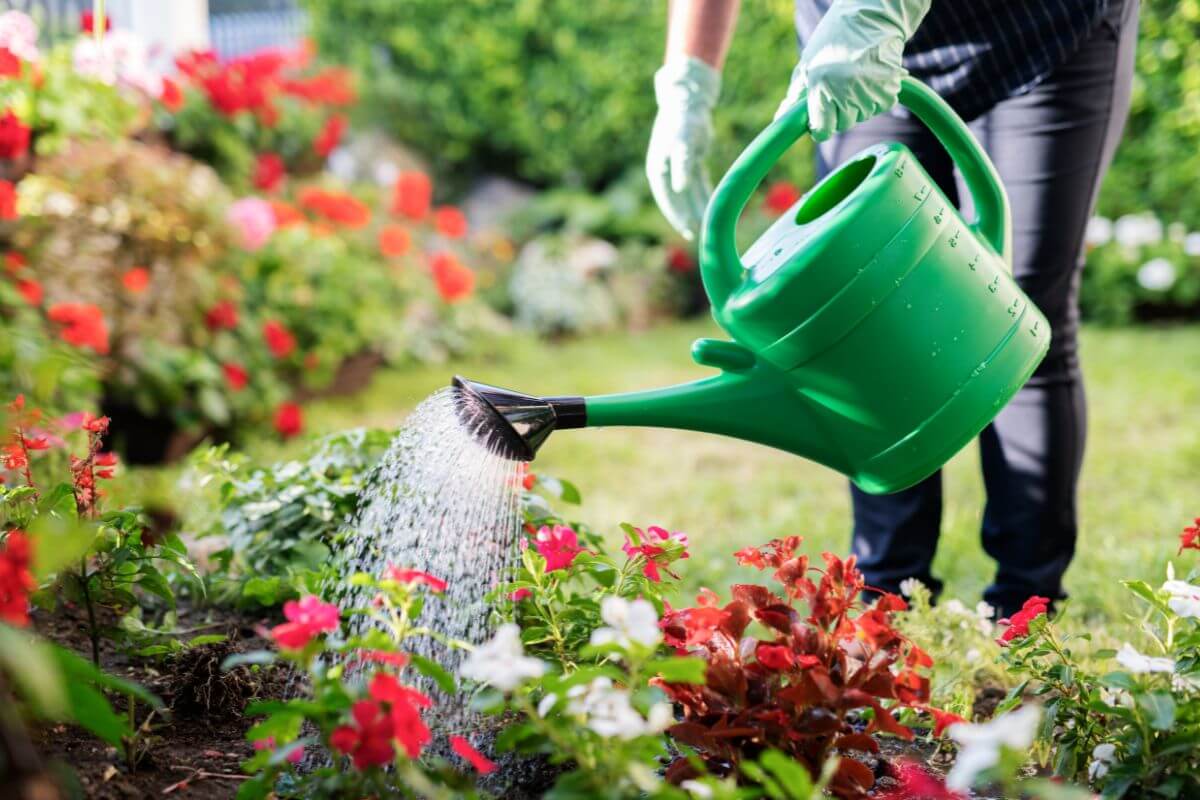
The best way to water your garden during dry months is to have several water butts or water containers that collect and store rainwater. Rainwater is better for your plants because it lacks the additional chemicals found in tap water.
Place a water butt under your guttering and leave it to use when you need to. You can buy plastic water butts at most garden centers, although any barrel with a tap on the bottom will do. I found some cheap sherry barrels online on Amazon (see prices) that work great.
Most beginners think frequent watering is good for plants. But substantial, infrequent watering is better. It’s advisable to water your garden in the morning. A thorough soak once a week is more effective than watering it lightly multiple times.
However, you should water as needed if you’re growing in pots. Press your finger into the soil to check if it is damp. There’s no need to water if it is.
6. Use Effective Methods to Protect Your Garden From Pests and Diseases
Unfortunately, you can’t always protect your plants from pests and diseases using organic methods. The best practice is removing diseased plants or fruit and keeping the plants healthy.
Do not put diseased leaves and plants in your compost pile. Rather, burn them or throw them in the trash. The mixture will get stinky, so have a bucket lid. Mulch forms a barrier to prevent diseases. Crop rotation prevents re-infection.
Row covers are also a good defense against pests. You can also use products like diatomaceous earth, horticultural oil, insecticidal soaps, and insect traps. Or, you can use homemade garlic or chili pepper sprays.
Many other organic pest control methods are available, but vigilance and maintenance are the best tools.
- Read more about Organic Pest Control Methods That Work
What Tools Do You Need for Organic Gardening?

You don’t need many tools in organic gardening, but it depends on what you are growing. The basic equipment you’ll need is:
- Spade – A good spade is essential for digging and turning soil in your organic garden. Look for a spade with a sharp blade and a comfortable handle.
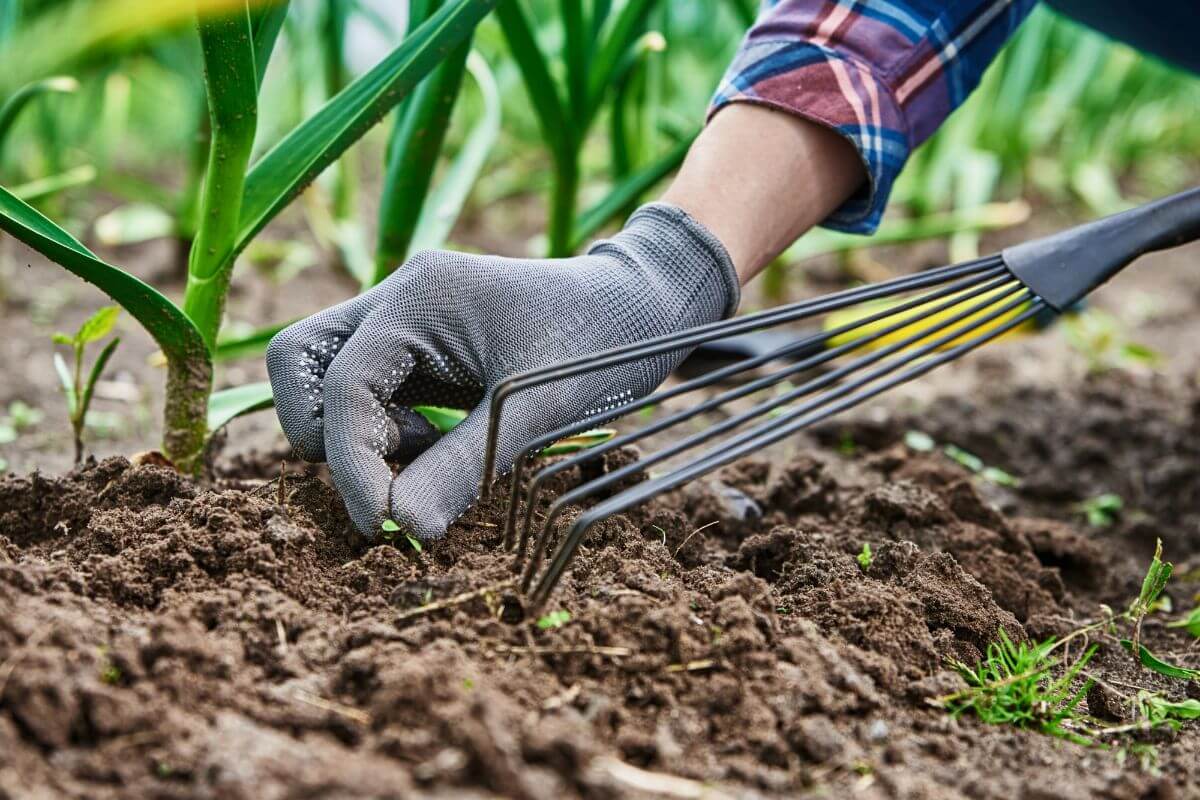
- Garden Fork – A garden fork is useful. It breaks up hard soil and loosens it before planting. It helps improve the soil’s aeration and drainage, allowing the roots of your plants to grow more easily.
- Trowel – A trowel is a small handheld tool with a pointed blade. It is perfect for digging small holes for transplanting seedlings or planting bulbs. Look for a sturdy trowel with a comfortable grip.
- Watering Can – You need a watering can. It is key for gently watering plants. It does not disturb the soil or harm delicate seedlings.
- Gloves – Good gloves wouldn’t go amiss, as soil can dry out your hands. Rubber gloves work well since garden gloves can be too thick for some planting jobs.
Read about the Essential Gardening Tools that beginner and experienced gardeners need.
How to Care for Your Organic Garden
When you start organic gardening, it’s essential to maintain your garden. Do this through regular clearing, weeding, and trying organic pest control methods.
Here are some tips for caring for your organic garden:
- Avoid Using Chemicals – Avoid using pesticides and synthetic fertilizers. Instead, use organic practices. These include composting, mulching, and companion planting. They promote healthy soil and deter pests.
- Choose Organic Pest Control – Organic pest control methods are things like neem oil, soap sprays, and beneficial insects. They can work well.
- Connect With Others in the Organic Gardening Community – Connect with local resources. These include master gardeners and gardening organizations. They can provide guidance and support.
With continued effort in caring for your garden, you may notice:
- Fewer aphids
- More ladybugs, birds, and frogs
- A decrease in slugs and snails
Pests provide food for other wildlife. Weeds offer them shelter. Weeding regularly helps your garden thrive and creates a balanced ecosystem.
What Are the Disadvantages of Organic Gardening?
There’s no such thing as a perfect garden. But growing organically and sustainably can be better for the environment. It is also healthier for yourself and your loved ones.
An organic garden offers many activities that conventional gardens can’t. But there are also some trade-offs:
- Less Insulation From Extreme Weather Events – In an organic garden, the lack of chemical pesticides and synthetic fertilizers can make plants weaker. They become more susceptible to extreme weather. This includes events like frost. Frost can damage delicate plants like tomatoes or carrots, causing them to wilt or even die.
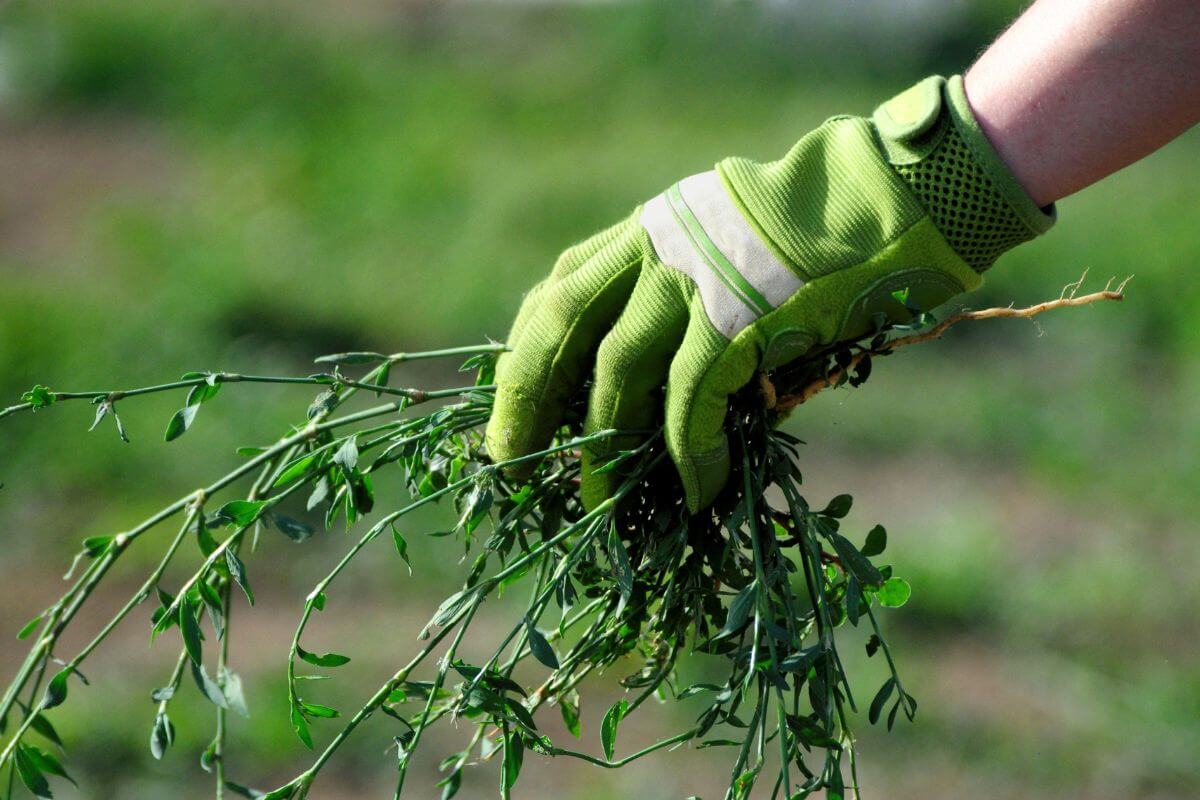
- More Hand Weeding Is Required – Conventional gardening uses synthetic herbicides to kill weeds. Organic gardening relies on manual weed removal.
- Different Planting Schedules – Planting lettuce in the middle of winter is a whole other ballgame.
- Greater Pest Vulnerability – Ladybugs and lacewings are beneficial insects. They can help keep pest populations in balance. But, pests can become overwhelming and damage crops. Without synthetic pesticides, eliminating certain pests can be more challenging.
Organic Gardening Final Thoughts
Organic gardening is an environmentally friendly way to grow plants in your yard. It uses natural methods to enrich soil and manage pests, avoiding the use of synthetic chemicals like pesticides. This approach promotes biodiversity and enhances soil quality.
Organic gardening requires more effort than a conventional garden. You must choose the right site and use organic fertilizers. But the benefits are worth it. Regular maintenance, including watering, weeding, and natural pest control, is key to a successful garden.
Planting an organic garden has benefits. It helps the environment and health. It also provides the satisfaction of growing your own food.
Organic Gardening FAQs
1. How to Start an Organic Garden for Beginners?
To start an organic garden, choose a sunny location, prepare the soil with compost and organic matter, and select organic seeds or plants. Avoid using synthetic fertilizers and pesticides, opting instead for natural alternatives. Regularly water and weed your garden, and use mulch to retain moisture and control weeds.
2. What Qualifies as an Organic Garden?
An organic garden grows plants using natural methods and materials, avoiding synthetic fertilizers, pesticides, and genetically modified organisms (GMOs). It relies on compost, organic fertilizers, and natural pest control methods.
3. Is Organic Gardening Worth It?
Organic gardening is worth it because it produces healthier, chemical-free food, supports environmental sustainability, and promotes biodiversity. It can also enhance soil health and reduce exposure to harmful pesticides.
4. Do You Need Organic Soil for Organic Gardening?
While organic soil can benefit organic gardening, it’s not always necessary. You can enhance soil health by adding organic matter like compost, manure, or mulch to conventional soil. This enriches the soil with nutrients and improves its structure, supporting healthy plant growth without synthetic fertilizers or pesticides.
5. What Is Organic Matter?
Organic matter is the decomposing portion of plant and animal waste. It is a food source for microorganisms, soil organisms, and earthworms. It is used as a soil conditioner to make the soil more fertile and increase water capacity.
For more gardening articles, check out the following:
Great comments !!!!!! still a farmer !