AeroGarden brought about the joys of gardening indoors. Their popular hydroponic setups are great, but what happens when they’re all used up? Now it’s time to order new seed pod kits.
That’s easy to say and do, but did you know there’s another way? Let’s face it, replacement pods can get pricey. That’s why I started making my own. It’s a game-changer for us green thumbs who love fresh produce year-round.
DIY AeroGarden pods fit almost perfectly into any AeroGarden model. They’re based on the original design, so compatibility should not be a big issue. Sure, there might be some size differences and the fit might not be as snug, but they work just fine. Trust me, I’ve tried this myself.
If you don’t own an AeroGarden hydroponic system yet, I also included a step-by-step guide on how you can make your own DIY AeroGarden system.
Homemade pods and systems let you grow just about anything you like without limiting you to what AeroGarden offers. They also let you save a ton of cash in the long run!
- Related article: Best AeroGarden Models
5 Key Takeaways on DIY AeroGarden
- Making your own AeroGarden pods allows you to customize your indoor gardening experience according to your preferences and needs.
- It’s a straightforward and enjoyable process that doesn’t require advanced skills or tools. You just need creativity and basic supplies.
- You’ll need essential components like a Grow Basket, Grow Material or Sponge, Grow Cover or Dome, and Seeds of Choice to create your DIY seed pods.
- By reusing materials and reducing waste, DIY pods and systems contribute positively to environmental sustainability.
- The basic materials needed for a DIY AeroGarden system include a water container with lid, a water pump, grow lights, and water with nutrient solution.
DIY AeroGarden Pod Requirements
Making your own pods lets you put a personal spin on indoor gardening. It’s a fun and easy way to grow exactly what you want, right in your home. You don’t need fancy tools or a green thumb. Just a little creativity and some basic supplies will do the trick.
What Materials Are Required for a DIY AeroGarden Seed Pod?
You’ve got an AeroGarden? Cool! Let’s talk about the basic parts that make up a seed pod so you can start making a smart move for your wallet and the planet.
Here’s a list of things that you need to make your own seed pod:
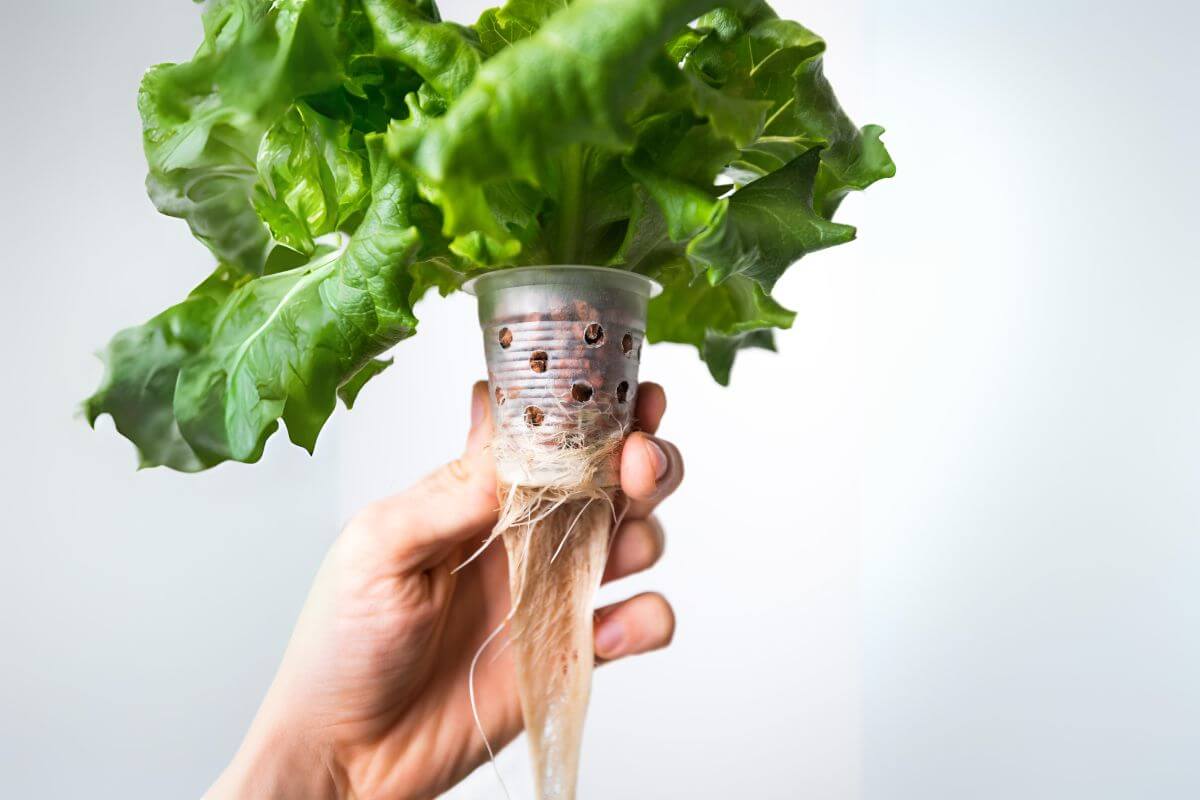
- Grow Basket – Can be of any material like plastic or aluminum (perforated cone-shaped). This will hold your grow material into place.
- Grow Material or Sponge – Stick to breathable materials like peat moss or perlite
- Grow Cover or Dome – Transparent hood shaped like a dome to keep things humid for your plant.
- Seeds of Choice – When choosing seeds, make sure to consider the height limits of your AeroGarden model. If you plan to grow something big, you can use your AeroGarden to simply start the sprouting process and transplant your plants afterward.
When gathering these materials, make sure to take a look at what you have at home and cut down on waste. Every little bit helps, right? Making your own seed pods is like having a mini gardening project.
How Much Time and Money Is Needed for a DIY AeroGarden Seed Pod?
Making seed pods is a breeze and you can whip them up in no time! It only took me 2-3 hours to get 6 pods ready (excluding the time needed to dry my Grow Sponges). How long it takes will depend on how fancy you want to get with your DIY AeroGarden pods and how many you will be making.
A quicker option is to look for third-party sellers who can provide you with ready-made and compatible options for seed pod parts. I made a comparison table below to give you an idea of how much you can save by making your own seed pods:
| AeroGarden Price Per Piece | Third-Party Seller Price Per Piece | |
| Grow Basket | $0.38 (buy here) | $0.38 (shop today) |
| Grow Material or Sponge | $0.40 (shop now) | $0.30 (buy now) |
| Grow Dome | $0.29 (get it here) | $0.10 (purchase now) |
| Labels | $0.38 (shop here) | $0.08 (buy today) |
| Total | $1.45 | $0.77 |
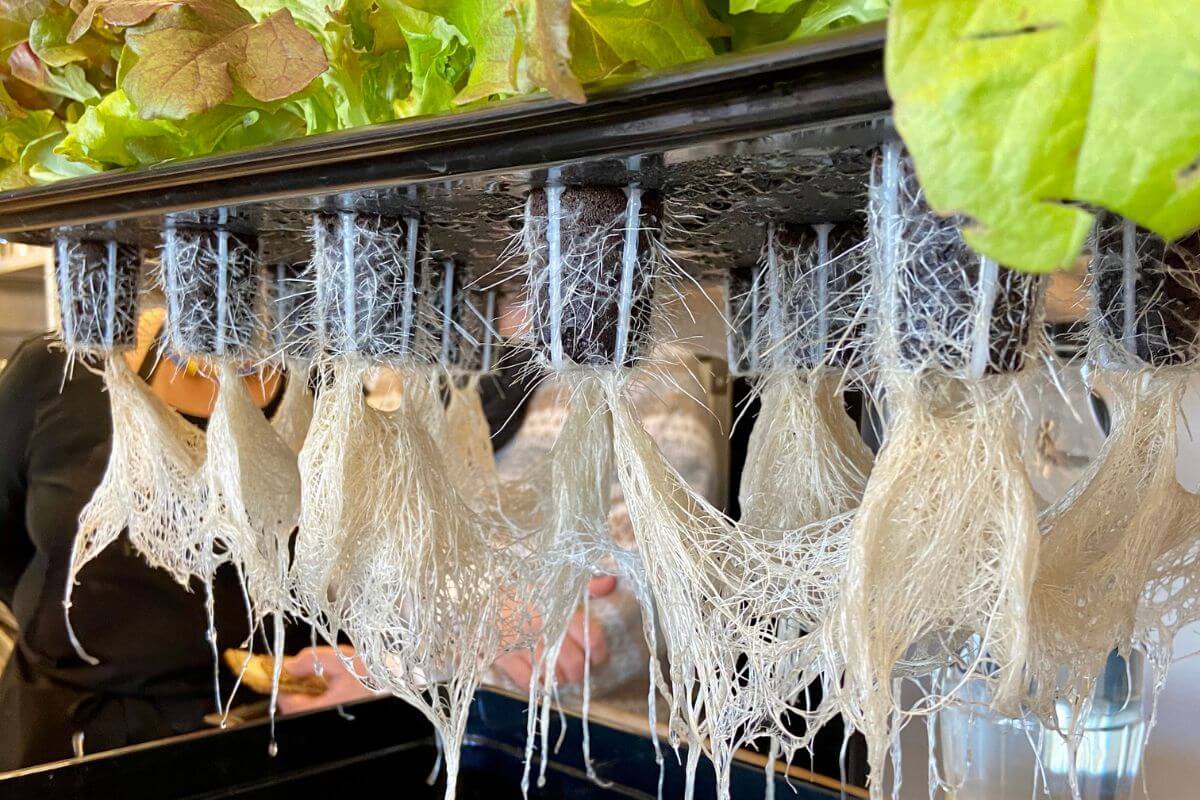
AeroGarden encourages the use of fresh sponges every time. This is because the medium can easily get tangled with plant roots and may harbor bacteria and disease.
There are also options for a full kit (view latest prices) that already includes Grow Baskets, Grow Sponges, Labels, and Grow Domes.
The cost table above gives you an idea of how much you might spend when making your own AeroGarden seed pods. That is $0.77 per pod without the cost for your seed of choice. I recommend that you recycle your domes as well so you can save more.
DIY AeroGarden Seed Pod Process
The process of making homemade seed pods only takes a few simple steps.
Step 1 – Gather and Buy All Requirements
The first step is to gather all required materials to make the Grow Basket, Grow Sponge, Label, and Grow Dome. You may be able to get cheaper materials from your local stores.
Here’s a quick list of all the things that you will need:
- Scissors
- Aluminum foil or any material that can be molded into a basket/ Old AeroGarden Grow Baskets
- Water
- Peat Moss (there are other alternatives to hydroponic mediums but we’ll use this one for now)
- Bowl
- Tweezers
- Material that can be cut up to make labels (must be waterproof like plastic)
After all, the whole idea of making a DIY seed pod is to reduce the cost of AeroGarden’s ready-made pods.
Step 2 – Create Grow Baskets
The next step is to create a Grow Basket if you don’t have one already.
The first batch of Grow Baskets that come with an AeroGarden can be re-used but make sure that you clean it very well to avoid any type of contamination. If you don’t have any available, you can create one by using a small-sized plastic cup or by cutting and folding aluminum foil into a cylinder-shaped basket.
Aluminum foil is easily moldable. Make sure you have made cuts on the sides for water and nutrients to enter and that you have created enough room for the roots to grow. I use a sharp pair of scissors for that. The best tip when cutting the slits with scissors or a cutter is to do it on a flat surface. Don’t try to cut the cylinders in your hand because you may end up cutting yourself.
If you wish to fit this into your AeroGarden System, then the measurements are very important. You need to replicate the basket with the same measurements as the seed pod for the right fit. Most third-party products follow a height of 3.05 inches, a 1.74-inch width (for the mouth), and a 0.55-inch width (for the base).
Another option is to use old compostable coffee pods (check prices)as long as their measurements match your AeroGarden’s. Creativity is limitless and anything can be used!
Step 3 – Make Grow Sponges
This is an important step for growing the plants you want. AeroGarden Sponges are made up of pure Canadian Sphagnum Peat. Hydroponic mediums should be lightweight and have excellent drainage and aeration properties. Make sure to consider those qualities when looking for alternative mediums.
Some alternatives to Sphagnum Peat that you can try are:
- Rockwool
- Coco Noir
- Clay Pebbles
- Perlite
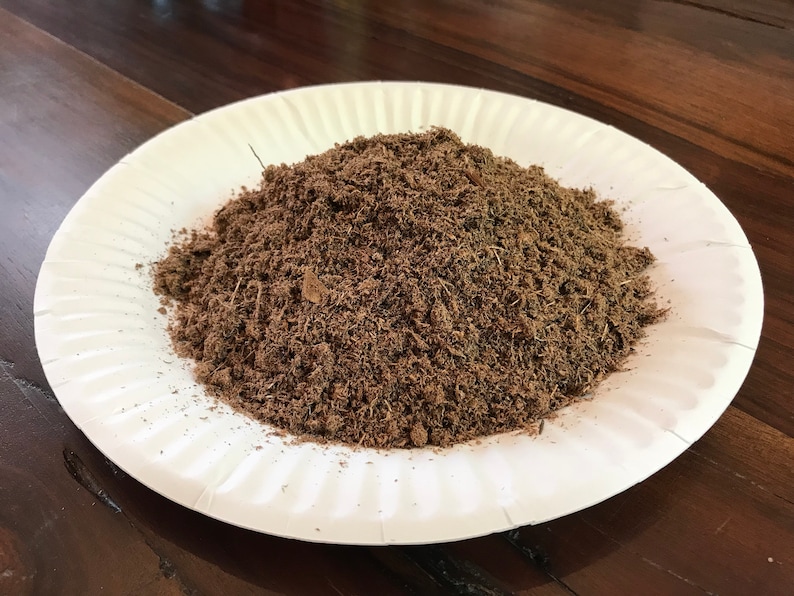
- Peat Moss
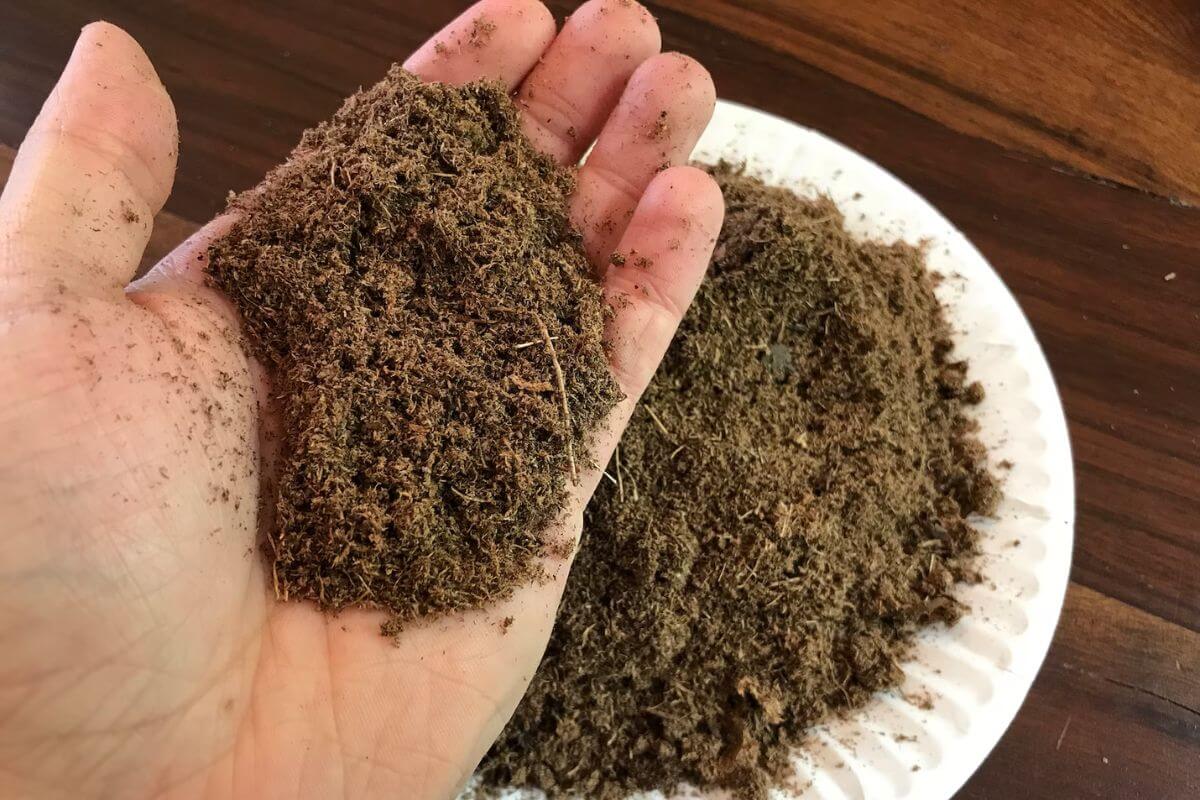
I like to use peat moss because it’s fairly inexpensive and readily available. For these steps, I’ll explain how to use peat moss to build the sponge core:
- Grab some peat moss, pour a handful into a bowl, and add water slowly.
- Mix it up until it’s nice and wet.
- Squeeze the wet peat moss in your hands.
- Shape it into pods that fit your AeroGarden baskets. Pack it in tight and squeeze out extra water.
- Take the pods out and let them dry. They’ll firm up and look just like store-bought AeroGarden sponges.
These homemade pods work great for starting seeds. You can use them in your AeroGarden or even in seed starting kits. Do some trial and error and see which medium fits your schedule and style best.
Step 4 – Label and Put Everything Together
Once your DIY Grow Sponge has completely dried, you can already pop it into the Grow Basket that you’ve created and label it. There are labels that you can purchase online. You can also opt to follow the measurement of AeroGarden labels that came with your first purchase.
Take a tweezer and gently tuck those plant seeds into your medium. Be careful not to push them in too deep.
Cover the pod with plastic caps or lid to create a mini greenhouse effect. The domes that came with your AeroGarden kit can be re-used or you can purchase one from third-party sellers. Plastic domes sold online usually follow an outer circumference of 1.78 inches, an inner circumference of 1.57 inches, and a height of 1.8 inches.
I always keep the dome on until I see those first tiny sprouts peeking through. It’s exciting to watch them grow!
DIY AeroGarden System Requirements
After making a batch of seed pods, are you wondering if you can replicate the AeroGarden system too? It’s totally doable with the right stuff and a bit of know-how. Many folks are keen to whip up their own AeroGarden using cheap, easy-to-find materials. It’s pretty much like setting up an indoor hydroponic garden. AeroGarden uses hydroponics too, so the setup is similar.
What Materials Are Required for a DIY AeroGarden System?
There are a few inexpensive materials that you can use to build your own AeroGarden. Here’s a list of what you need to gather:
- A container or reservoir with a lid (to hold the water and nutrient solution)
- Small water pump
- An LED grow light (red, blue, and white)
- Nutrient solution specific for hydroponics
- DIY seed pods
- Scissors or knife
How Much Time Is Needed for a DIY Aerogarden System?
The approximate time needed to gather all the materials and assemble them into a garden could take about 3-4 hours (including trial and error). That’s about the time it took for me. But this may vary depending on how you want your AeroGarden to look.
DIY AeroGarden System Process
The entire process of setting up a DIY AeroGarden System is simple and not too complicated.
Step 1 – Set up the AeroGarden Water Tank
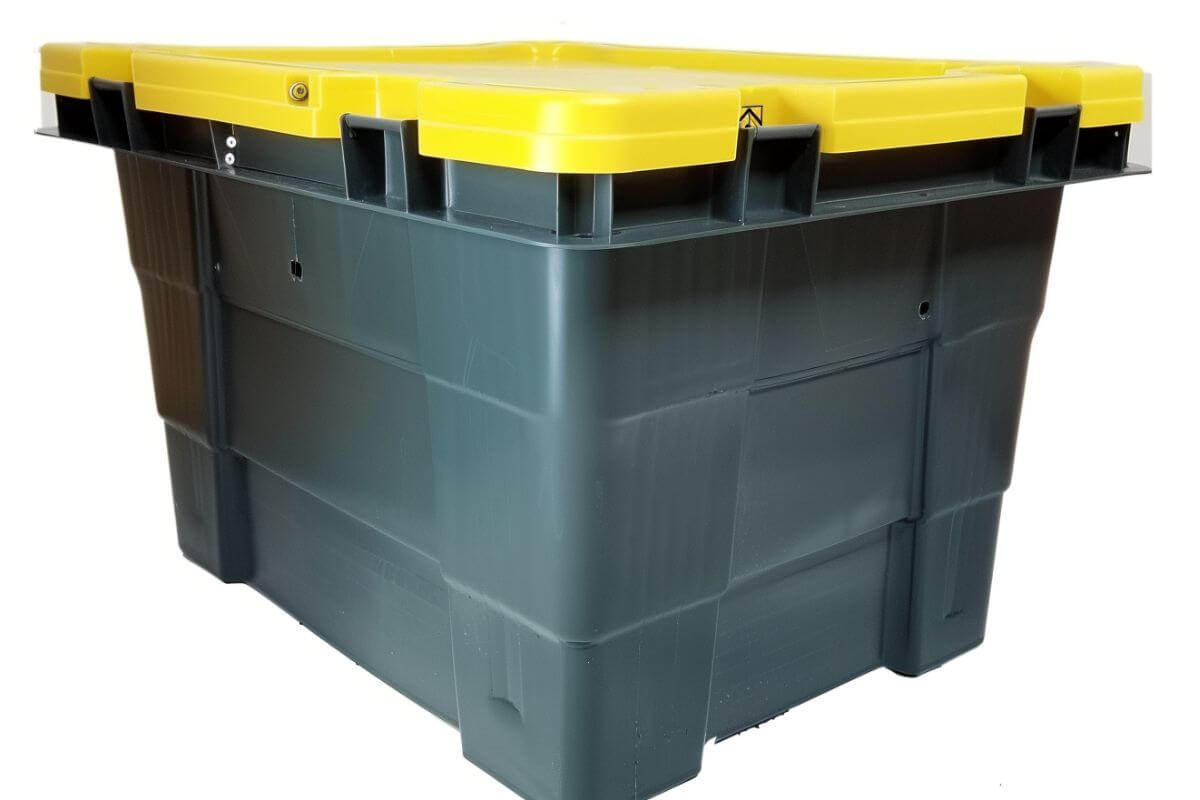
I use this HOMZ Durabilt Storage Bin with Snap-on Lid (view current prices) as a great DIY water reservoir. The lid will act as the Grow Deck to hold the seed pods for the garden. An AeroGarden System works to reduce evaporation, so a plastic container with a lid will achieve that.

Step 2 – Arrange the Grow Deck
The Grow Deck acts as a place to hold the seed pods into place. You need to give your plants enough space for the roots to grow below. Pods should also have a constant supply of water and nutrients.
Make some holes in the container’s lid. The lid will act as your Grow Deck while the body of your container will act as the water tank.
The holes in the lid should measure the same as your DIY seed pods so they are neither too tight nor too loose. When the holes are too loose, this may expose your plant to algae since light can get it. It will also make the water evaporate faster. When they are too tight, they might not provide your large seed plants with the space that they need to grow. Having the right measurements is key.
Step 3 – Install the Water Pump

A small pump that is similar to what is used in fish tanks will help with water and nutrient flow.
To install the pump in your DIY setup, grab your tank lid and make a small hole. The hole should be just big enough for your pump to fit through. Once you’ve got the hole, slide the pump in. Make sure it’s positioned so it can move water around the tank. This setup lets your pump do its job and keep the water flowing. With a little effort, you’ll have a working water system in no time.
Step 4 – Put LED Lights Into Place
LED lights are key for your hydroponic setup. You’ll want to keep them on for 16 hours each day. This mimics natural light so your plants can grow strong.
Your plants need red, white, and blue lights. Each color helps differently. When you first plant your seeds, put the lights close to the pods. But watch out! Don’t let the leaves touch the lights once they start growing.
As your plants get bigger, you’ll need to move the lights up. It’s like a dance between your plants and the lights. You adjust, they grow, and you adjust again.
You can purchase your Grow Light (buy now) of choice or you can buy Grow Lights directly from the AeroGarden website.
- Learn what to do if your AeroGarden Lights Are Not Working
Step 5 – Assemble It All Together
Let’s get your AeroGarden up and running!
- Add water to the box. Don’t fill it to the brim. Leave some space between the water and the lid. This gap is important for air circulation.
- Pour in the liquid hydroponic nutrients. The nutrient water mixture will help your plants thrive.
- Grab your seed pods and pop them into the lid’s cut-outs. Make sure they’re snug and level with the top.
- Turn on the LED lights and water pump. Consider these as your garden’s dynamic duo for seed sprouting and plant growth. Set the water pump for gentle oxygen flow.
Here’s an easy video guide that you can follow:
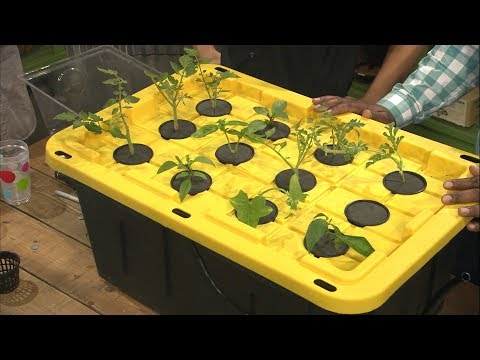
That’s it! It can be pretty exciting to watch your indoor garden come to life. Just imagine the fresh herbs and veggies you’ll soon be enjoying!
DIY AeroGarden Final Thoughts
Making your own DIY AeroGarden Pods and System is affordable and not too difficult. You don’t need fancy tools or even a green thumb to get started. Just grab some basic supplies and let your creativity flow.
Making your own pods isn’t just fun – it’s smart too. You’ll save money and help the planet by reusing materials. Plus, you get to grow exactly what you want. How cool is that?
Homemade AeroGarden systems give you the same fruitful plants as the ready-made AeroGarden systems for a constant supply of vegetables, herbs, fruits, and beautiful flowers. It’s a great way to start indoor gardening for beginners.
Watching your little seedlings turn into full-grown plants is pretty awesome. And when you’ve made the pods and system yourself? That feeling is even better.
Remember, there’s no one right way to do this. Play around, have fun, and before you know it, you’ll have a thriving indoor garden that’s all your own.
DIY AeroGarden FAQs
1. Can You Use Your Own Seeds in an AeroGarden?
You bet! AeroGarden’s got your back with their Grow Anything Seed Kits (check prices). These nifty kits pack all the essentials you need to plant whatever seeds catch your fancy. What’s inside? You’ll find grow sponges, baskets, labels, domes, and even liquid plant food.
2. Can I Use a Sponge for Hydroponics?
You can use sponges in hydroponics. But not just any sponge will do. You need special hydroponic sponges. These aren’t like the ones you use to wash dishes. They’re made for plants to grow in.
Hydroponic sponges have a mesh fabric. This mesh is important as it lets the roots grow through it. This gives the roots room to breathe and grow better. You can grow fruits, veggies, beans, and even flowers with this medium.
Read more about the AeroGarden with these articles: