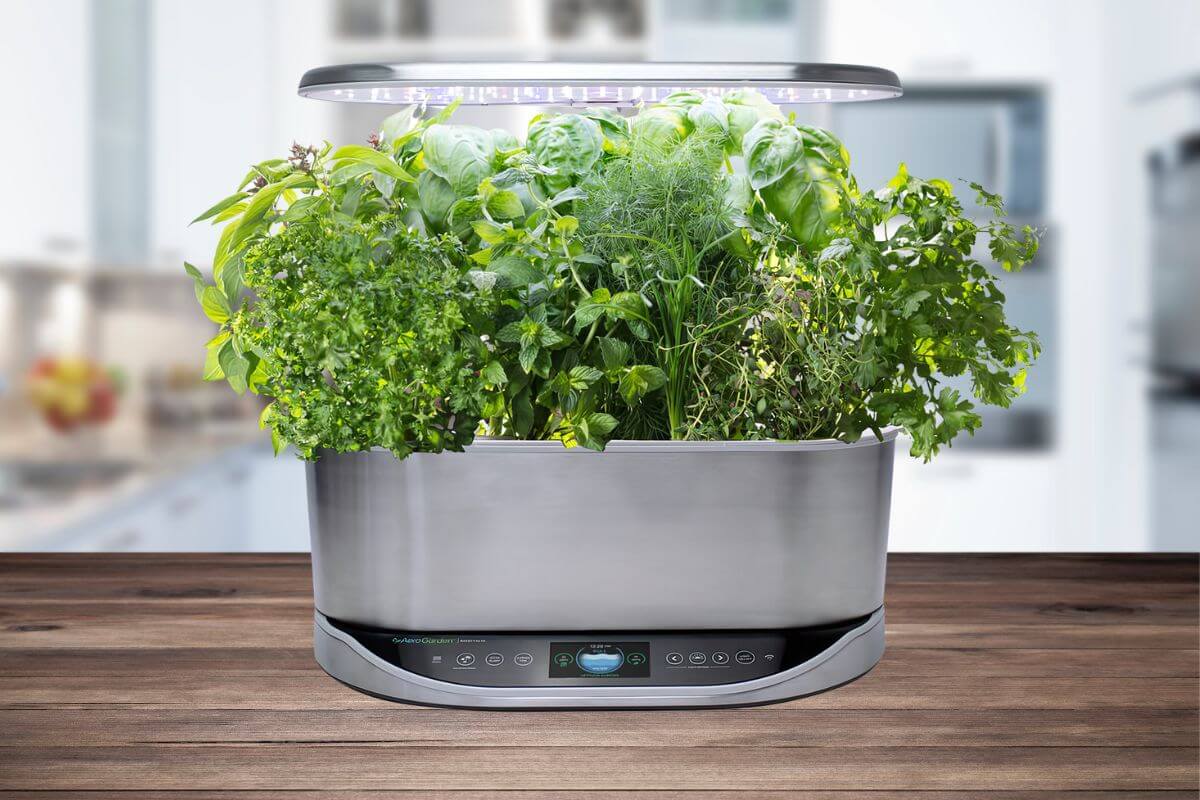
Let’s talk about an often neglected part of the AeroGarden system, the AeroGarden lights! These handy devices make year-round indoor gardening possible. Imagine having fresh herbs and veggies at your fingertips, no matter the season. Sounds pretty great, right?
AeroGarden lights use fancy LED technology. They’re not the old CFL bulbs. These LEDs boost plant growth by a whopping 50% while using 60% less power. Talk about a win-win!
Each AeroGarden model customizes its light spectrum and mixes daylight white, blue, and red lights to make your plants grow faster, yield more, and flower beautifully.
But what if your AeroGarden lights decide to take an unscheduled vacation? Don’t panic! I’ve got your back. I’ll walk you through some troubleshooting tips to get your indoor garden glowing again.
A well-lit AeroGarden is a happy AeroGarden. And a happy AeroGarden means fresh, homegrown goodies for you. So, let’s keep those lights shining!
- Related article: What Is the Best AeroGarden Model?
6 Key Takeaways on AeroGarden Lights Not Working
- Inspect the power cord for damage like broken spots or bent wires. Clean the connection points with a Q-tip to remove dust or debris that could be causing issues.
- AeroGarden lights follow a schedule to provide plants with the right balance of light and darkness for optimal growth. This mimics natural cycles essential for plant health. Off lights are not damaged lights.
- LED lights in AeroGardens typically last 2-4 years. Replace individual diodes only if they fail.
- Ensure the light post and LED hood are securely connected and free from damage and dirt. Proper assembly ensures optimal light distribution for your plants.
- Regularly inspect and clean metal pins to maintain proper connections and prevent issues with power delivery to your AeroGarden.
- If troubleshooting steps don’t resolve the issue, reach out to AeroGarden’s customer service for expert assistance.
How to Troubleshoot Common AeroGarden Light Problems
Are the lights in your AeroGarden acting up? Don’t sweat it! I’ve been there too, and it can be a real bummer when your indoor garden isn’t shining as bright as it should. But hey, we’re gonna fix that together. I’ll walk you through some common light hiccups and show you how to get things glowing again.
It’s frustrating, but there’s usually a simple fix, not a bad unit. If something doesn’t match your model, just skip it and go to the next one.
1. Check Your AeroGarden’s Power Connection
Take a close look at the power cord. Do you see any broken spots or bent wires? If you see damage, you might need to fix or swap out the cable.
You can also check both ends of the connection. Is the wall socket working? How about where the cord plugs into your AeroGarden? Sometimes, a bit of dust can cause problems. Grab a Q-tip and give those connection points a quick clean. Still no luck? Look for any bent connectors.
If you’ve tried all this and it’s still not working, you might want to buy a new cable. But hold on — if other parts of your AeroGarden are running fine, the cable’s probably not the culprit. In that case, let’s move on to other possible issues.
2. Check Your AeroGarden’s Light Timer
Your AeroGarden’s lights aren’t broken if they’re off. It’s just following its schedule. Plants need darkness too, not just light. The built-in timer ensures your plants get the right balance of light and dark. This mimics nature’s cycle and helps your plants grow healthy.
You might wonder why darkness matters. Well, it’s a key part of photosynthesis. During dark periods, plants process the energy they’ve gathered during light hours. It’s like their rest and digest time. So don’t worry when you see the lights off. Your AeroGarden is just taking good care of your plants.
3. Replace Your AeroGarden Light Bulb
If your AeroGarden uses LED lights, you don’t need to rush to replace the whole light hood. Those individual diodes usually keep going strong for 2-4 years. Only think about swapping out the hood when you notice some diodes starting to fail.
Another, problem that users experience is very bright AeroGarden lights, always make sure that your light bulb is working properly.
Have you checked your AeroGarden lights lately? It might be time for a quick bulb check!
4. Reposition Your AeroGarden’s Light Post and LED Light Hood
In some cases, there may be issues with the position of the light post and LED hood.
Pop the light post out of the base and unhook the LED hood from it. Check both parts for damage, dust, or any spills that could be causing the problem, and clean them if needed.
Now, let’s put it back together like a puzzle. Slide the light post back into the base, making sure the USB connector clicks in snugly. Then, snap the LED hood back on top. Proper contact between these parts would mean that those two black lines in front of the light post should be hidden.
Plug the Aerogarden back into an electrical outlet. See if the problem is resolved.
5. Check Your AeroGarden’s Metal Contacts for Corrosion or Damage
I’ve cleaned my metal pins, and now my AeroGarden is working fine! It’s amazing how a little TLC can bring your indoor garden back from the brink. Here’s what I learned about fixing those pesky pin problems:
First, check the top and bottom of your arm sections. You’ll spot metal pins there. They’re the small things that help keep everything connected and powered up. But sometimes, they need a helping hand.
If you notice bent pins, grab some fine pliers and gently nudge them back into place. Make sure that before you do this, you have unplugged your device.
A little pin maintenance goes a long way. Keep those connections clean and straight, and your AeroGarden will bounce back in no time!
6. Contact AeroGarden
If your AeroGarden isn’t working right, don’t worry. You can simply chat customer service. They’re the experts on their products and can provide quick answers. Ask them about your warranty status. You might be eligible for a free replacement or new parts. Their team can guide you through troubleshooting steps too.
AeroGarden Lights Not Working Final Thoughts
Having trouble with your AeroGarden lights? Don’t worry! It’s a common issue many indoor gardeners face. You might feel frustrated when your existing unit isn’t shining as it used to. But there’s usually a quick fix to get your garden glowing again.
You can try the solutions that we have provided above. Every model is a bit different. If one solution doesn’t fit the model that you have, try another. There’s always a way to brighten up your indoor garden.
Still stumped? Don’t hesitate to call AeroGarden’s customer service. They’re the pros and can offer model-specific advice. They might even have warranty information that could help you out.
With a little patience and care, your AeroGarden will be thriving again soon. Keep at it! Your green thumb is just waiting to shine.
AeroGarden Lights Not Working FAQs
1. How Do I Reset the Light on My AeroGarden?
In general, this is how most AeroGarden model’s lights are reset. Press and hold the Lights On/Off button for about 3 seconds. Watch for it to blink three times, then let go. Your lights will flash once to show they’ve learned their new schedule. For the specific instructions on your device, you may check out the manual through their website.
2. How Long Do AeroGarden Lights Stay On?
The answer to this will vary depending on the AeroGarden model. Some models follow a 15-hour light cycle. Other models like the Bounty and Farm, are more flexible and change light cycles depending on what is planted.
3. Do AeroGarden Grow Lights Wear Out?
Your AeroGarden’s LED lights are built to last. You won’t need to swap out the LED light hood for quite a while. These little powerhouses can keep shining for 2 to 4 years before they start to fade. Just keep an eye on those individual diodes. When you notice some of them flickering out, that’s your cue it might be time for a change.
Here are other AeroGarden articles that might interest you: