Cilantro, also known as parley or coriander, features in countless dishes worldwide. You’ll find them fresh or dried in Latin American, Caribbean, and Asian cuisines. They’re a must-have for Thai and Vietnamese recipes as well.
I love tossing fresh cilantro into my homemade salsa. It adds a zesty kick that wakes up your taste buds. Have you ever noticed how cilantro can make or break a dish? Some people can’t get enough of its unique flavor, while others think it tastes like soap.
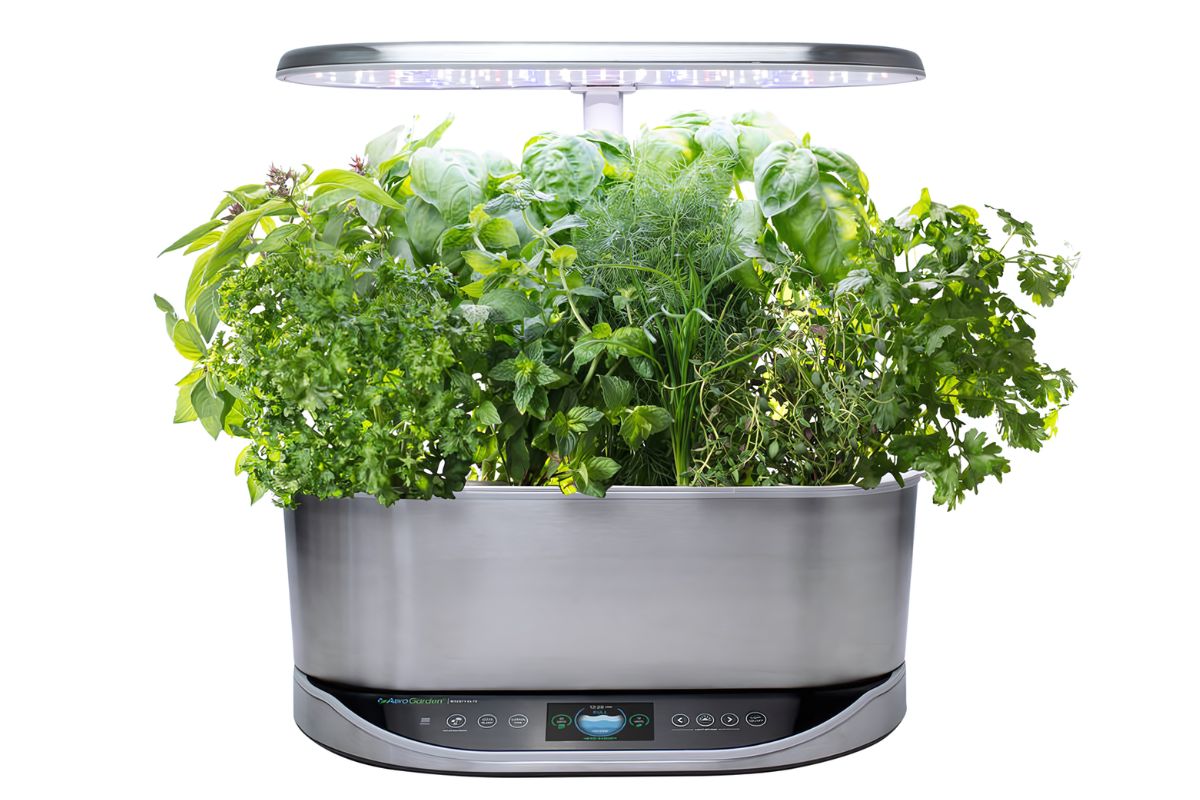
Growing cilantro in your AeroGarden is easier than you might think! With a bit of TLC, you’ll have fresh herbs at your fingertips in no time. Plant those seeds, give them a trim now and then, and before you know it, you’ll be harvesting like a pro.
I’ll take you through some tips for planting, growing, caring, and harvesting cilantro in your home. You’ll be glad to know you can grow this herb with great success!
- Related article: Best Herbs for AeroGarden
7 Key Takeaways on AeroGarden Cilantro
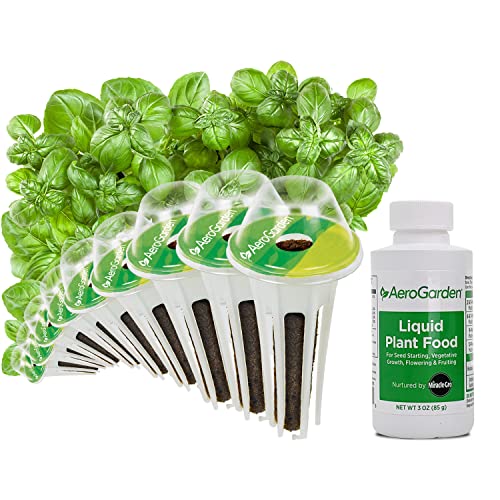
- AeroGarden offers several herb seed pod kits that include cilantro, such as Traditional Medicinal Herbs, Asian Herbs, Assorted Italian Herbs, Pizza Herbs, and Gourmet Herb kits.
- You can create your own herb kit by choosing from a variety of gourmet herbs. This allows flexibility in what you grow through AeroGarden’s Grow Anything Kit.
- Most herb pods sprout in 5-15 days, but cilantro can take longer due to its unique germination process.
- Cilantro has several health benefits. It can help lower blood sugar levels, benefit heart health, and contains several antioxidants.
- Cilantro loves temperatures between 50°F (10°C) and 85°F (29°C).
- It is important to maintain consistent water levels, follow nutrient recommendations, and adjust lighting as cilantro grows taller to ensure healthy development.
- Regular pruning of cilantro encourages new growth. Harvesting mature cilantro leaves ensures a steady supply for culinary uses without prematurely ending the plant’s lifecycle.
What Herb Seed Pod Kit Choices Are Offered by AeroGarden?
If you’re curious about the varieties of cilantro that you can grow with AeroGarden, you’ve come to the right place. Let’s dive into the exciting options available, making it easier than ever to cultivate this versatile herb in your own home.
Below are some AeroGarden seed pod kit options that have cilantro:
| Seed Pod Kit | Contents |
| Traditional Medicinal Herbs Seed Pod Kit (latest price) | Chamomile, Curly parsley, Mint, Holy Basil, Cilantro, Thyme, Sage |
| Asian Herbs Seed Pod Kit (latest price) | Shungiku, Mitsuba, Holy basil, Cilantro, Mint, Thai basil, Chives |
| Assorted Italian Herbs Seed Pod Kit (latest price) | Genovese basil, Italian parsley, Oregano, Savory, Thyme, Chives, Mint |
| Pizza Herbs Seed Pod Kit (latest price) | Genovese basil, Thyme, Italian parsley, Oregano, Chives |
| Gourmet Herb Seed Pod Kit (latest price) | Genovese basil, Curly parsley, Dill |
| Custom Herb Seed Pod Kit (latest price) | Choose 3 from a selection of 15 gourmet herbs: Italian parsley, Rosemary, Thyme, Dill, Oregano, Mint, Sage, Thai basil, Curly parsley, Lemon basil, Purple basil, Holy basil, Genovese basil, Winter tarragon, Chervil |
Other herb kits that you might consider are:
- International Basil Seed Pod Kit (view item)
- Pesto Basil Seed Pod Kit (check price)
- Rosemary Seed Pod Kit (buy item)


Most seed pod kits on the AeroGarden website are said to sprout in 7-14 days. Herbs have a shorter germination time which is 5-15 days. That is not the case for cilantro pods, however, as they take longer to sprout due to their picky nature.
How Do You Plant Cilantro in the AeroGarden?
If you purchased a Grow Anything Kit (view prices here) and seeds separately, the first thing you need to do is place the seeds in the AeroGarden Grow Sponges. There is a hole at the top of the sponge for inserting them. It is recommended you place three seeds into each pod, as they are not all likely to germinate.
The rest of the instructions are the same for both Grow Anything kits and pre-seeded pod kits and they are as follows:
- Fill your AeroGarden tank with either distilled or fresh cool tap water up to the “Fill to Here” indicator.
- If your AeroGarden has the “Plant Select” feature, choose “Herbs” as the plant type.
- Follow the recommendations on the Liquid Plant Food bottle to add nutrients. The “Add Nutrient” reminder will alert you when it’s time for a refill.
- Arrange AeroGarden seed pods in the empty slots on the Grow Deck. If all slots are not being used, space the pods evenly and label them accordingly.
- Place Grow Domes over each pod to retain moisture.
- Adjust the light to its lowest position.
Different herbs take different amounts of time to grow. Patience is required in germinating cilantro seeds as it can take 5 to 8 weeks on the long end. However, if your cilantro does not sprout within 21 days, AeroGarden has a Germination Guarantee that lets you replace a non-germinating pod.
How Do You Grow and Tend to Cilantro in the AeroGarden?
If you’re eager to learn how to cultivate this aromatic herb effortlessly at home, you’re in the right place. These simple points will ensure that your AeroGarden cilantro thrives, providing you with a continuous supply of fresh flavors for your culinary creations:
- Observe Proper Placement – Cilantro can get pretty tall so you might want to give these guys room to stretch. This way, they won’t be fighting for that extra spotlight as they grow up. Your cilantro will thank you for the extra space by growing big and lush.
- Monitor Water Levels – Keep the water level consistent by filling up to the designated mark and topping up as needed to prevent your setup from drying out.
- Prune as Needed – Trim your cilantro leaves regularly to promote bushy growth and prevent it from flowering early.
- Balance Out Your Nutrients – You must follow AeroGarden’s nutrient schedule to ensure that your cilantro receives the essential nutrients it needs for healthy development.
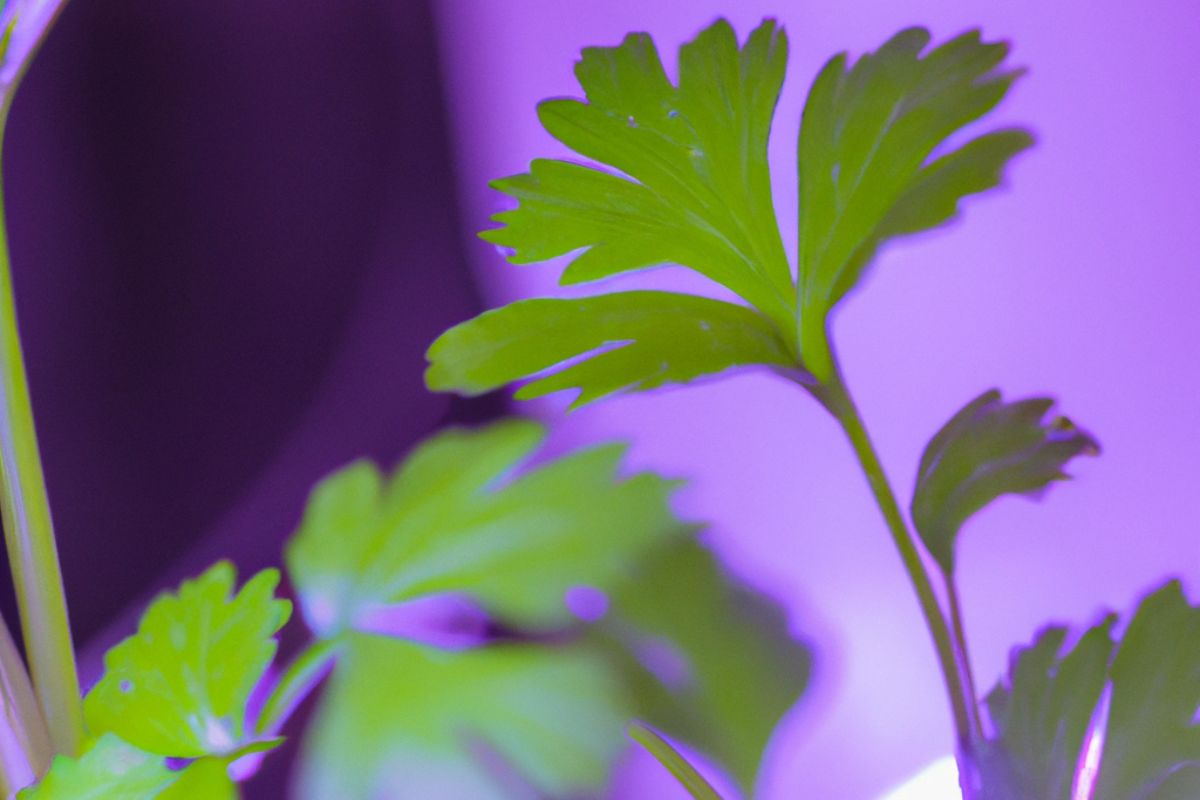
- Adjust Your Lighting – Adjust your Grow Light’s height as your herb grows taller to maintain optimal distance and ensure even distribution of light across all plants.
- Remove Grow Domes – Make sure you do this before the leaves of your cilantro plant touch the dome. This step is best done after the grow light has turned off.
- Keep an Eye on Temperature – Cilantro thrives in cooler weather. You’ll get the best results when temperatures stay between 50°F (10°C) and 85°F (29°C). This herb can handle chilly conditions down to 10°F (-12°C). But watch out when it gets hot! If the mercury rises above 85°F, your cilantro might bolt. Bolting affects cilantro’s flavor.
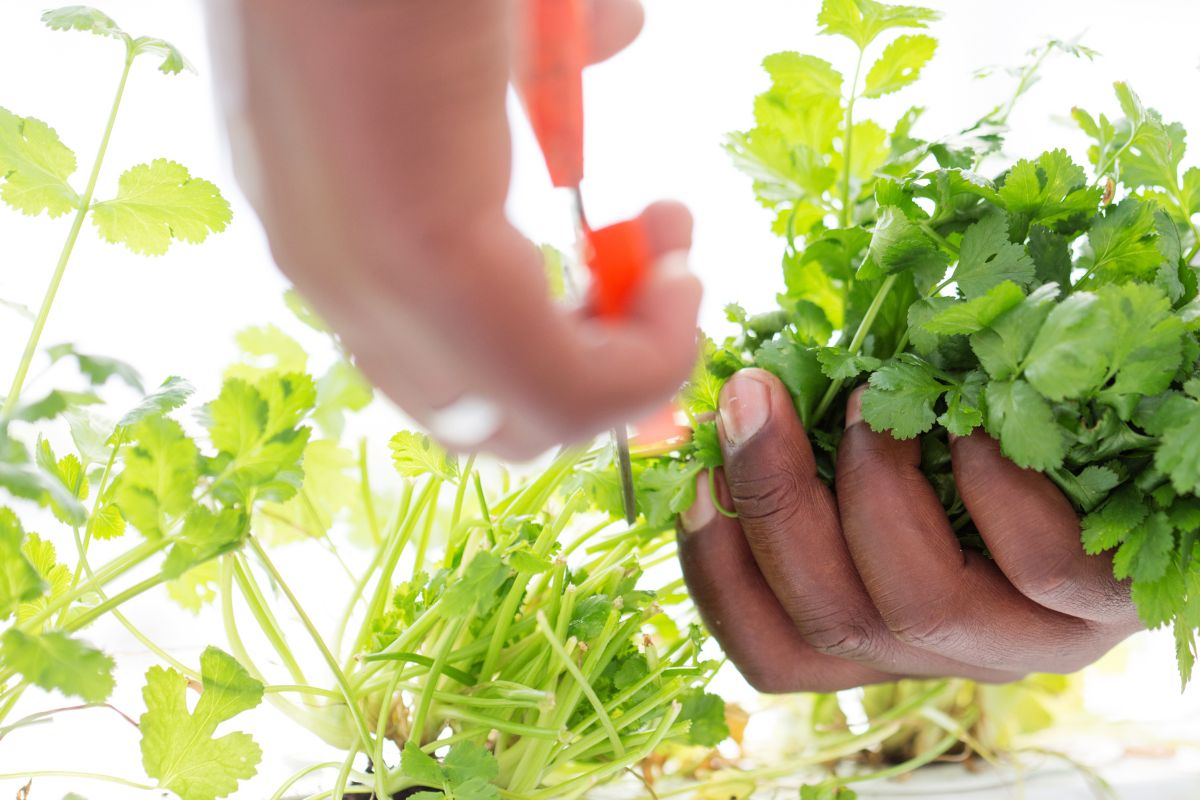
How Do You Prune Cilantro in the AeroGarden?
Let’s talk about pruning cilantro. Trimming your cilantro plant helps it live longer by encouraging new growth that you can use in your cooking. Here’s what you need to do:
- Before you start pruning, clean your scissors well. This will prevent the spread of any diseases to the plant.
- Trim the outer, mature stems of cilantro from the base of the plant. Leave the younger stems inside to keep growing.
- Use your shears to cut off any yellow or damaged leaves every week. This helps prevent the cilantro from dropping its seeds too early.
- If your cilantro starts growing white or pink flowers, prune them at the base where they meet the plant’s main stem.
- Yellow or brown seed pods may begin to form when the cilantro goes to seed. Prune them by cutting the stems at their bases.
By following these steps, you’ll help your cilantro plant stay healthy.
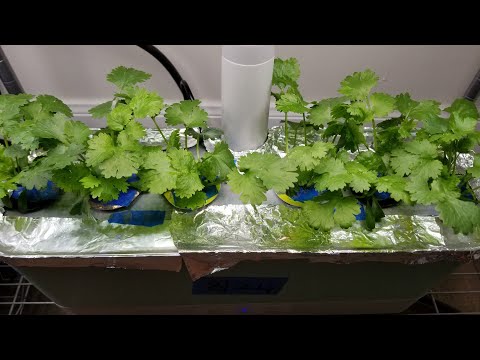
How Do You Harvest Cilantro in the AeroGarden?
Just like harvesting lettuce in an AeroGarden, harvesting cilantro is easy! With the right approach, you’ll enjoy a steady supply of this zesty herb for weeks. Harvesting cilantro is much like pruning it. Most plants are ready for harvest in 4-6 weeks but with the cilantro, it usually takes somewhere between 6 to 10 weeks.
You have to cut off the mature leaves and leave the younger ones to keep them growing. When you’re snipping leaves, be gentle and use a sterilized pair of scissors. Never take more than a third of the plant at once.
Fresh cilantro in dishes provides many health benefits. Here are some of them:
- May help lower blood sugar levels
- Rich in antioxidants
- Benefits heart health
- May promote digestive aid
- May provide detoxification effects
Whether you grow cilantro in hydroponics or you eat potted cilantro, they all provide the same benefits to your health. After you’ve harvested, show your plant some love by checking on their light, water, and nutrient levels. This should be easy to do with an AeroGarden setup.
How Do You Replant Cilantro from the AeroGarden?
Like all AeroGarden plants, you can replant into pots with soil if you want. Many soil gardeners will continue to say that soil is better than hydroponics, but I still like my hydro cilantro.
Follow these steps for proper transplanting of cilantro:
- Get your new home ready for your cilantro. Grab some pre-fertilized soil and a pot with drainage holes. This lets excess water escape, so your cilantro won’t get soggy feet.
- Gently pull out the cilantro seed pod from your AeroGarden. Be careful with those delicate roots and don’t cut the Grow Basket. You might want to use it again for your next DIY AeroGarden project.
- Introduce your cilantro to its new home. Nestle it into the soil and make sure to cover those roots snugly. Remember to leave some space at the top of the pot for watering.
And just like that, you’ve moved your cilantro from water to earth! It’s pretty cool how versatile these little plants can be, right? Some folks swear by soil gardening, but I’ve got to say, I’m still a fan of my hydroponic herbs.
AeroGarden Cilantro Final Thoughts
AeroGarden offers a fantastic array of herb seed pod kits that include cilantro. This makes growing cilantro at home convenient and enjoyable.
Whether you opt for the Traditional Medicinal Herbs, Asian Herbs, Assorted Italian Herb, Pizza Herbs, Gourmet Herb, or Custom Herb kits, each provides a variety of flavors to enhance your culinary adventures.
And while cilantro may take a bit longer to sprout than other herbs, the right patience and proper care will surely reward you with a healthy yield and a bushy plant.
AeroGarden Cilantro FAQs
1. Does Cilantro Grow Well in an AeroGarden?
While a hydroponic system is not cilantro’s ideal home, it can work with a little TLC. Cilantro usually loves basking in full sun and stretching its roots in well-drained soil. But don’t let that stop you from giving it a shot in your AeroGarden.
2. What Is the Trick to Growing Cilantro in an AeroGarden?
Growing cilantro in an AeroGarden can be tricky. You might wait for a couple of weeks for it to sprout. But don’t worry! I’ve got some tricks to speed things up.
You can try soaking the seeds overnight to soften them up and help with germination. Another tip I’ve used is to pour water right into the planting hole and cover the spot with a quarter to keep more humidity in. Check under the coin weekly until you see some sprouts. You can then take the quarter off.
3. What Not to Plant Next to Cilantro?
You might think all herbs get along like best buddies in the garden. But that’s not always true! Take cilantro for example. It’s a bit picky about its neighbors.
Cilantro loves moisture and thrives in damp conditions. But some herbs are not fans of wet feet. Lavender, thyme, and rosemary prefer things on the drier side. It’s also best to avoid planting fennel near cilantro since they can cross-pollinate and that can lower the amount of seeds they produce.
For more guides on growing and harvesting AeroGarden plants, check out these articles: