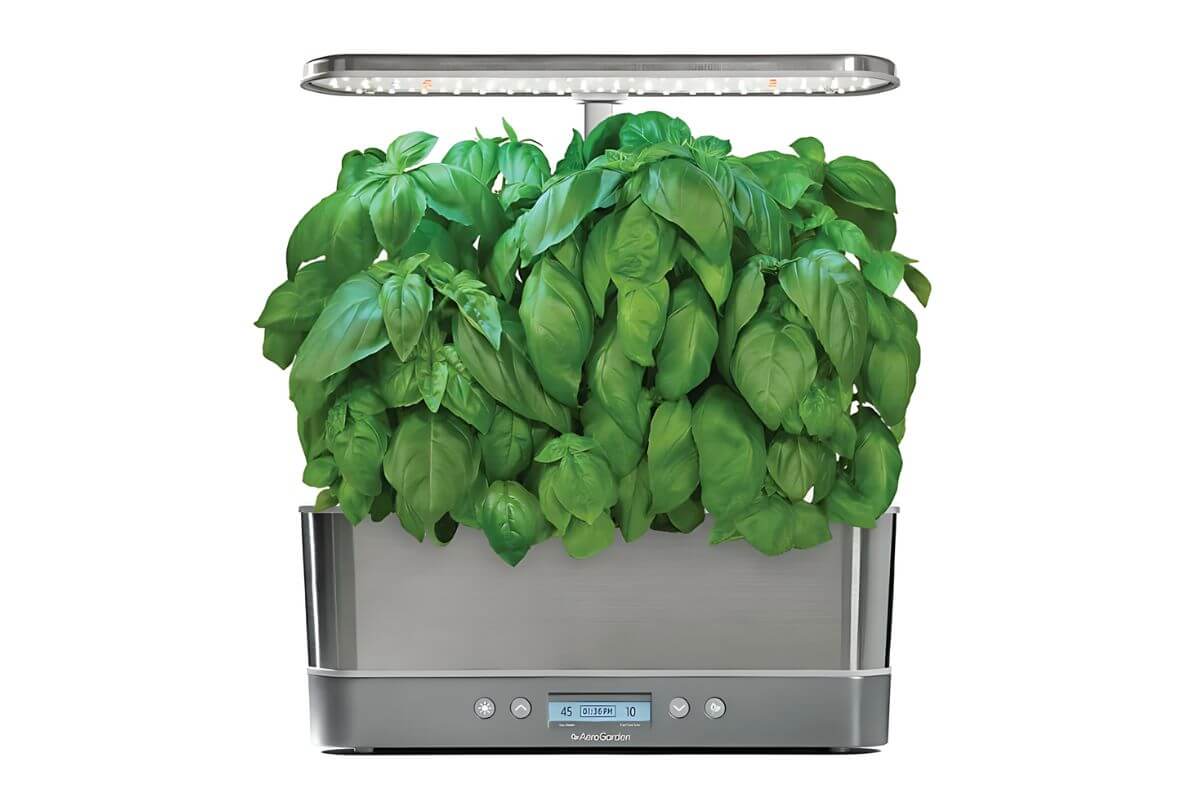
Growing basil at home just got easier with AeroGarden. You don’t need a green thumb or a big yard. This hydroponic system brings fresh herbs right to your kitchen counter. It’s like having a mini garden that takes care of itself.
I’ve tried growing basil the old-fashioned way. It’s not always easy. But AeroGarden changes the game. It uses water instead of soil. This means no mess and no fuss. You can grow basil all year round, even when it’s freezing outside.
Want to know the best part? You can watch your basil grow day by day. It’s oddly satisfying. Plus, you’ll always have fresh basil for your pasta or pizza. No more wilted herbs from the store.
I have compiled a handy and comprehensive guide to planting, growing, pruning, and harvesting basil right in the comforts of your own home. Let’s get to it!
- Related article: Best Plants to Grow in AeroGarden
5 Key Takeaways on AeroGarden Basil
- AeroGarden’s pre-seeded pods make it simple to grow basil indoors with various basil types available. It offers multiple seed pod kits, including International Basil, Assorted Italian Herb, Pesto Basil, Pizza Herbs, Gourmet Herb, and Custom Herb kits.
- To plant basil, simply fill the AeroGarden tank with water, add liquid plant food, place the seed pods in the grow deck, and use grow domes to start sprouting.
- Basil thrives with regular watering, warm temperatures (70°F-85°F), proper lighting, and consistent nutrient levels.
- Pruning basil by pinching off its top leaves encourages bushy growth and prevents flowering. This method helps in keeping the plant healthy.
- Harvesting basil regularly promotes new growth and allows for a continuous supply of fresh basil for about 3-4 months or more.
What Herb Seed Pod Kit Choices Are Offered by AeroGarden?

Growing basil indoors just got easier with AeroGarden’s pre-seeded pods. You’ll find a range of basil varieties to choose from in their seed pod kits. If you want to start your indoor garden right, picking the perfect kit is key. These nifty pods take the guesswork out of planting and give your basil the best shot at thriving.
I have listed some seed pod kit options that have basil below for your AeroGarden:
| Seed Pod Kit | Contents |
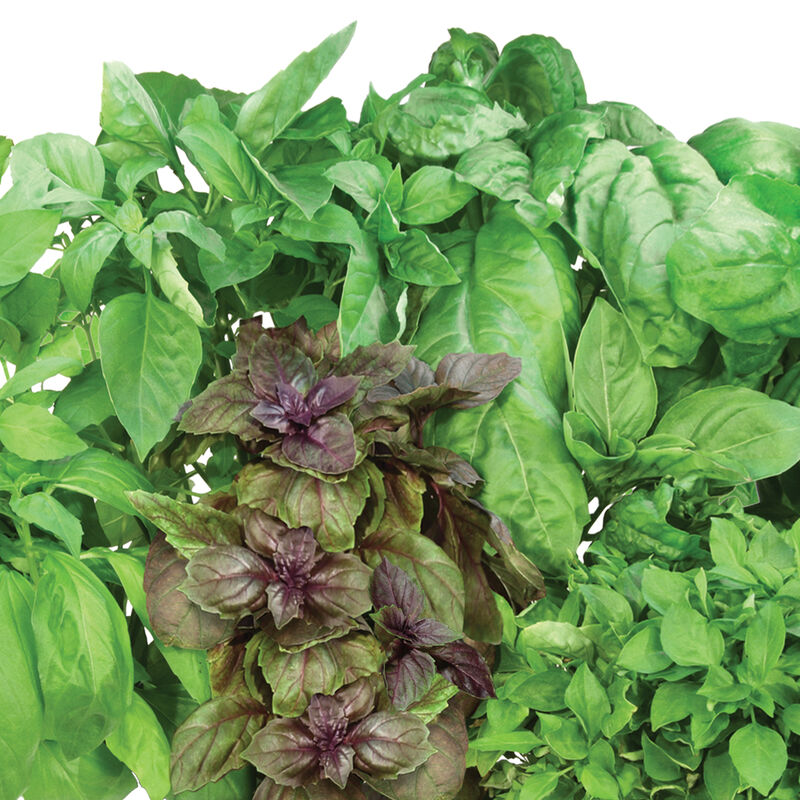
| International Basil Seed Pod Kit (latest price) | Thai basil, Genovese basil, Purple basil, Napolitano basil, Marseille basil, Lime basil, Lemon basil, Globe basil |
| Asian Herbs Seed Pod Kit (latest price) | Shungiku, Mitsuba, Holy basil, Cilantro, Mint, Thai basil, Chives |
| Assorted Italian Herb Seed Pod Kit (latest price) | Genovese basil, Italian parsley, Oregano, Savory, Thyme, Chives, Mint |
| Pesto Basil Seed Pod Kit (latest price) | Genovese basil |
| Pizza Herbs Seed Pod Kit latest price) | Genovese basil, Thyme, Italian parsley, Oregano, Chives |
| Gourmet Herb Seed Pod Kit (latest price) | Genovese basil, Curly parsley, Dill |
| Custom Herb Seed Pod Kit (latest price) | Choose 3 from a selection of 15 gourmet herbs: Italian parsley, Rosemary, Thyme, Dill, Oregano, Mint, Sage, Thai basil, Curly parsley, Lemon basil, Purple basil, Holy basil, Genovese basil, Winter tarragon, Chervil |
Other herb kits that you might consider are:
Ever thought about trying different basil types? AeroGarden’s got you covered. With their Custom Herb Seed Pod Kit, you can now mix and match any 3 of their 15 different AeroGarden herb varieties. Now, you can make basil pesto, basil beef noodles, basil fried rice, and all your basil cravings right in your kitchen!
How Do You Plant Basil in the AeroGarden?

It’s important to keep in mind basil’s quick growth when planning your herb garden so you can keep an eye on it. To successfully plant and germinate your seeds, take the following steps:
- Add distilled or fresh cool tap water to your AeroGarden tank. Fill it up to the “Fill to Here” indicator.
- If your AeroGarden includes the “Plant Select” feature, select “Herbs” as the plant type.
- Add the Liquid Plant Food by following the recommendations in the bottle. The “Add Nutrient” reminder will prompt you when you need to top up.
- Place AeroGarden seed pods in the empty slots of your AeroGarden Grow Deck. If you aren’t using the other slots, space the seed pods out evenly. Make sure to label it accordingly.
- Place the Grow Domes on top of each pod to help with moisture retention.
- Move the light to its lowest position.
If you follow these steps properly, you can expect germination in 7-14 days.
How Do You Grow and Tend to Basil in the AeroGarden?
Growing basil in your AeroGarden is a fun and easy way to have fresh herbs at your fingertips. Once you’ve popped those pods in your AeroGarden, you can now watch it as it grows. Let’s chat about some tips to keep your herb thriving.
Here are some tips to maintain and tend to basil in your AeroGarden:
- Remove Grow Domes – Always do this before the leaves of your basil plant touch the dome. This is best done just after the grow light has turned off so the bright lights don’t shock your herb.
- Follow a Watering Schedule – It is best not to wait until you get “Add Water” reminders. Plants in the AeroGarden love fresh tap or distilled water. Softened water or well water can be harmful and are not the best choice for your plants.
- Keep Temperatures Warm – Basil thrives in warm temperatures. It loves temperatures between 70°F (21ºC) and 85°F (29ºC). Any cooler and it might throw a fit. But if you notice brown or stressed leaves at the top, just lift the Grow Light a bit and give those leaves a gentle mist.
- Maintain Proper Lighting – Most plants benefit when the Grow Light is set to 6 to 8 inches above them. However, plants like succulents and herbs prefer higher light levels. To ensure that your basil is getting enough light, always set it at 3 inches from the top of your plant.
- Manage Nutrient Levels- Getting nutrient levels right is essential to the basil. Add nutrients every two weeks or as specified on the nutrient bottle that came with the kit.
- Harvest Regularly – Harvest basil frequently to promote continuous growth and prevent it from becoming woody.
- Prune, Prune, Prune – Regularly prune basil by pinching off the top leaves above a pair of leaves to encourage bushier plants and prevent flowering.
How Do You Prune Basil in the AeroGarden?
Like pruning Parsley in an AeroGarden, pruning basil involves a few simple steps. It’s important to get the most out of your plants. Trust me, I’ve been there. I’ve stared at my basil a couple of times and wondered if I should snip or not. But once you get the hang of it, you’ll be a pruning pro in no time!
Pruning keeps your basil plant healthy and strong. So, don’t be shy about giving it a haircut now and then.
Here’s how you can prune your basil in the AeroGarden:
- The first prune should be done when the plant has three sets of leaves. At this stage, you should prune just the top leaves. Make sure to trim as close to the base as possible without damaging the plant.
- Repeat the steps above for any set of larger leaves that has two new growths at its base.
- Make sure to also prune flowers to keep your plant focused on leaf growth.
- If you notice a dead or brown leaf, don’t be afraid to snip these off from the plant. Removing them from the Grow Deck will help in managing mold or algae growth.
- Always leave the leaves at the bottom of the plant. They will provide your basil with most of the energy that it needs to sustain healthy growth. Never prune any more than a third of the plant at any one time.
Pruning might feel scary at first but it’s like giving your plant a pep talk. Before you know it, you’ll have a bushy, thriving plant that is ready for your next Caprese salad.
How Do You Harvest Basil in the AeroGarden?

You’ll love how quickly basil grows! Most plants will be ready for harvest in the AeroGarden in 4-6 weeks but herbs and some lettuce varieties are ready for harvesting in just 2-3 weeks.
Want to harvest your basil? It’s easy! Here’s how:
- Pick the freshest leaves from the top
- Use clean scissors to snip them off
- Only take up to a third of the plant at once
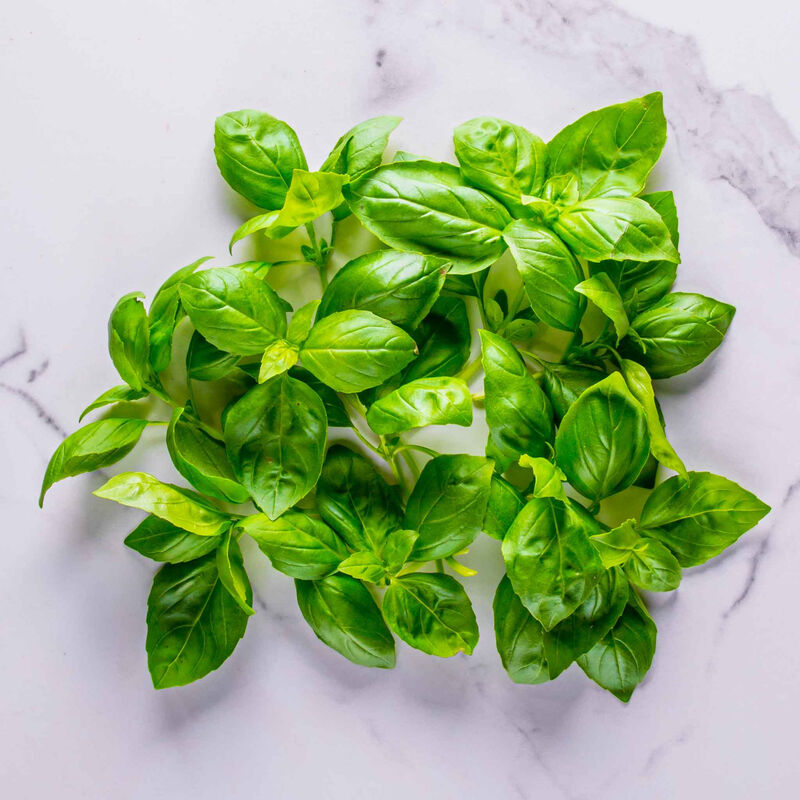
Harvesting basil is performed in the same way as pruning them. This method encourages new growth. Each leaf you take will be replaced by new ones! With the right care, you can have continuous harvest for 3-4 or even more months.
AeroGarden Basil Final Thoughts
Growing basil indoors with AeroGarden is a breeze. You’ll have fresh herbs at your fingertips in no time. AeroGarden offers many basil varieties. You can choose from Thai basil, Genovese basil, or even mix and match your favorites. Their pre-seeded pods make planting a snap.
Remember to check your basil’s water and nutrient levels often. Keep an eye on lighting and temperature too. And make sure to prune your basil regularly to encourage bushy growth.
With proper care, you can harvest fresh basil for months. Imagine whipping up homemade pesto whenever you want. Or adding a burst of flavor to your salads. The possibilities are endless!
Indoor gardening is rewarding. It’s amazing to watch your basil grow from tiny seeds to lush plants. Plus, there’s nothing quite like the smell of fresh basil in the kitchen.
AeroGarden Basil FAQs
1. How Do You Trim Basil in AeroGarden?
When you trim Basil, it would be best to wait for it to grow three sets of true leaves (not counting the first cotyledons). When you see three pairs of true leaves, trim above the first set with scissors, taking care not to damage the stem or other leaves. The first true leaves may look wrinkled or small. This is normal. This trimming method encourages bushier growth.
2. How Long Does Basil Last in AeroGarden?
Most herbs thrive for 3-4 months in the AeroGarden. But with proper care, they can keep going strong for 6 months or even longer. Regular pruning and harvesting of some herbs such as Basil can encourage new growth and keep your plant healthy.
3. How Do You Dry Basil From AeroGarden?
Here’s a simple method to dry your herbs the traditional way:
- Harvest whole stems with leaves
- Bundle 4-6 stems together and secure with a tight rubber band
- Label a brown paper bag with the herb’s name and date
- Poke holes in the bag for airflow
- Place the herb bundle upside down in the bag
- Tie the bag opening around the stems
- Hang the bag in a warm, well-ventilated room
After about two weeks, peek inside the bag. Once the leaves are bone dry, it’s time to store them in zip bags or glass jars with tight lids. You can also dry herbs in the oven or a dehydrator.
If you’re looking for growing and harvesting tips for other plants, I have a few other guides:


