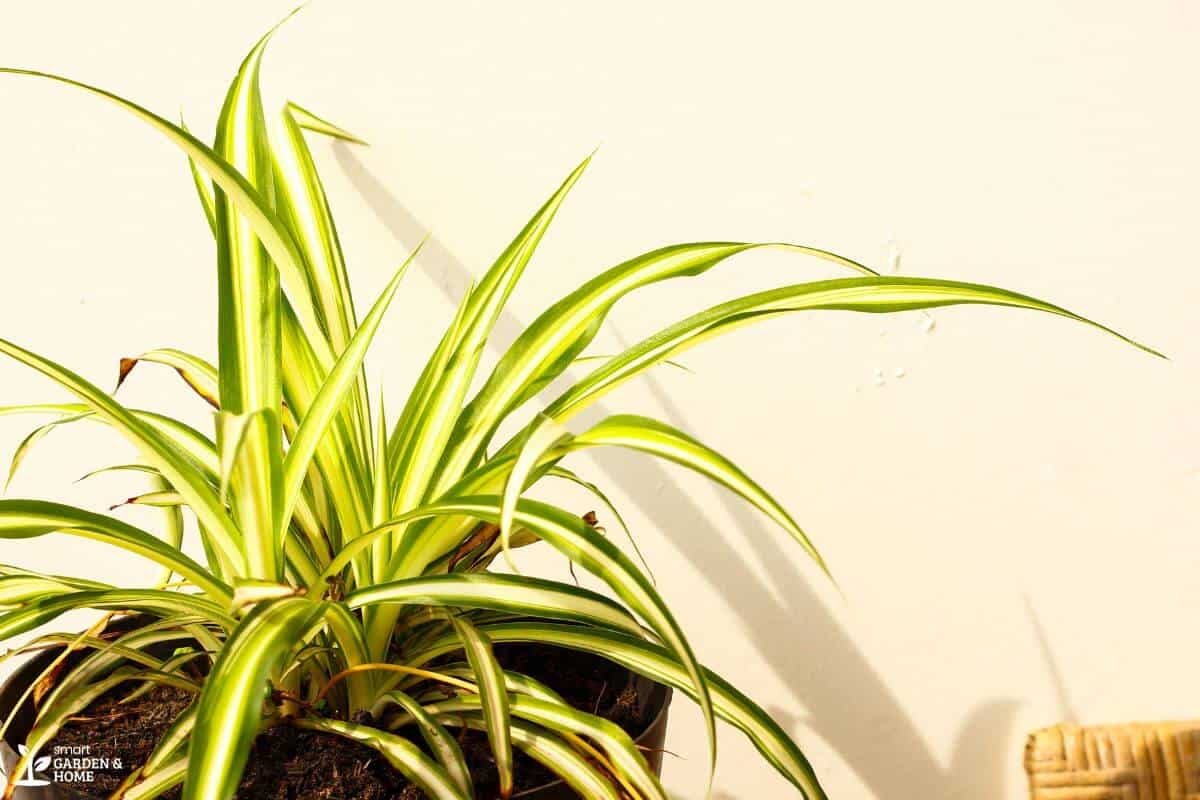
Spider plants are also known as airplane plants or ribbon plants. While some prefer to have fast-growing plants such as these, do note that it also entails work in terms of repotting.
Spider plants need to be repotted at least once or twice a year and there are several ways to know if they are in need of it. Repotting will help this plant avoid stunted growth.
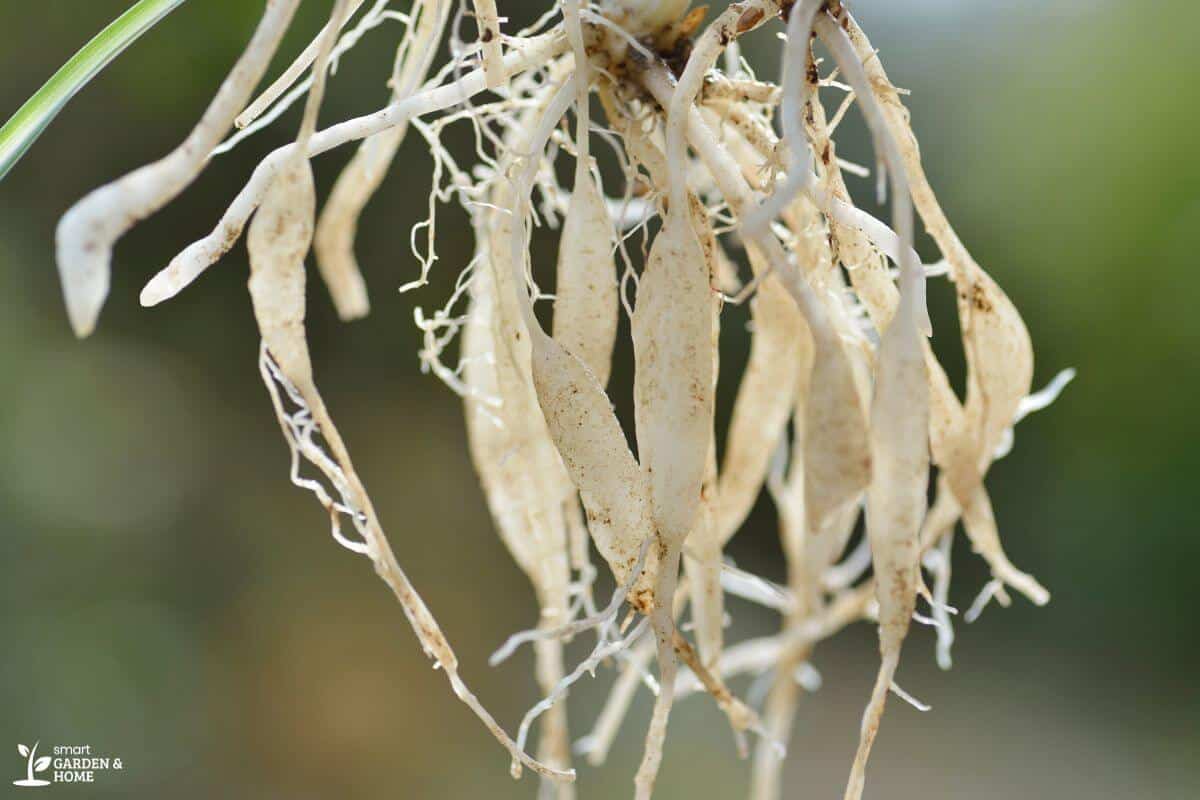
You can tell they need a bigger pot if their roots are showing above the soil or through the drainage holes at the bottom of the pot.
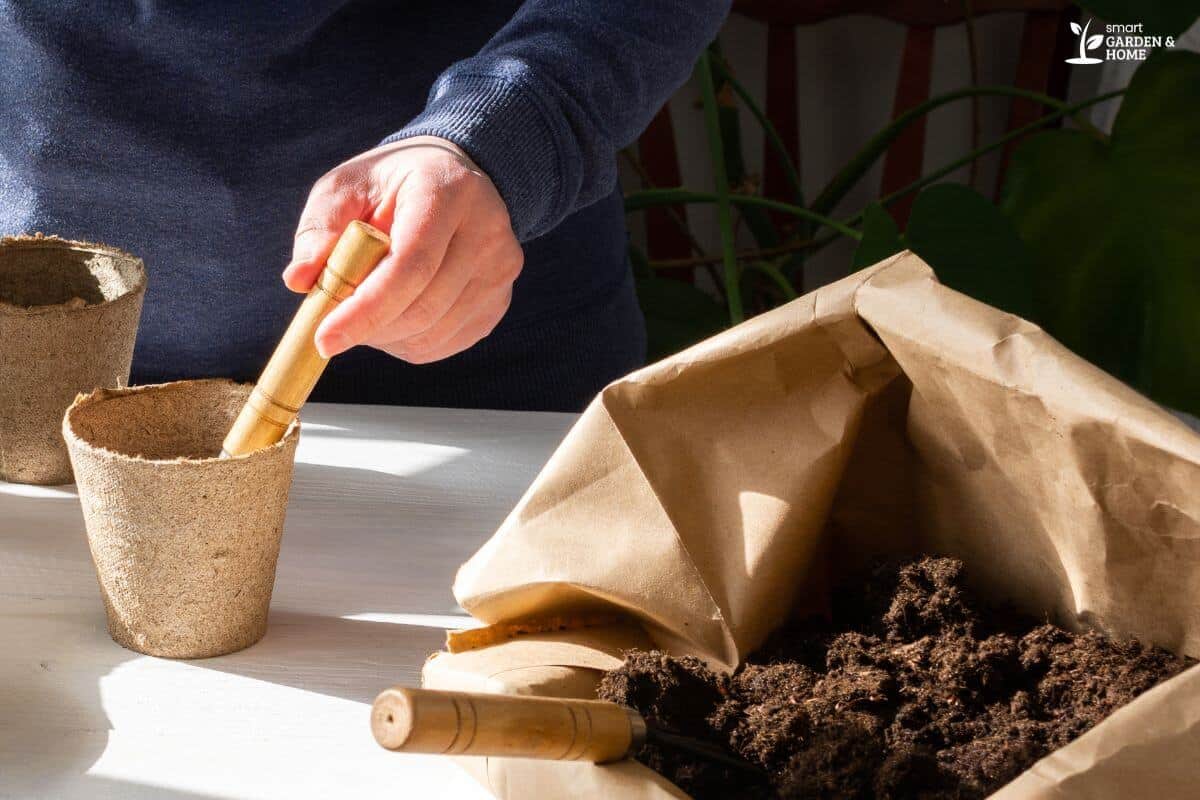
Repotting mature spider plants is fairly simple: you will need to remove the plant gently from its pot, inspect the roots for damage, cover the bottom of the new pot with some soil, and place the plant in the center.
After repotting, you will just need to water your spider plant and it will feel right at home!
When it’s time to water, make sure to give it rainwater or distilled water and avoid using tap water as this plant dislikes the chemicals and excess salt in it.
- Related Article: Tips for Caring for a Spider Plant
Most types of spider plants grow fairly quickly so if you’re ready to get your hands dirty for repotting, then let’s get right into it.
When to Repot a Spider Plant?
If you’re wondering how to tell if you have an overgrown spider plant that needs to be repotted, here are a few signs to look out for:
1. The roots are coming out of the pot’s drainage holes or are showing above the soil.
2. The root ball has circled around the bottom of the pot so that they hold the soil together.
3. The pot has cracked.
4. Your plant has yellow leaves.
5. Your plant has dried up or droopy leaves. This means that the soil is drying out too quickly. Spider plants do not appreciate wet feet but they don’t like the idea of drying out as well.
6. The spider plant soil has an unpleasant odor (due to fungal diseases or root rot) or there is a buildup of salts (too much fertilizer).
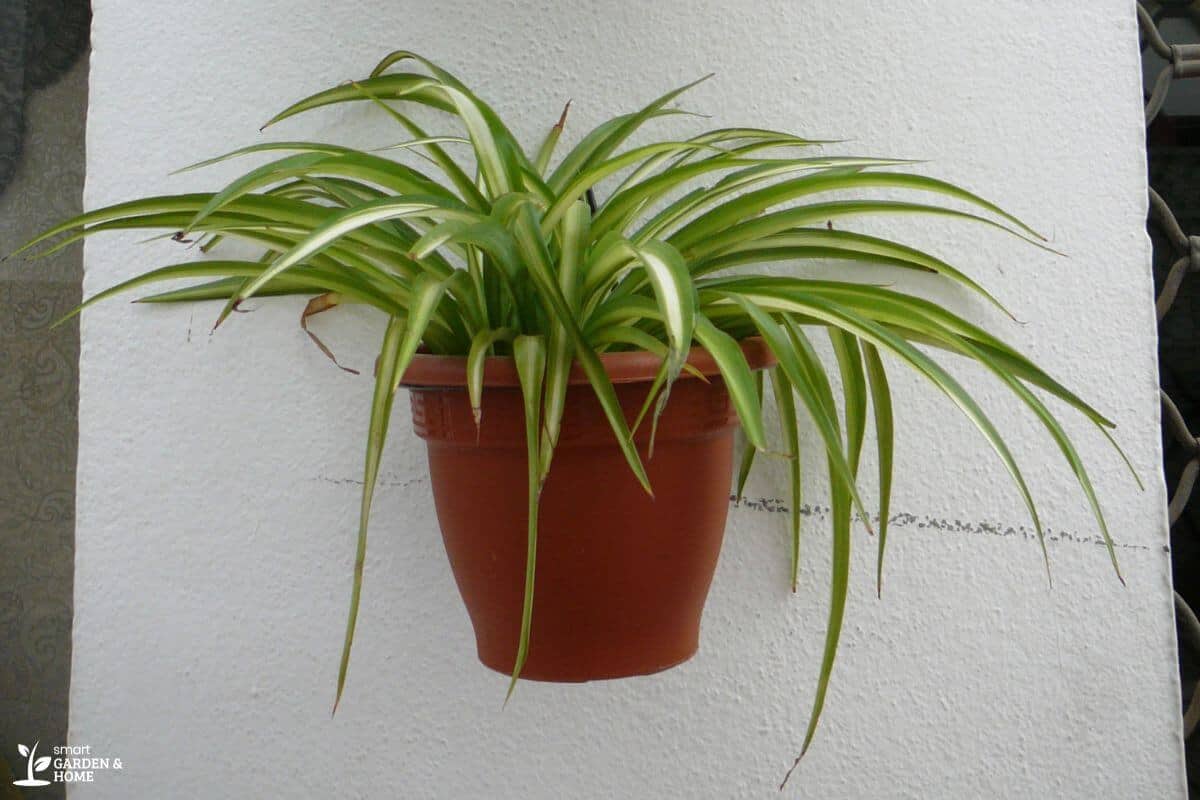
Spider plants like to be a bit pot-bound, so they will be able to survive for quite some time in a pot that’s too small for them. Eventually, they will start to suffer and they could even break pots in their attempts to look for more space to grow.
Rather than repotting your spider plant in a much bigger pot every once in a while, it’s best to do it often and replace your current containers with something that is an inch larger. This will greatly improve its plant health.
How to Repot Spider Plants
When you’ve determined your plant needs to be repotted, follow these detailed steps to keep the roots healthy:
1. Remove your spider plant from its container. To avoid damaging spider plant roots, wiggle the plant gently or hold it upside down and tap the bottom of the pot.
2. Check the root ball for rot or root disease and trim any dark or soft ones.
3. Fill the new container with an inch of soil before placing the parent plant in the middle.
4. Fill the rest of the pot with soil and make sure that all roots have been covered. Pat the soil gently to ensure that there are no air pockets.
5. Water the plant well and place it in an area with bright indirect light.
What Tools Are Needed for Repotting Spider Plants?
Before getting started, make sure you have these tools handy:
- A clean pot in an adequate pot size (a few inches larger than the previous container)
- Well-draining potting mix to allow excess water to run off
- A sharp and clean pair of shears or scissors
- A tarp to avoid messing up, especially if indoors
- Gloves (optional but advised)
Learn more about What Pot to Use for Spider Plant.
Spider Plant Replanting Tips
1. Repot a couple of days after watering.
2. For best results, replant in the spring or summer. This is the growing season, and spider plants will have a better chance of recovering. Spider plants are hardy plants so they may tolerate repotting during the winter but it’s not ideal.
3. Simply pulling out the plant in one go especially when it’s pot-bound and the roots are coming out from the bottom might be too damaging to the plant. Cutting the pot off or breaking it depending on the material might be a better solution.
4. Periodically fertilize your plant after it has been repotted. Time this during the spring and summer months. To avoid over-fertilizing, use slow-release liquid fertilizers.
5. Make sure you’re choosing the right soil and pot for your spider plant. If it has spider plant babies, you can choose to plant them separately or grow them together with the mother plant after repotting.
If you decide to split baby spider plants, do note that they might need more frequent watering than the mother plant.
Final Thoughts on Spider Plant Repotting
Repotting this fast-growing plant is an easy process. This practice should not be neglected as it is essential to a spider plant’s health and optimal growth.
When repotting, make sure to use proper repotting tools and provide it with fresh potting soil that has adequate drainage. For pots, find one that is an inch bigger than your existing current pot size.
Fertilize your spider plant every once in a while and respond quickly if you notice any physical signs of distress or disease.
Keep your spider plant in a humid environment with a lot of bright indirect light, and it will be as happy as can be! Check out these other articles:
- Does Spider Plant Need Direct Sunlight
- Soil Mix for Spider Plant
- Collecting Spider Plant Seeds
- How Often Do Spider Plants Flower
Sources: