Spider plants, also known as Airplane plants, are some of the easiest houseplants to propagate, and the question is how to propagate spider plants with the use of their plantlets.
Spider plant babies can be cut off from the main plant and placed in soil or water where they will grow into mature plants.
However, you can also choose to let them get established while they’re still attached to the mother plant.
- Related article: How to Care for a Spider Plant
Read on to discover more about how to propagate spider plants!
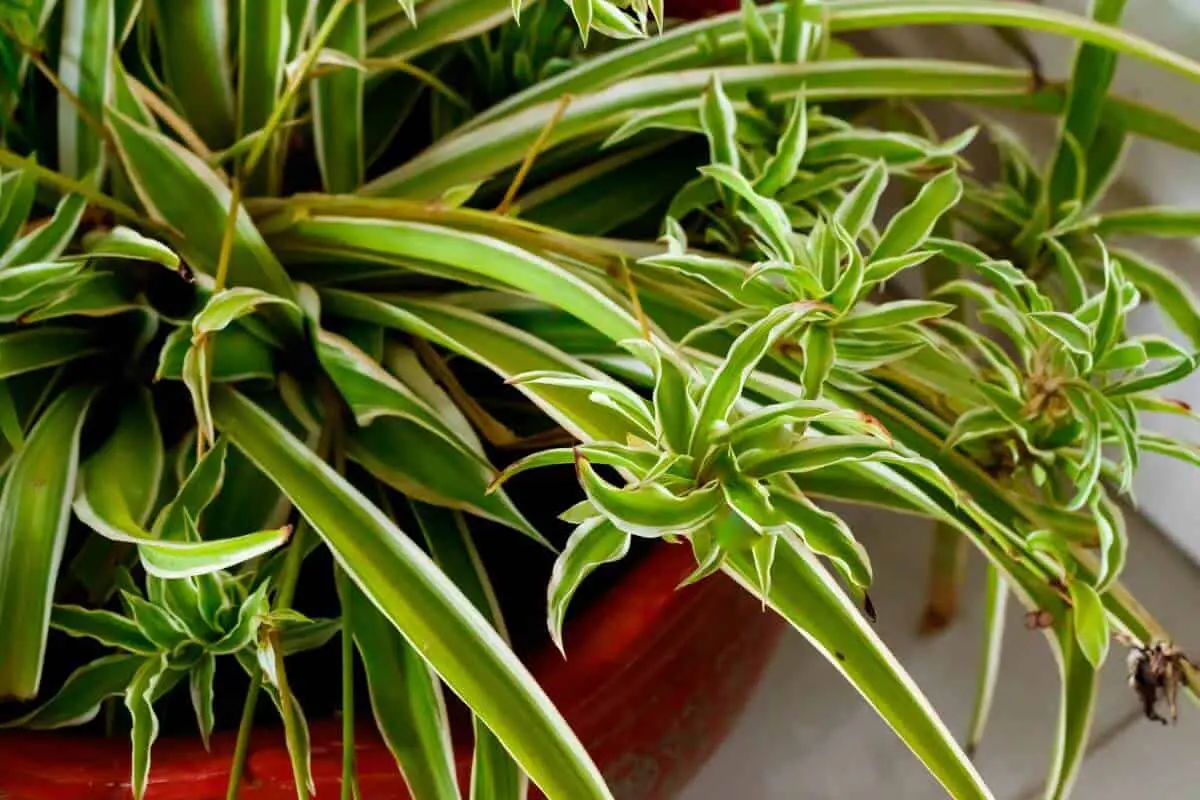
Spider Plant Babies, Plantlets, and Spiderettes
Spider babies, plantlets, and spiderettes are exactly the same thing: they are identical offspring of the mother plant. Other common names you might have heard are offshoots, spiderlings, pups, or runners, or you might have heard airplane plant babies or airplane plant spiderettes.
Spiderettes form at the bottom of long dangling stems that grow from the main plant. They look like spiders hanging from their web, which is probably what has earned the spider plant its name.
These plantlets are a way for spider plants to propagate without sexual reproduction. If planted, an identical plant will grow from the tiny baby.
That’s why they only form if the flowers aren’t pollinated. Otherwise, the plant will form seeds and reproduce this way.
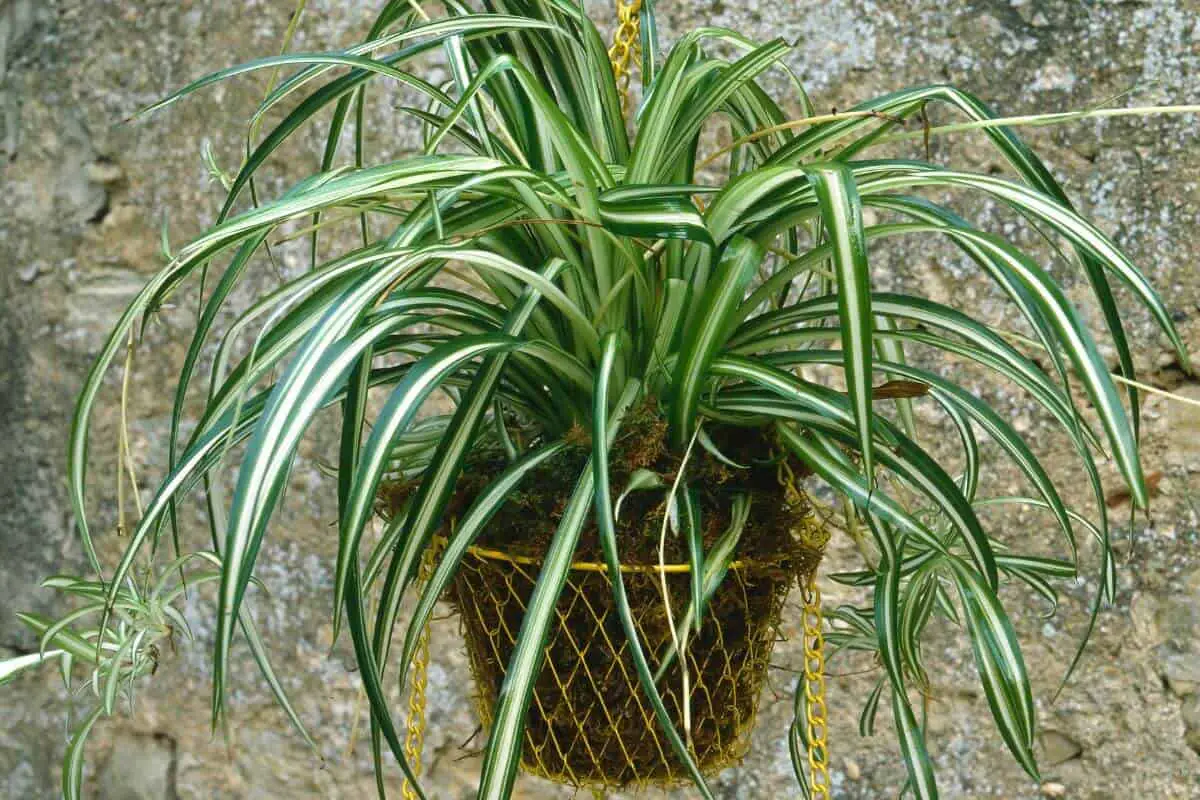
Spider plant babies can be used to grow other plants, but many people prefer to leave them attached to the main plant for decorative purposes with the white flowers that bloom.
It’s possible to do so as long as you take care to adjust the amount of water and fertilizer you provide for your plant.
Spider Plant Propagation Methods

There are three main methods of plant propagation for spider plants: they can be grown from seeds, propagated by division, or by using spider plant babies.
We will only focus on spider plantlet propagation, which is the easiest method by far and can be done in three different ways:
1. Propagation Before Cutting
This is done by letting the baby plant establish roots before separating it from the mother plant.
This method imitates what would happen in nature and has the advantage of avoiding transplant shock.
2. Cutting off the Spiderettes and Planting Them in the Soil
Planting spiderettes and spider plant cuttings can take longer to form roots, but the mature, adult plants will be strong and hardy.
3. Cutting off the Spiderettes and Placing Them in Water
This is the quickest and most common method but it also results in the biggest shock for the plants when they are moved from water to soil.
Theoretically, the spiderettes could be placed in water while still attached to the mother plant. Usually though, they are cut away first, mostly for practical reasons.
How to Propagate Spider Plants Without Cutting
1. Place Spiderettes in Soil
This propagation method doesn’t require you to cut the spiderettes off before propagating.
If the baby spider plants get in contact with soil, they will start producing roots even if they are still attached to the mother plant.
You can simply place small pots around your main plant and let the spiderettes dangle down. They don’t need to be placed deeply into the soil, it’s enough that the little knobs on the bottom be in contact with it.
2. Wait
Water the spiderettes regularly, making sure the soil doesn’t get overly soaked, and wait for them to show new growth.
3. Cut the Spiderettes Away From the Mother
Once the plantlets have started forming new leaves, they can be divided from the parent plant by cutting the stem as close as possible to the base of the plant.
Your spiderettes are now new plants that will eventually mature into adult spider plants and grow their own babies.
How to Propagate Spider Plants in Soil
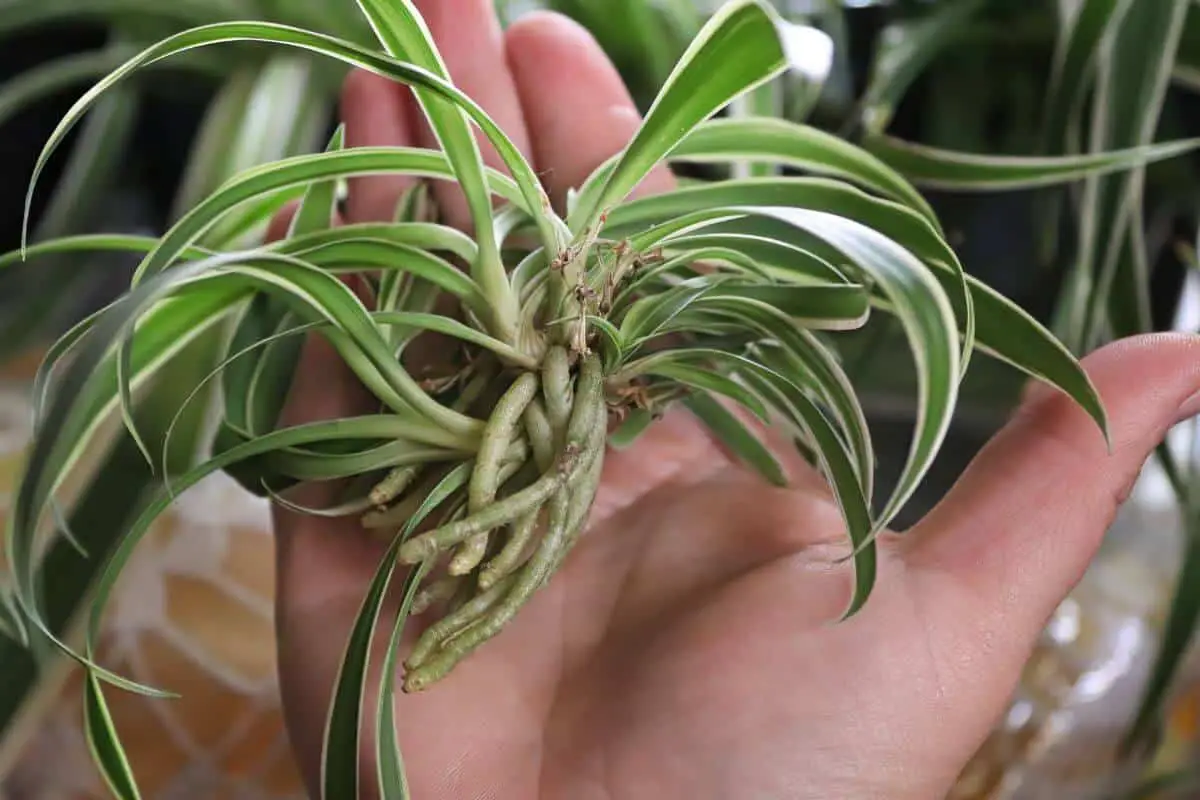
1. Wait Until the Spiderettes Have Roots
If you observe your spiderettes closely, you will see small knobs on the bottom—these are the starts of the roots.
Once you see tiny roots emerging from these nubs, it will mean that it’s the right time to cut the spiderettes.
2. Cut the Spiderettes Away From the Mother
The best way to cut the spiderettes from the parent plant is to clip them away at the base near the main plant.
Once the spiderettes are free, you can also remove the stem from them by cutting it off as close as possible to the plant.
3. Plant the Cutting
Fill a small pot (4 inches or smaller) with seed-starting mix, make a tiny hole, and press the plant slightly into it so that it stays in an upright position.
To make sure it’s stable, you can secure it by pinning it gently with an open paperclip, taking care of not causing damage to the tender leaves.
4. Water
Just after planting, you should water generously. Take care of not soaking the soil excessively though, since spider plants are very sensitive to root rot from soil moisture.
5. Place in Bright, Indirect Light
Just like adult spider plants, baby ones need plenty of light, but will burn if exposed to the sun.
Now all you have to do is wait a few weeks for the roots to take hold, at which point the plant should start growing new leaves.
How to Propagate Spider Plants in Water

1. Wait Until the Spiderettes Have Roots
Just like for soil propagation, you should observe your spiderettes and wait until the bottom knobs have started to form tiny roots.
2. Cut the Spiderettes Away From the Mother
Cut away the stem attaching the spiderette to the parent plant using a pair of precision clippers, a sterile pair of scissors, pruning shears, or a sterile knife.
3. Place the Spiderettes in Water
You should use a small glass or bowl with just enough water to cover the starter roots. The best is a tall, skinny vase, which will help the plantlet to stay upright and also keep the leaves out of the water.
4. Wait Until the Roots Have Developed
Place your spiderettes in bright, indirect sunlight. Make sure you change the water regularly while you wait for the roots to develop and the spiderettes to form new leaves.
5. Transfer the Spiderettes Into a Pot
Once they are well-established, spiderettes should be moved to a regular pot with well-draining soil.
Although they can sometimes survive for months in the water, it’s best to move them into the soil as soon as they’re ready.
Care and Grow Tips for Spider Plant Babies
1. Cover the plantlets with a plastic bag to keep the humidity high and help them root faster.
2. Place a heat mat under the containers to keep the soil warm.
3. Use a well-draining potting mix, such as one with vermiculite, peat moss, and perlite or pumice.
4. Dip the bottom nubs in rooting hormone to help the roots grow faster.
5. Only use sharp precision clippers, scissors, pruning shears, or sharp knives that have been cleaned and sterilized.
Final Thoughts on Spider Plants Propagation
Knowing how to propagate spider plants is essential for the growth and development of these striking houseplants. Reproduce your spider plants with ease and expand your indoor garden by following these simple steps!
Spider plants will continue to produce beautiful foliage, brightening up any room in your home, with proper care and maintenance.
Remember to keep them well-watered, provide adequate sunlight, and have patience as you watch your spider plant babies grow.
Happy propagating!
To learn more about propagating Spider Plants, check out these interesting articles:
- Spider Plant Sun Requirements
- What Soil for Spider Plant
- Spider Plant Varieties
- Spider Plant With Purple Flowers
Sources: