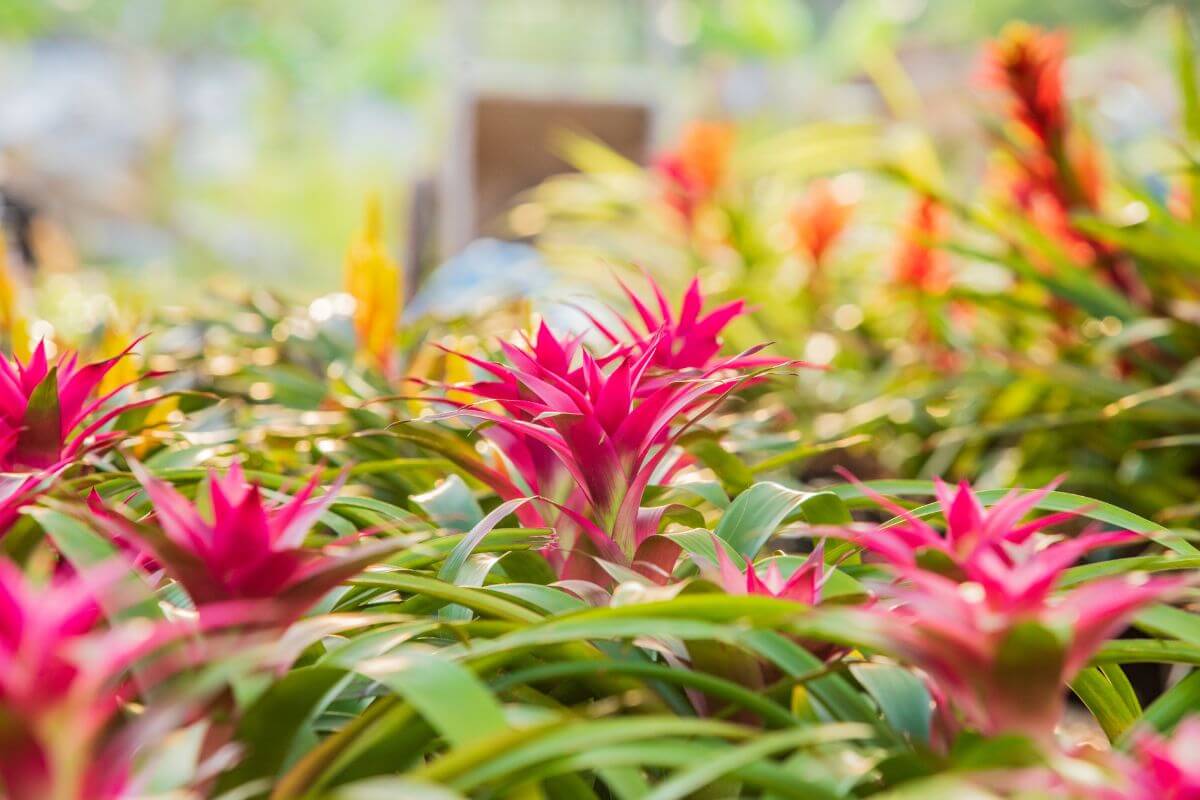
Bromeliads are easy-to-care-for tropical plants that can thrive in both soil or as epiphytes, meaning they grow by attaching themselves to trees without needing soil.
They add a vibrant touch to any home or garden with their striking colors and unique textures, making them a favorite among plant lovers. Their minimal care needs make them an ideal choice for those looking to improve their space with a low-maintenance, eye-catching plant.
In this guide, we uncover the basics on how to care and grow this beautiful houseplant.
5 Key Takeaways on the Bromeliad Plant
- You can grow new bromeliads in two main ways: asexually through pups or sexually through seeds, each with its own steps.
- After blooming, bromeliads create pups, which are small offshoots. Wait until these pups are about one-third to one-half the size of the main plant before removing them for planting.
- This method is less common and involves collecting seeds from mature flowers. The seeds need specific conditions, like high humidity and bright, indirect light, to germinate.
- Keep newly planted pups in a humid environment until they grow roots. Seedlings should stay in their containers until they reach about 1½ to 2 inches tall before moving them.
- Providing the right humidity and light is essential for both methods to help your new bromeliads grow strong and healthy.
Overview of the Bromeliad Plant
| Aspect | Details |
|---|---|
| Family and Species | Bromeliads belong to the Bromeliaceae family with over 3,000 species across 56 genera, including the popular pineapple (Ananas comosus). |
| Growth Habitats | They can grow in various ways: terrestrial (soil), epiphytic (on other plants), or saxicolous (on rocks). Epiphytes are also known as “air plants.” |
| Physical Characteristics | Bromeliads form a rosette of leaves that vary in color and texture. Their central cup collects water, which can host small insects and animals. |
| Flowering | Bromeliads produce colorful flowers (inflorescences) that can last months. They typically flower once and may produce “pups” for propagation. |
| Care Requirements | These low-maintenance plants need bright, indirect light, well-drained soil, and minimal watering. Many species are drought-tolerant. |
| Environmental Adaptability | Bromeliads thrive in warm climates but can be grown indoors in cooler regions. They should be protected from freezing temperatures. |
| Popular Use | Known for their beauty and easy care, bromeliads are great for both indoor and outdoor gardening. |

Different Types of Bromeliads
Here are some popular bromeliads that are easy to care for and add a unique, vibrant touch to any indoor or outdoor space:
- Pineapple Bromeliad (Ananas comosus) – Known for its edible fruit and spiky leaves, this plant brings a tropical vibe to any indoor space.
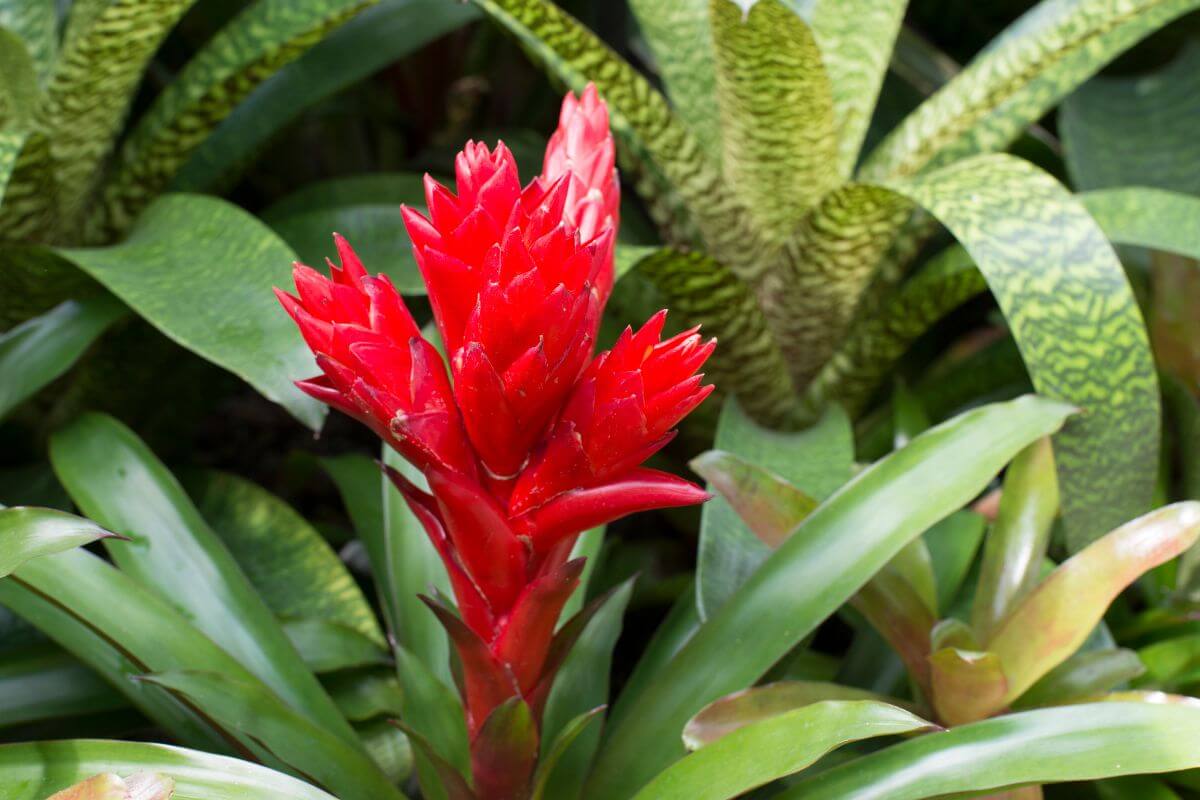
- Guzmania (Guzmania spp.) – With bright bracts in red, yellow, and orange, this plant thrives in indirect light and adds bold color.
- Aechmea (Aechmea fasciata) – Also called the Urn Plant, it has gray-green leaves and eye-catching pink bracts with purple flowers.
- Neoregelia (Neoregelia spp.) – Famous for its rosette-shaped leaves that shift colors to vibrant greens, reds, and purples before blooming.
- Vriesea (Vriesea splendens) – Admired for its wide leaves and tall, colorful flower spikes, it prefers indirect light and moist soil.
- Cryptanthus (Cryptanthus spp.) – Known as Earth Stars, these low-growing plants have star-shaped rosettes with beautifully patterned leaves.
- Tillandsia (Tillandsia spp.) – Often called air plants, they absorb moisture through their leaves and thrive in bright light with regular misting.
Learn more about air plants in our in-depth Ephiphytes Care and Grow Guide.
These bromeliads stand out for their unique look and easy care, making them perfect for both indoor and outdoor gardening.
Bromeliad Plant Care
Here’s a quick guide to Bromeliad plant care, covering essential factors like soil, light, fertilizer, and temperature to help your plant thrive.
Bromeliad Soil Requirements
Bromeliads need specific soil conditions to support their shallow roots and preference for well-draining environments.
Key Soil Requirements for Bromeliads:
- Avoid Heavy Soils – Stay away from dense soils that hold too much moisture, which can cause root rot.
- Well-Draining Soil – Bromeliads need loose, airy soil that drains quickly to avoid root rot.
Soil Composition:
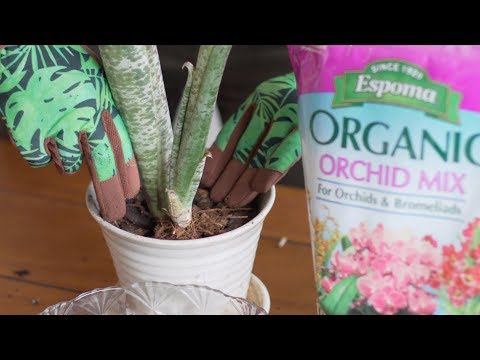
- Mix equal parts of peat, bark, and coarse sand.
- Orchid mix (bark, sphagnum moss, and perlite) also works well.
- Commercial bromeliad mixes ensure good drainage and aeration.
- Container Considerations – Use pots with good drainage holes. Shallow pots are best for their shallow root systems.
- Organic Matter – Adding compost to garden soil improves drainage and nutrients.

Bromeliad Light Requirements
Most bromeliads thrive in bright, filtered light. Direct sunlight can cause leaf burn.
Some species, like Guzmania, can tolerate low light but may grow more slowly and exhibit less vibrant colors.
Bromeliads with stiff leaves, such as Aechmea and Neoregelia, prefer brighter light conditions compared to those with softer leaves.
When transitioning between different light levels, bromeliads should be acclimated gradually to prevent stress or damage. They generally benefit from 12 to 16 hours of light daily, which can include natural or fluorescent sources.
Bromeliad Temperature Requirements
Most bromeliads thrive in temperatures between 60°F (15.5°C) and 85°F (29.4°C), but they can tolerate lows of 45°F (7°C) and survive brief periods near freezing. However, they do best when kept above 50°F (10°C).
While they can handle warm temperatures, adding humidity helps prevent stress from excessive heat. A daily temperature fluctuation of about 10°F (5.5°C) supports their growth, thanks to their unique photosynthesis process.
In colder climates, it’s important to protect them from frost by bringing them indoors during winter. Maintaining these conditions will help bromeliads flourish both indoors and outdoors.
Bromeliad Water and Humidity Requirements
Bromeliads have specific water and humidity needs to keep them healthy and vibrant. This table breaks down the key care tips to ensure your plant thrives.
| Requirement | Details |
|---|---|
| Watering Frequency | Water when the top inch of soil is dry. For tank bromeliads, keep the central cup filled, changing the water weekly. |
| Preferred Water Type | Use rainwater or distilled water due to lower mineral content. Avoid tap water with high salt or alkaline levels. |
| Watering Techniques | Top Watering – Pour water over the soil until it drains. Bottom Watering – Place pot in a tray to absorb water from below. Water Bath – Submerge the pot in lukewarm water briefly. |
| Avoid Overwatering | Let excess water drain to prevent root rot. Bromeliads can handle drying out between watering. |
| Optimal Humidity Levels | Maintain relative humidity between 50% and 75%, increasing with temperature. |
| Humidity Sources | Use a humidifier, mist plants regularly, or place them in humid areas like bathrooms. |
Bromeliad Fertilizer Requirements
Bromeliads benefit from using a balanced fertilizer with a lower nitrogen content to promote healthy growth and blooming. A good option would be an N-P-K ratio like 10-10-10 or a similar balanced mix, but it’s important to avoid high nitrogen levels as this can suppress flowering.
The fertilizer should contain essential micronutrients such as calcium, magnesium, and iron for overall plant health.
During the active growing season in spring and summer, fertilizing once a month is recommended, while it’s best to avoid feeding the plant during its dormancy in winter. If the bromeliad is blooming, a fertilizer with higher phosphorus can help boost flower development.
Always dilute liquid fertilizers to quarter or half strength to prevent fertilizer burn, as over-fertilization can cause yellowing leaves and hinder growth.
When applying, it’s best to place the fertilizer at the base of the plant rather than in the central cup to avoid damaging new leaves. Foliar feeding is another option but should be done carefully to avoid harm.
Are Bromeliads Toxic to Pets?
Bromeliads are generally safe for pets, but there are a few key points to consider regarding their toxicity:
- General Safety – Bromeliads aren’t harmful to humans or other animals like horses, but it’s still a good idea to keep them out of reach to avoid any minor digestive issues from pets nibbling on the leaves.
- Safe for Dogs – Bromeliads are non-toxic to dogs. While curious dogs might chew on the leaves, it usually doesn’t cause serious harm. However, if your dog ingests too much, it’s a good idea to watch for mild digestive upset.
- Toxic to Cats – Bromeliads can be harmful to cats. If a cat eats any part of the plant, it may experience symptoms like vomiting or trouble breathing. It’s important to seek veterinary care right away if this happens.
Bromeliad Plant Pests, Diseases, and Other Problems
Like most houseplants, bromeliads can attract pests like aphids, mealybugs, and scale insects, but they are usually resistant to diseases and serious infestations. However, they can face environmental issues such as:
- Hard Water – Water that is high in minerals can create unsightly water spots at the base of the plant and in the central cup. If you have hard water in your area, using demineralized water is the best choice.
- Overwatering – If the soil becomes too saturated, root rot can occur because bromeliads prefer drier conditions.
- Incorrect Container – Bromeliads have shallow root systems, so they should be planted in small, well-draining pots to prevent water from collecting. Excess moisture can lead to rot.
How to Prune Bromeliads
Pruning helps keep your bromeliads healthy and looking their best. Here are the steps to follow:
- Remove Dead Leaves – Start by cutting off any brown or dead leaves at the base of the plant. This simple step improves the plant’s appearance and health.
- Cut Flower Stalks – Once your bromeliad has finished blooming, trim the flower stalk close to the base. This encourages the plant to grow new leaves and stay vibrant.
- Pup Removal – If your bromeliad grows pups (little offshoots), wait until they are about one-third to half the size of the mother plant before removing them. Use sharp scissors to cut them off carefully, ensuring you don’t harm either the pup or the main plant.
Also, make sure to use clean and sharp pruning shears to avoid infections and make precise cuts. I personally use Bypass Pruning Shears, which are great for this. You can purchase them easily on Amazon.

How to Repot Bromeliads
Repotting allows your bromeliad to continue thriving as it grows. Follow these steps for a successful repotting:
- Timing – Repot your bromeliad in the spring when it is actively growing. Avoid doing this in winter when the plant is resting.
- Choose the Right Pot – Select a pot that is only slightly larger than the current one, preferably no larger than 6 inches in diameter. This helps prevent water from sitting at the bottom.
- Soil Selection – Use a well-draining soil mix, like an orchid mix or a blend of bark, perlite, and compost. This ensures that the roots have plenty of air and do not get too wet.
- Removal Process – To get the bromeliad out of its pot, gently coax it out. If it’s stuck, use a knife to carefully run around the edge of the pot. If you want to separate any pups, do so at this stage.
- Planting – Center the bromeliad in the new pot and fill it with soil, making sure the base of the leaves is above the soil.
- Water Thoroughly – After you’ve planted it, give the bromeliad a good watering to help settle the soil around its roots.
- Post-Repotting Care – Allow the soil to dry a little before watering again. Keep your bromeliad in a spot with bright, indirect light to help it recover and grow strong.
How to Propagate Bromeliads
Bromeliads can be propagated easily using two main methods: asexual propagation with pups and, less commonly, sexual propagation with seeds. Here’s a simple overview of both methods to help you grow new bromeliad plants:
| Propagation Method | Details |
|---|---|
| Asexual Propagation (Pups) | Identification – After blooming, bromeliads produce small offshoots called pups at their base. Timing – Wait until pups are about 1/3 to 1/2 the size of the mother plant and have some roots. Separation Process – Gently pull the pup away or use a clean knife to cut it off, keeping some roots attached. Rinse roots under lukewarm water if needed. Potting – Place the pup in a pot with well-draining soil, like an orchid mix. Water lightly after planting and keep the soil slightly moist, not soggy. Care – Keep the new plant in bright, indirect light and cover it with a plastic bag or glass to maintain humidity until it roots. |
| Sexual Propagation (Seeds) | Seed Collection – This method is less common and complex. Harvest seeds from mature flowers after they dry. Sowing Seeds – Use sphagnum moss or fine potting soil as planting medium. Scatter seeds on top without covering them. Humidity and Light – Cover the container with glass or plastic to keep humidity high. Place in bright, indirect light with temperatures between 70°F to 80°F (21°C to 27°C). Germination Time – Seeds take about 10 to 14 days to germinate. Keep seedlings in their container until they are 1½ to 2 inches tall before transplanting. |
Bromeliad Plant Final Thoughts
Caring for bromeliads can be a rewarding experience, especially when you see your plants thrive and produce new offshoots. Whether you choose to propagate through pups or seeds, both methods offer a great way to expand your collection.
By following the outlined care guidelines, you’ll ensure your bromeliads flourish in your home or garden. With patience and attention, you’ll enjoy the vibrant beauty these tropical plants bring to your space.
Bromeliad Plant FAQs
1. Do Bromeliads Need Sun or Shade?
They like full sunlight but don’t require direct exposure to strong light. They tolerate partial shade, especially during hot summer days. Bromeliad’s light needs are also different depending on their leaf textures. Lower light levels are preferred by bromeliads with soft, flexible leaves, while those with a stiffer texture like indirect, bright light.
2. How Long Does It Take for My Bromeliad to Grow?
Bromeliads can take one to three years to bloom. They’re not fast growers.
3. What Kind of Soil Does a Bromeliad Need?
All bromeliads love moist soils rich in organic matter. They don’t tolerate clayey soils or those containing too much sand.
4. Do Bromeliads Die After Flowering?
Yes, most bromeliads do eventually die back once all the blooms have faded away. This is normal and part of the plant’s lifecycle. Some species live longer than others.
5. Do Bromeliads Only Flower Once?
Most bromeliads only bloom once, but there are some species that will bloom multiple times. Each bloom can last a few months, even up to one year. If you take care of them with watering and providing enough light, they can grow and bloom year round.
Explore other common houseplants in the following articles: