Propagating an aloe plant is not just a way to expand your indoor garden but also a satisfying project that connects you with nature. This guide on how to propagate an aloe plant will walk you through the simple steps of sharing the love of this resilient succulent.
We’re diving into the essentials of aloe propagation, from the tools you’ll need to the best methods for success. Whether you’re a novice or have a green thumb, you’ll learn how to give your aloe plants a new lease on life, using both offsets and leaf cuttings. It’s a hands-on lesson in plant care that promises to be both educational and rewarding.
Ready to see how easy it is to grow more aloe? Follow along, and soon you’ll be enjoying the sight of new aloe plants thriving under your care.
- Related article: Gardening Tips for Aloe Vera
7 Key Takeaways on How to Propagate An Aloe Plant
- Aloe vera propagation is accessible through various methods, including division, leaf cuttings, and seeds.
- The division method involves separating offsets or pups from the mature aloe plant for propagation.
- When using leaf cuttings, allow the cut end to dry and form a callus before planting.
- Aloe seeds should be harvested when the flowers have dried and turned brown, with mature seeds being grayish-brown to black.
- Prepare a well-draining soil mix for planting seeds or cuttings, combining sterile potting soil, coarse sand, and perlite.
- Place seed trays or pots in a warm, bright, indirect light location, and cover them to maintain humidity and temperature.
- Successful propagation requires patience; seeds and cuttings may take several weeks to show signs of growth.
What Do You Need to Propagate an Aloe Vera Plant?
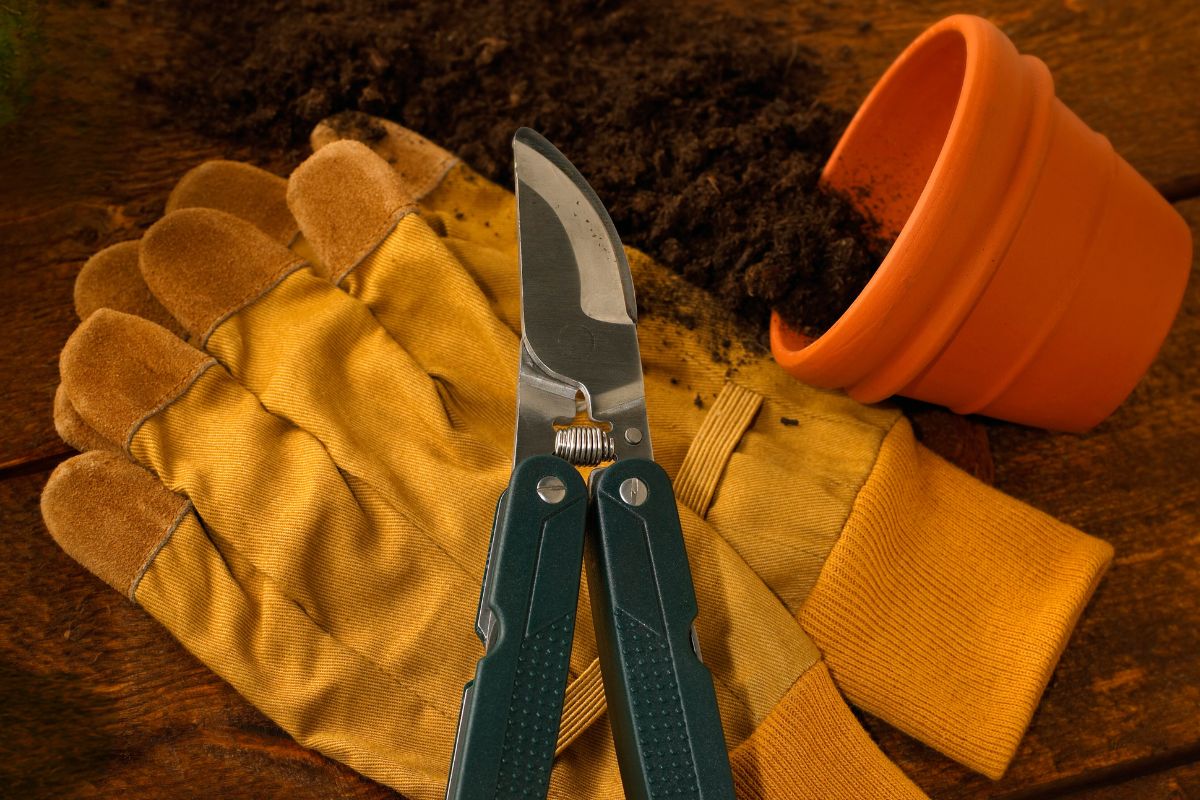
To propagate an aloe plant, you’ll need:
- A healthy, mature aloe plant with offsets (pups)
- Sharp, sterilized knife or pruning shears
- Well-draining potting soil mix (preferably cactus or succulent blend)
- Pots with drainage holes
- Rooting hormone (optional, but recommended)
- Gloves (for handling the plant)
- Watering can
- Moisture meter (optional, but helpful)
- Trowel (optional, for removing plants from garden beds)
- Plastic bags or covers (optional, for maintaining humidity)
Helpful Items that You Can Also Add:
- Houseplant propagation promoter (liquid supplement to enhance root growth)
- Coarse sand or perlite (to mix with potting soil for better drainage)
- Smart gravel (to keep the well-draining soil mix)
- Clear glass container (if propagating in water)
How to Propagate an Aloe Vera Plant Using the Division Method
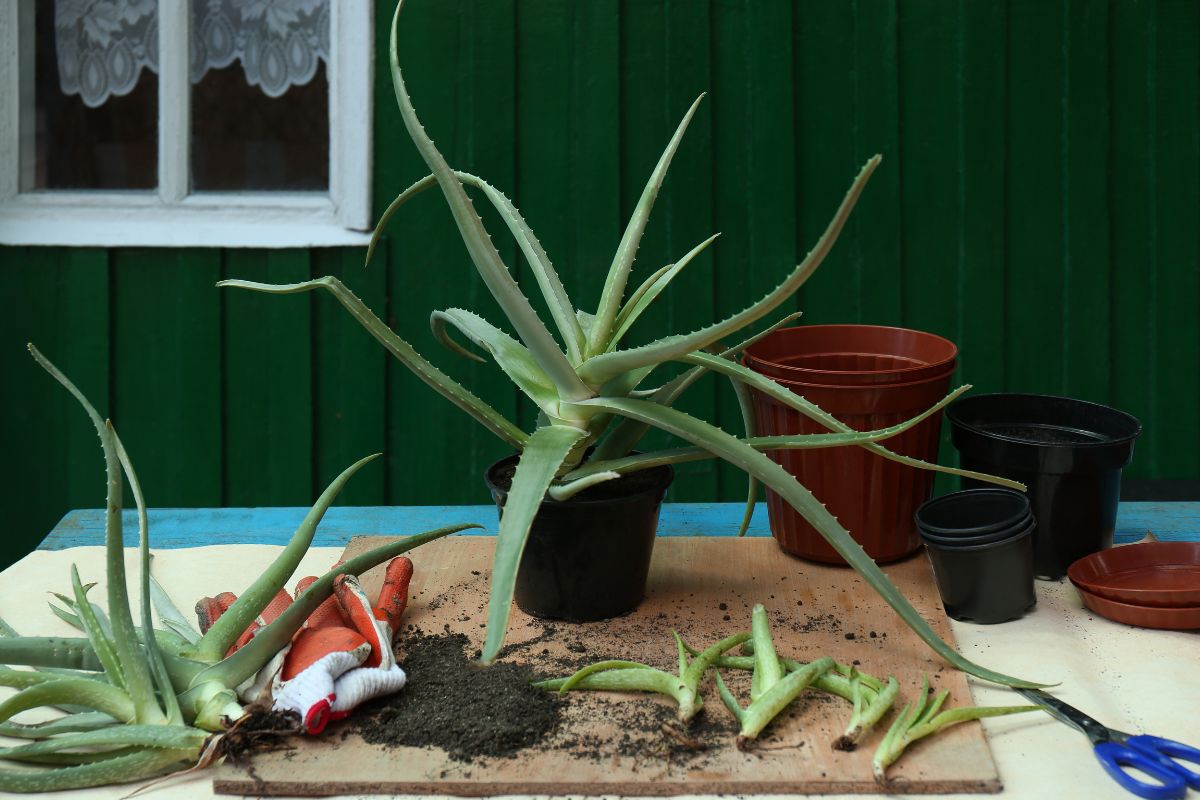
The division method of aloe propagation is straightforward. It is a simple technique, whether you are a beginner or an experienced gardener.
The ideal time to repot and divide an aloe vera plant is at the height of its growing season at the end of spring or the beginning of summer.
Follow these steps to propagate an aloe plant using the division method:
Step 1 – Look for Aloe Vera Offshoots
To propagate your aloe plant, start by examining its base for offshoots, or pups, which look like smaller versions of the parent plant. Ideal aloe pups should have a few leaves and their own root system.
Sometimes hidden beneath larger leaves, these healthy, well-developed offsets should be bright green and plump. Wait until the pups are about 1/5 the size of the parent plant before separating them.
If your plant doesn’t have pups, be patient or consider other propagation methods.
Step 2 – Remove the Mother Plant from its Container
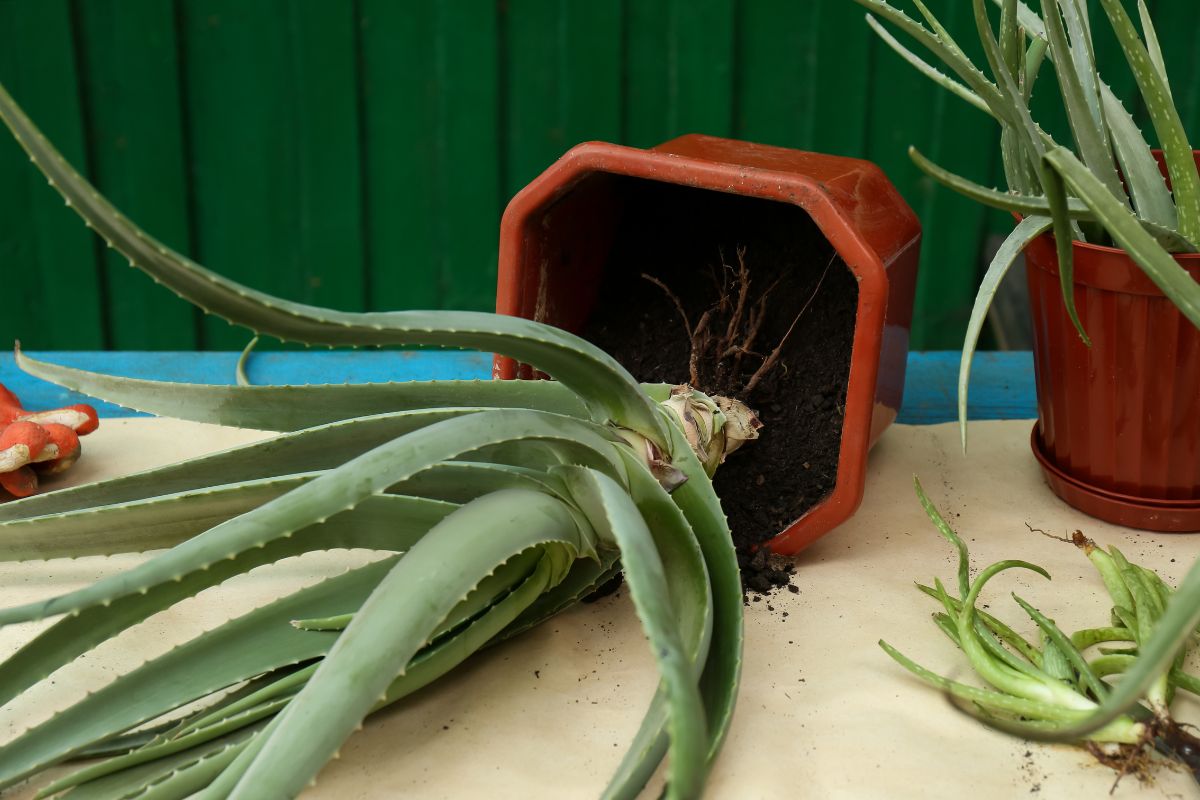
Begin by gently loosening the soil around the aloe plant. If it’s in a pot, tap the sides to help release the soil. If it’s in a garden bed, use a trowel to carefully loosen the soil around the plant’s base.
Next, carefully remove the entire plant, including the pups, from its pot. Gently pull the plant out while supporting its base to avoid damaging the roots. If it’s stubborn, you may need to use a knife to loosen the soil from the pot’s edges.
Once the plant is out, brush away as much soil as possible from the roots. This will help you see the connections between the mother plant and the pups more clearly, making it easier to separate them without causing damage.
Step 3 – Divide the Aloe Vera Plant Roots
Gently untangle the pups (offsets) from the mother plant, taking your time to minimize damage. If they are tightly connected, use a clean, sharp knife to carefully separate them, cutting as close to the mother plant as possible while keeping the pup’s roots intact.
Trim off any unhealthy portions using sterilized pruning shears or a sharp knife, preserving as much of the healthy root system as possible.
For pups with few or damaged roots, consider dipping the ends in rooting hormone to encourage new root growth. Ensure each separated pup has at least a few leaves and its own root system for the best chance of survival.
When working with a large aloe plant that has been removed from its pot or garden bed, inspect the mother plant’s roots as well. Trim any damaged or rotting parts to maintain its health.
Step 4 – Allow Aloe Plants to Heal After Separation
Let the separated pups dry out in the open air for 2 to 4 days. This drying period is essential as it allows the cut ends to callus over. The callusing process helps prevent potential rot once the pups are planted, which is critical for successful propagation.
Place the pups in a dry area away from direct sunlight during this healing period. Indirect light is preferable to avoid sunburn on freshly cut surfaces. Do not water the pups during this time; the goal is to let the cut areas dry out completely.
You’ll know the aloe pups are ready for planting when the cut ends have visibly dried out and formed a protective layer over the wound.
Step 5 – Repot the Aloe Parent Plant and Offshoots Individually
Prepare separate pots for the parent plant and pups, ensuring each pot has drainage holes. Use a well-draining potting mix, ideally a cactus or succulent blend. Fill each pot with the mix, leaving space for the roots. Add perlite or coarse sand if needed.
For the parent plant, choose a slightly larger pot. Place it in the new pot with the rootball slightly above the rim. For the pups, use small pots (3-4 inches in diameter). Gently place each plant in its pot, spreading out the roots, and add soil mix around them, firming it gently.
Ensure the aloe is not planted deeper than before — the base should be at the same level. Add a thin layer of smart gravel or pebbles on top for moisture retention and aesthetics. Wait 3-5 days before watering the newly potted plants to allow cuts or wounds to heal and prevent rot.
Step 6 – Proper Care for Your New Aloe Plants
Place your new plants in bright indirect light in a dry location. Keep the baby aloe plant away from direct sunlight to avoid its leaves turning brown and killing the plant.
Wait to water your plants until the new root systems are established. This will take 1 to 2 weeks. Be careful not to overwater, as root rot will occur.
- Read more: Guide to Watering Aloe Vera
How to Propagate an Aloe Vera Plant Using Leaf Cuttings
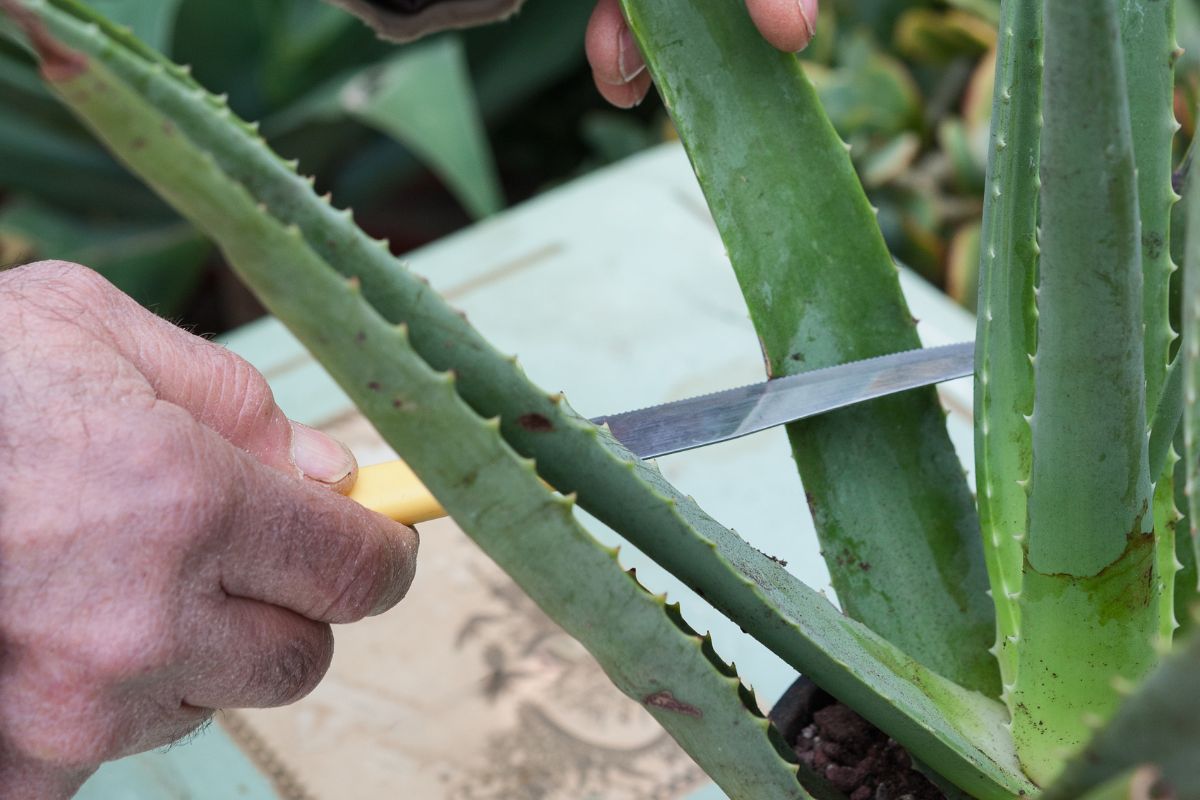
Propagating with leaf cuttings can also be done, but it’s less effective than plant division. It is, nonetheless, a convenient method if you don’t need to or want to repot your aloe plant.
Step 1 – Take a Leaf Cutting
Start by selecting a healthy, mature leaf from the outer part of the plant. Using a clean, sharp knife or pruning shears, cut the leaf as close to the stem as possible, ensuring a clean cut.
Choose a leaf that is at least 3-4 inches long to increase the chances of successful propagation.
Step 2 – Allow the Leaf Cutting to Form a Callus
After taking a leaf cutting from your aloe vera plant, let the cut end dry out and form a callus. Place the leaf in a warm, dry, and shaded area for 3-7 days, or until the cut end has visibly dried and formed a protective layer.
Step 3 – Plant the Leaf Cutting
Once the aloe vera leaf cutting has formed a callus, it’s ready to be planted. Fill a small pot with well-draining cactus or succulent soil mix, and insert the calloused end of the leaf about 1-2 inches deep into the soil.
Make sure that the pot has drainage holes and place it in a warm location with bright, indirect light.
Step 4 – Caring for an Aloe Leaf Cutting
After planting the aloe leaf cutting, proper care is important for successful propagation. Place the pot in a spot with bright, indirect sunlight and water the aloe vera cutting sparingly.
Allow the soil to dry out completely between waterings to prevent rot, and watch for signs of new growth, which may take several weeks.
How to Propagate an Aloe Vera Plant From Seed
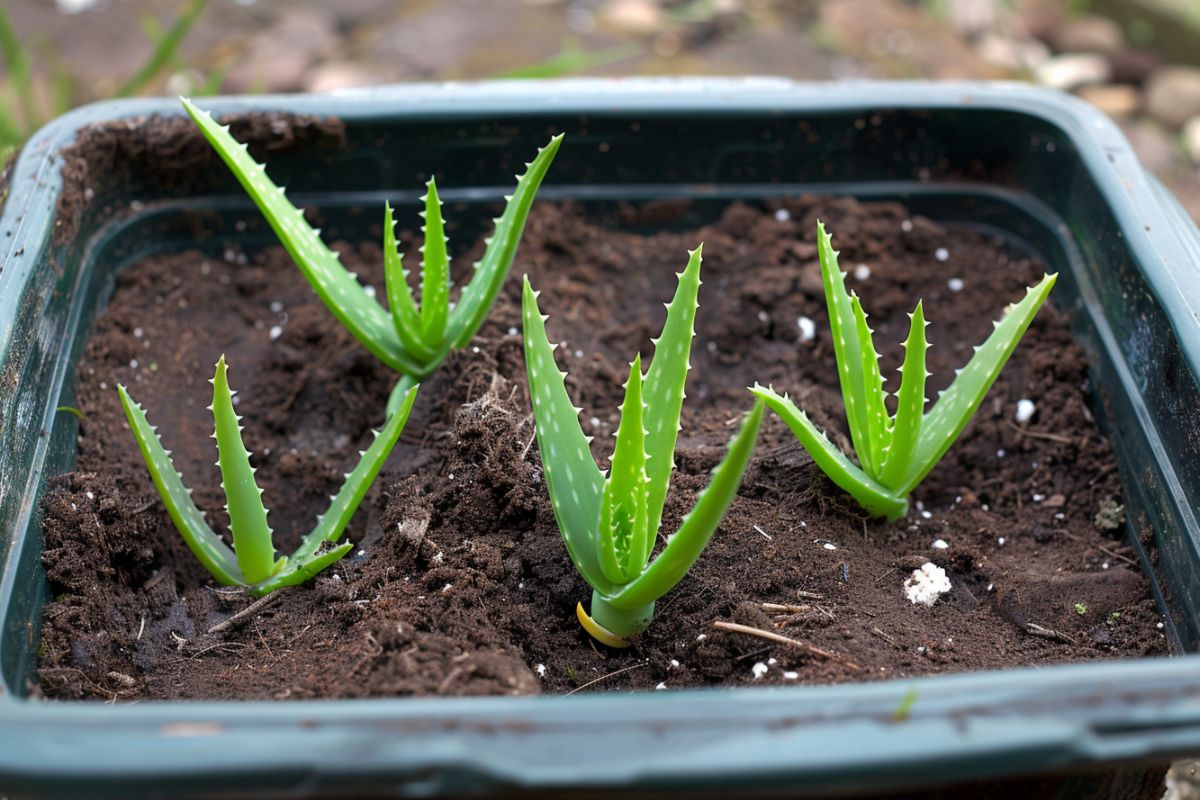
Another alternative is to use aloe seeds for aloe propagation. Growing aloe from seed is the slowest way out of all the propagation methods, but it can also be the most fun and fulfilling.
Step 1 – Harvest the Seeds
Wait for your mature aloe plant (at least 4 years old) to produce flowers. When your aloe plant flowers, it can produce seeds. That is when you know you can start harvesting seeds from this popular houseplant.
Once the flowers have dried and turned brown, carefully remove the seed pods. Split open the pods to reveal the tiny, flat seeds inside. Mature seeds should be grayish-brown to black — light-colored or white seeds are not fully mature and won’t germinate.
Collect the seeds in a small container, being careful not to lose any as they are very small. Use freshly harvested seeds within a year for the best germination rates. Store any unused seeds in a paper envelope in a cool, dark place until you’re ready to plant them.
Step 2 – Prepare the Soil Bed
Next, prepare a well-draining potting mix by combining equal parts of sterile potting soil, coarse sand, and perlite. Fill small pots or a seed tray with this mixture, leaving about half an inch of space at the top.
Gently tamp down the soil to create a firm surface and moisten it lightly with a spray bottle, ensuring it is damp but not waterlogged.
For optimal results, add a thin layer of fine sand on top to prevent the tiny seeds from sinking too deep and to provide an ideal environment for germination.
Step 3 – Sow the Seeds
Then scatter the seeds evenly across the surface of the prepared soil. Gently press them into the soil without burying them too deep, keeping them close to the surface.
Lightly cover the seeds with a thin layer of fine sand or additional soil mix, just enough to anchor them in place. This helps maintain moisture and provides a stable environment for germination.
Step 4 – Position Your Container and Seeds
Place the pot or seed tray in a warm location with bright, indirect light. Avoid direct sunlight, as it can be too harsh for delicate seedlings. Keep the temperature consistent between 70-80°F (21-27°C) for optimal germination. If necessary, use a heat mat for additional warmth.
Cover the container with clear plastic wrap or place it in a clear plastic bag to create a greenhouse effect and maintain humidity.
Ensure there are a few small holes for air circulation. Position the container away from drafts or air conditioning vents. Check daily for signs of germination, which can take 2-4 weeks.
Step 5 – Care for Seed Propagation
Mist the soil surface regularly until sprouts appear. The sprouting of new plants may take 2 to 4 weeks.
Seedlings will need to remain warm for their first 2 weeks of life. Water seedlings from underneath the plant. This allows roots to absorb the amount of moisture they need.
When a seedling develops 4 or more leaves, transplant each aloe seedling into an individual container.
Care for these baby plants as you would an adult aloe plant.
Aloe Vera Propagation Final Thoughts
Expanding your aloe collection takes time. But trust me, it’s worth every second. I’ve been growing aloes for years, and there’s nothing quite like seeing your plant babies thrive.
Want to know a secret? Aloe propagation isn’t as hard as you might think. With a bit of care and the right know-how, you’ll soon have a gorgeous array of aloes brightening up your home.
Remember, patience is key. Aloes grow slowly, but they’re tough little plants. Give them love, and they’ll reward you with beautiful, unique shapes and soothing gel.
Aloe Vera Propagation FAQs
1. Can You Grow Aloe Vera From a Cutting?
Yes, you can grow aloe vera from a leaf cutting by removing a leaf from a mature aloe plant. It’s an easy propagation method, but can also be more difficult to achieve success than other methods. The most successful aloe propagation method is the plant root division method by using aloe vera pups or offshoots.
2. Can Aloe Vera Be Propagated in Water?
No, aloe vera cannot be propagated in water. If you attempt aloe propagation by placing a cutting in water, the leaf-cutting will rot before it can develop roots.
3. Can You Replant a Broken Aloe Leaf?
Yes, you can replant a broken aloe leaf. Place the broken leaf with the broken side into the soil bed. The damaged leaf should be inserted one-third of its length into the soil. Moisten the soil and keep it moist for the first month. The leaf will shrivel and shrink as it develops its root system.
4. Where Do You Cut Aloe Vera to Propagate?
Look at the base of the aloe plants for offshoots to cut off. You can either cut offshoots with roots from the mother plant or cut a 3-inch or longer leaf from the plant’s base.
5. Can You Replant Aloe Vera Without Roots?
Yes, you can replant aloe vera leaf cuttings. Plant cuttings and damaged broken leaves will not have roots but can be planted in soil for successful propagation.
6. How Long Does It Take for Aloe Cuttings to Root?
A healthy aloe cutting can successfully root in about 4 to 6 weeks. If your aloe cutting does not have plenty of light or warmth, it will take longer to root. Give it a good environment for healthy root development.
To learn more about aloe vera plants, here are other articles that may interest you:


