Growing vegetables is fun, healthy, and rewarding. But growing vegetables in your garden takes a lot of work. It requires planning, preparation, and patience.
In this article, I’ll share with you my top tips for choosing the best soil for vegetable gardening. This will help you get started faster and save you from wasting money on bad soil.
I’ve tested many types of soils over the years for different types of vegetables, and I’m going to share with you my findings for root vegetables, legumes, and more.
Best Soil for Vegetable Gardening
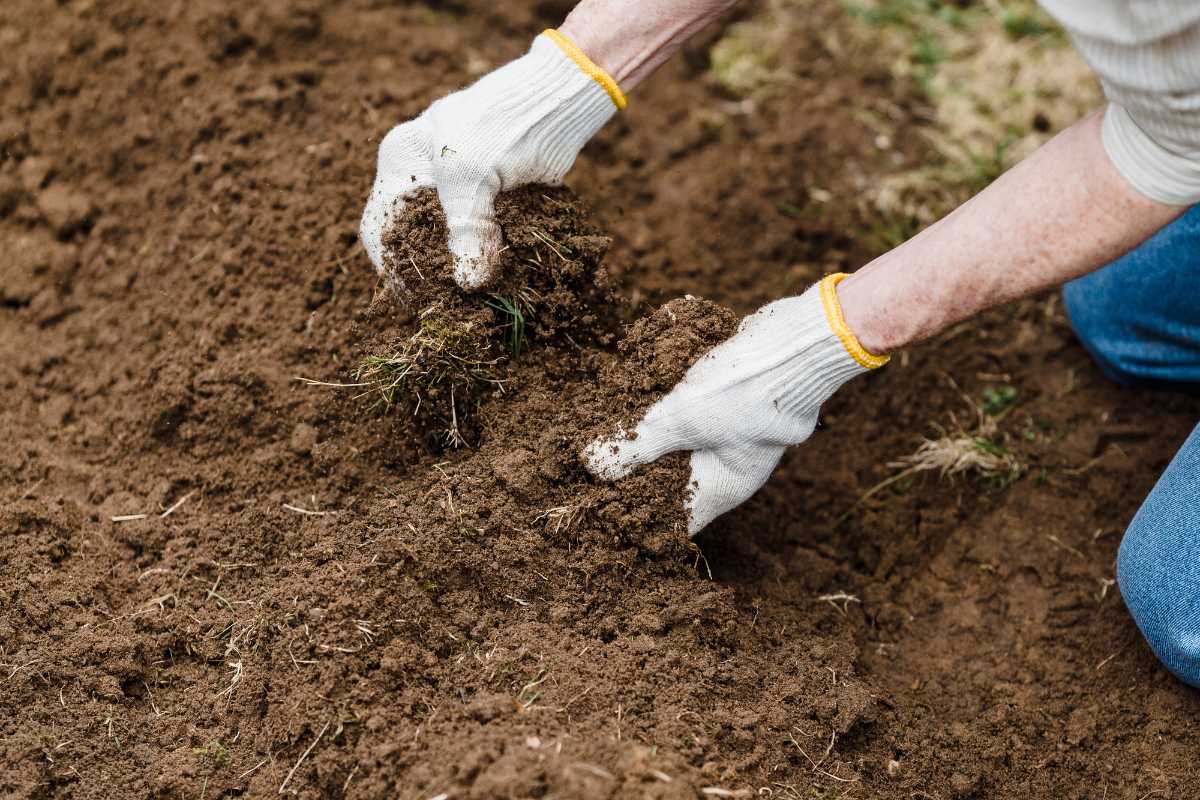
Generally speaking, the best soil for vegetables is one that is rich in organic materials and loamy. That is, not too heavy and not too sandy.
That being said, different vegetables have different needs, so I’ve broken them down into general types to give a broad overview of the best soils for each crop.
1. Root Vegetables
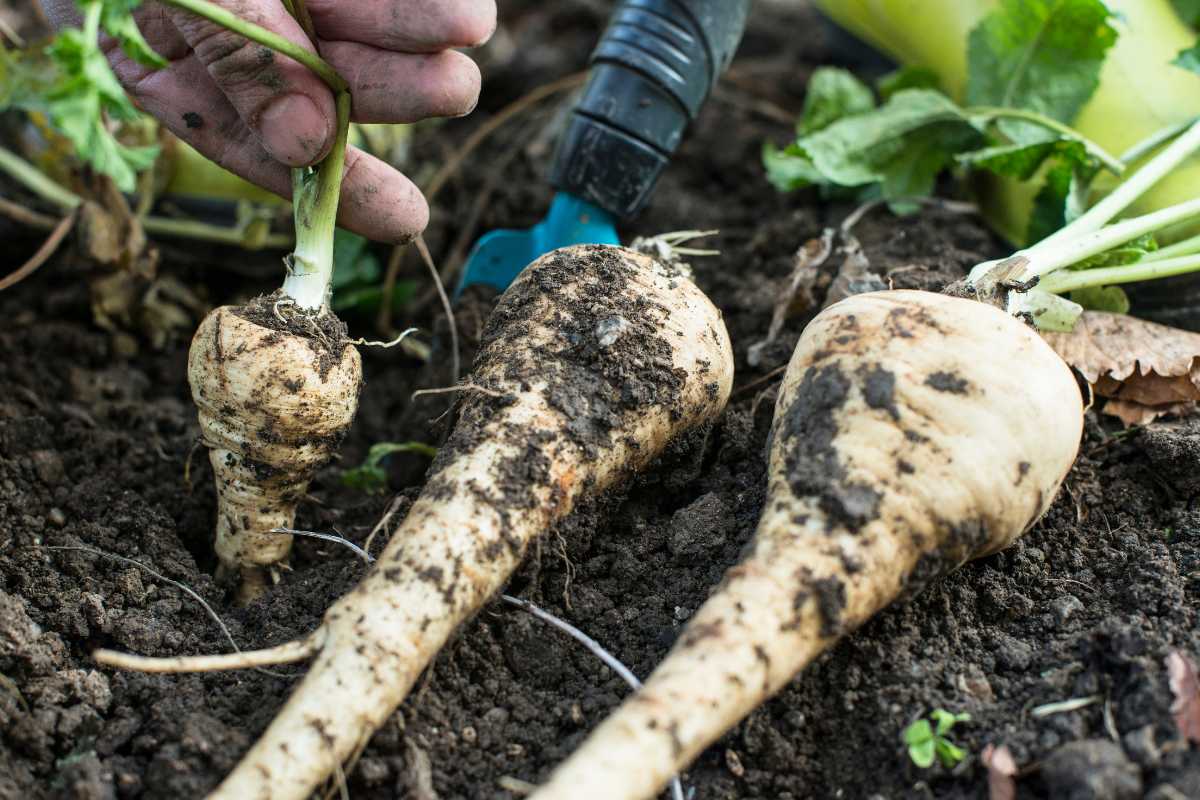
Root vegetables like potatoes, carrots, and parsnips need loose soil in order to form large roots. As carrots and parsnips are essentially taproots, you want them to be able to grow as long as possible.
Root vegetable growth is best achieved in sandy soil, as the roots must reach down into the moist soil below the surface. Be sure to add some compost to your sandy mix to give your plants some nutrients.
If you don’t have sandy soil, you can use a dibber to push down into the earth, then fill that hole with loose sandy soil, and plant your root vegetables in those holes.
Heavy clay and compact soil will slow down the growth of root vegetables. Clay soil can be amended with compost, but in a pinch, you can add loose sandy compost to the area where you are growing root vegetables.
2. Legumes
While good drainage is important for beans, they prefer clay or loam soil to sand. They like the earth to be moist and cool.
To give legumes the proper nutrients, dig well-rotted compost into the soil before planting – ideally at the end of the growing season.
3. Brassicas
Brassicas like neutral to slightly alkaline soil and will fail if the soil is too acidic. They grow best in partial shade in a fertile, free-draining but firm soil.
When you dig in organic matter at the end of the season, tread on the ground to make it firmer and get rid of any air pockets.
4. Heavy Feeders
Heavy feeders are usually fruiting vegetables like tomatoes, squash, peppers, and cucumber. Heavy feeders need a lot of nutrients in the soil, so digging in lots of organic matter will be the best way to prepare any type of soil for this crop.
How to Prepare Soil for Rich, Crumbly Soil
Good soil is as much about texture as it is nutrient content. Achieving and maintaining the perfect soil takes time and effort. First, you should assess what kind of soil you already have.
Sandy Soil
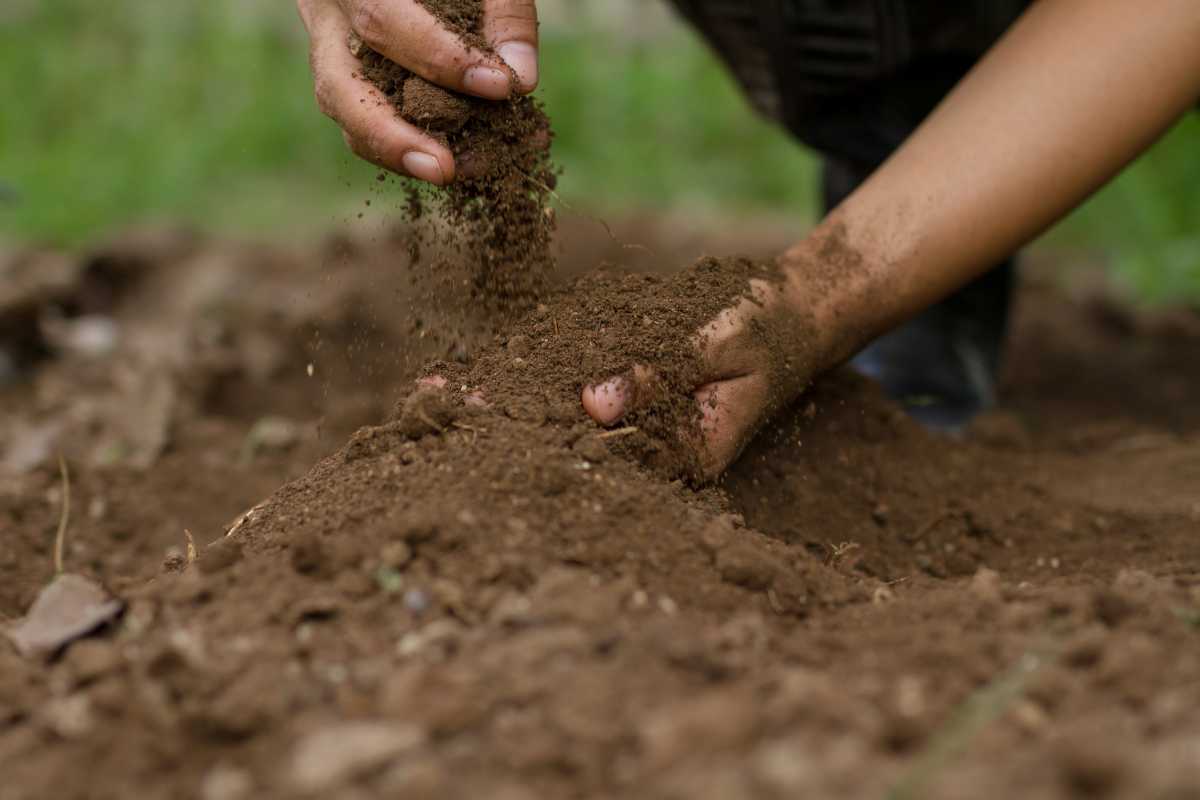
Sandy soil is undoubtedly easy to work with. It does not stick to your boots and is easy to dig. However, it drains very quickly, which can cause plants to dry out quickly. Sandy soil also has issues retaining nutrients.
The best way to amend and prepare sandy soil is by digging in organic matter, like well-rotted compost. This addition will help with moisture retention and add plenty of nutrients to feed your hungry plants.
Clay Soil
The texture of clay soil makes it very hard to work with. It is heavy and clumps together, making it difficult for plant roots to form.
As with sand, the best way to improve clay soil is by digging in organic matter. Composted bark has been known to be a great amendment to clay soil.
Tilling
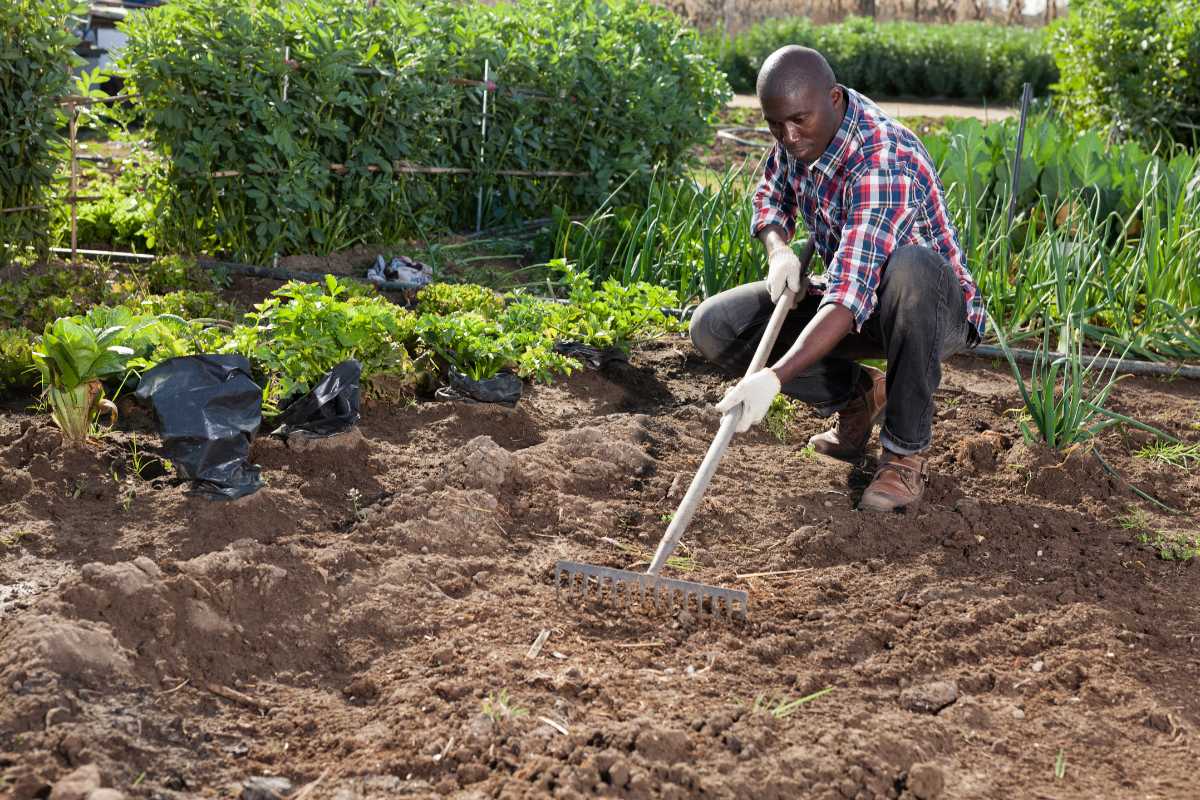
The practice of tilling – that is, the process of breaking up and stirring the soil – has become controversial in recent years. Many gardeners now are switching to the “no-till” method.
The reasoning for no-till is that the more the soil is disturbed, the more the delicate ecosystem contained within the soil is disrupted.
Tilling may give you lovely loose and crumbly looking weed-free soil, but it can lead to soil degradation and erosion in the long run.
That isn’t to say that tilling should be avoided, as it does have some benefits too. Adding organic material can be easier if you till, and you will see more immediate effects.
The no-till method can take longer to improve the soil’s structure, but its results will also be longer-lasting (and it is a lot less effort!)
Double Digging
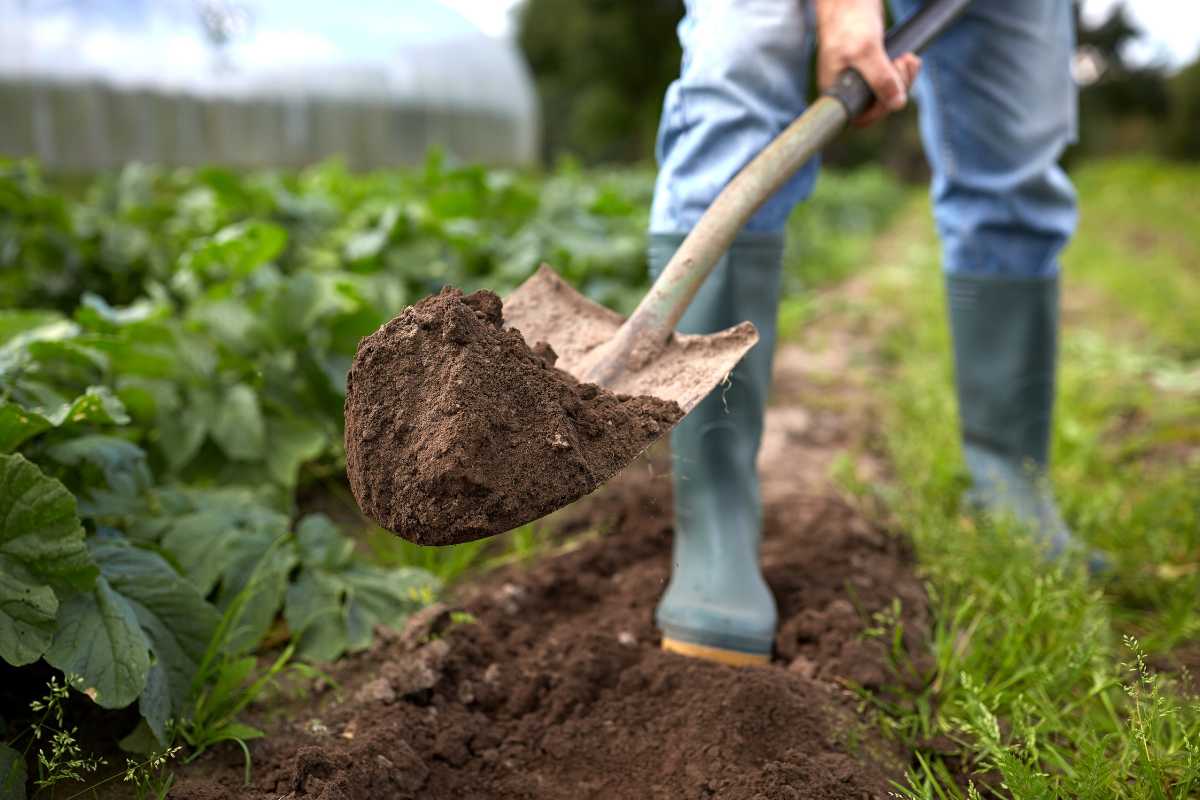
Like tilling, double digging for soil improvement is now contested by proponents of the no-dig method. However, double-digging still is a preferred method for many gardeners.
Double digging is a great way to improve and cultivate the soil in new gardens, and this method can be used wherever there is bare earth. If an area has not been previously cultivated, double digging is the best way to improve and loosen the topsoil.
The site may be compacted and unsuitable for immediate use, so by adding organic matter when you double dig, you can improve the quality of the soil and make the area fit for planting.
Gardeners used to double dig vegetable patches yearly, but it has since been found that mulching with compost and leaving the soil undisturbed can improve the soil more in the long run.
To double dig, follow these steps:
- You need to dig a trench that is the width of the area you are digging over. You don’t need to dig down far; the length of the spade’s blade is sufficient.
- Remove any weed roots and large stones, and put the soil to one side.
- Then fork the bottom of the trench to loosen the dirt.
- Add organic material and fill in the trench with the earth from the area next to it (not the soil you just dug out).
- Continue this pattern until you reach the end of the patch, then use the soil you dug out initially to fill in the trench.
Double digging is hard work, which is why some tend to prefer the no-dig method, which is much less labor-intensive.
However, double digging is a much quicker way to improve a new patch of earth and can be used in conjunction with the no-dig method after the initial dig.
The No-Dig method
The no-dig method is definitely gaining popularity due to its effectiveness and ease. By utilizing the no-dig method, you can improve your soil without disrupting the soil’s beneficial microorganisms. The no-dig method is especially good for raised beds when digging can be difficult.
To use the no-dig method on an uncultivated piece of land, follow these steps:
- Cut down all weeds and plants to ground level.
- Then place cardboard on the ground, so it is completely covered and no light can get to the area.
- Cover the cardboard in a layer of compost or any other rotted organic material. Tread it down firmly. And now wait.
- It will take at least six months for the weeds under the cardboard to die off, and weeds with extensive roots, like bramble and bindweed, can last for nearly a year before weakening.
- After this time, the soil will be rich and crumbly, allowing you to pull the long roots out of the ground.
To continue with the no-dig method once you have cultivated your soil, you need to add around 5-15 cm of well-rotted organic mulch (like compost) each year.
Firm it down, and you can plant directly into it as normal or apply the mulch in the autumn for planting in the spring.
You can rake the surface to give it a lovely crumbly texture for planting seeds. While you won’t be completely rid of weeds, they will be weaker and easier to pull out.
Learn more about using no-dig to Prepare Your Vegetable Garden for the Winter.
Soil pH Levels for Vegetable Gardens
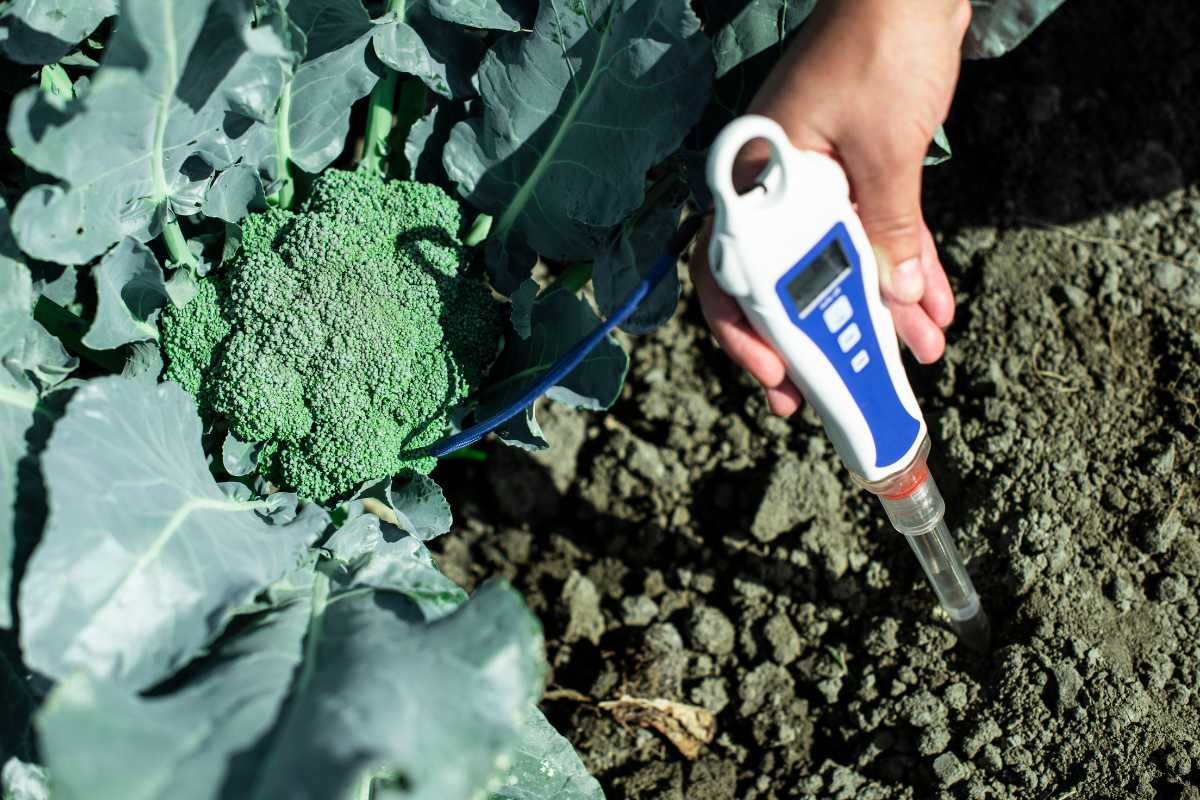
Most vegetables like a neutral pH, although there are some exceptions. If you are planting many different vegetables, keeping your soil pH neutral (around 7) will generally please all of them.
Some vegetables will do best in slightly acidic soil, like cucumbers, squash, tomatoes, and carrots. Alkaline-loving plants include asparagus, beans, peas, and kale.
Soil Amendments for Vegetable Gardens
Fertilizer
The absolute best fertilizer you can use as a soil amendment is well-rotted organic material. Most other fertilizers are really soil conditioners, and while they will add nutrients, they don’t do anything for the soil structure.
Read the in-depth Fertilizer for Vegetable Gardens Guide.
Compost
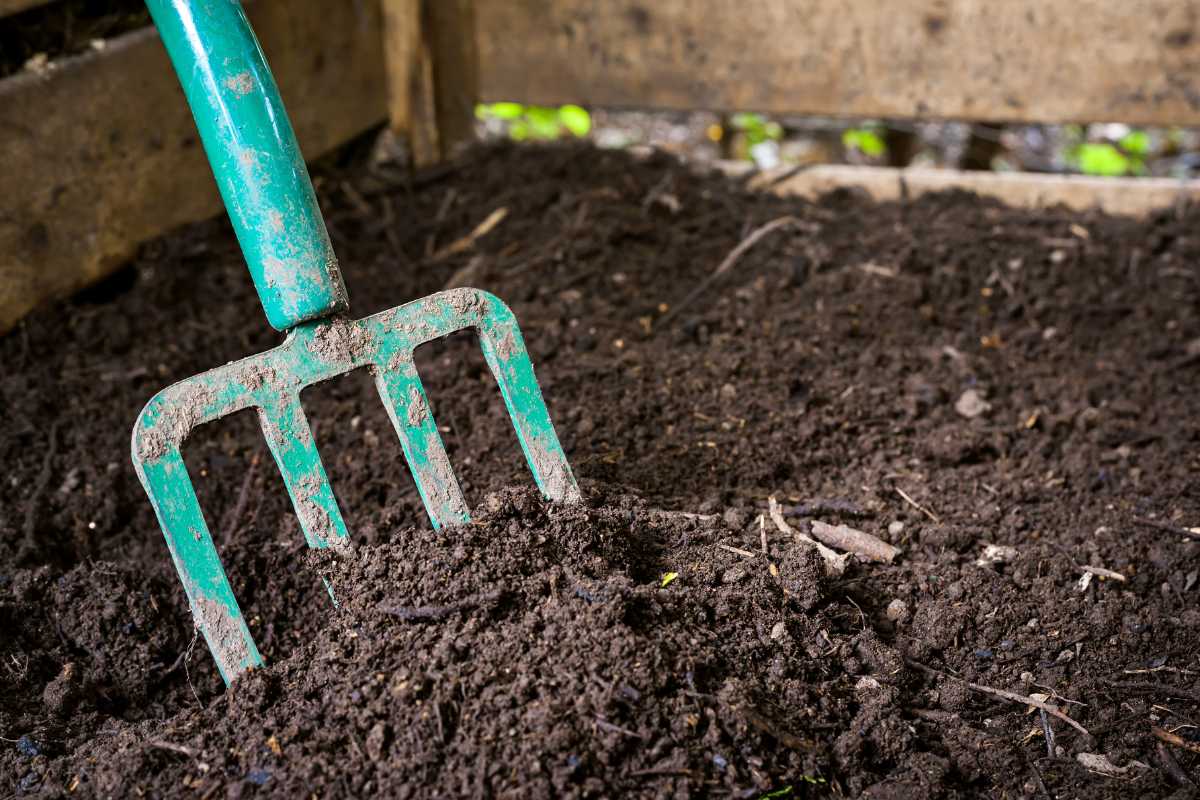
Compost is the best soil amendment you can get, and the great news is that you can make compost yourself for free!
If you are a gardener and you are not composting, you are missing a great opportunity.
By turning your kitchen and garden waste into compost, you can reduce what you are throwing away and save yourself money. You will have no need for costly soil amendments or fertilizers.
Learn more in the in-depth Guide to Compost for Vegetable Gardens.
Best Soil for a Raised Bed Vegetable Garden
Raised beds are great for a vegetable garden, and there are many ways of filling them. Most people recommend a 50/50 mix of topsoil and compost.
If you have more time than money, they can be filled by layering green and brown compostable materials in the bed. This type of composting is called the “Lasagne Method” and is a great way of combining the no-dig method with composting to create raised beds.
Best Soil for Potted Vegetable Plants
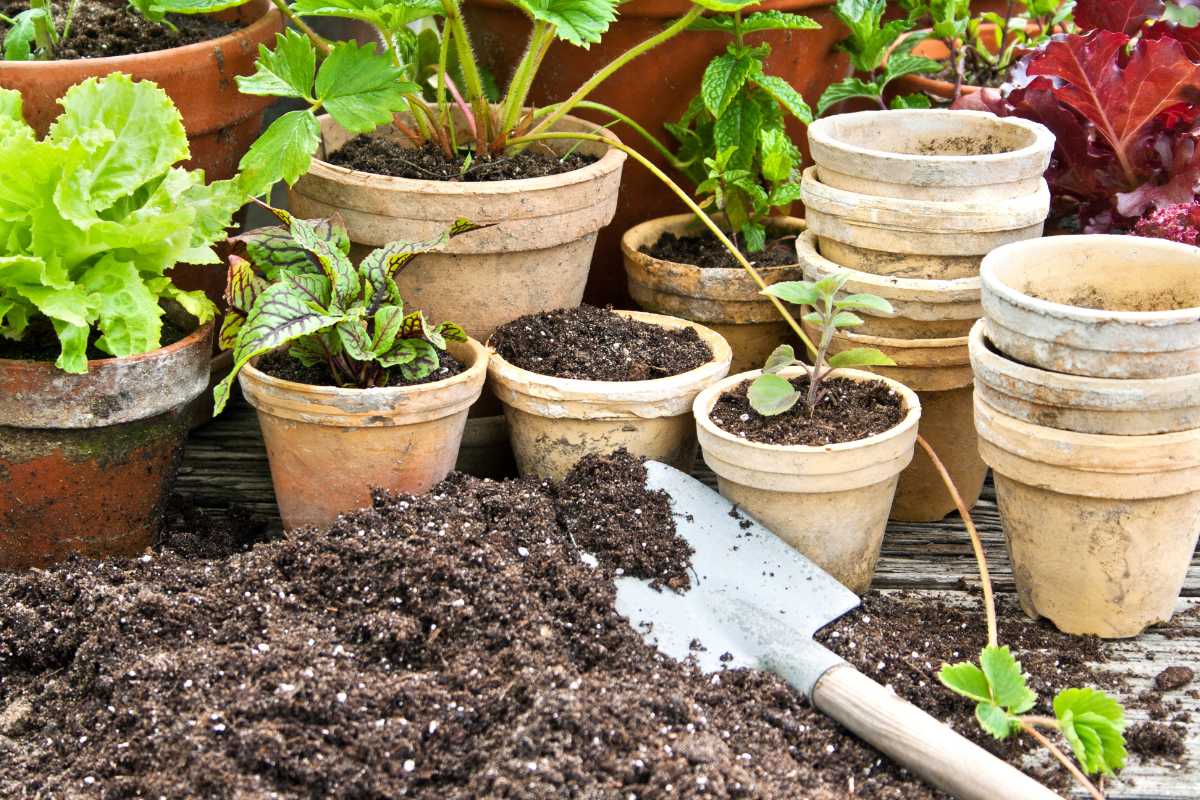
Growing in pots can be very practical, but it does have some issues. Ensuring your plants have sufficient nutrients, moisture, and drainage is doubly important when growing in pots.
To get the soil mix right, you should choose quality potting soil, and it is usually a good idea to buy it rather than make it yourself.
Sterile potting compost also yields good results, as it contains all the properties you need, and there is no chance of it having any pests or weeds.
Learn more about the Best Potting Soil for Vegetables if you are growing in pots and containers.
Soil for Vegetable Gardening Final Thoughts
If you want to grow healthy vegetables, you need to build up your soil’s fertility over time. It takes years to build up enough nutrients and organic matter to support a thriving vegetable garden.
The key thing is to start small, and work your way up from there. As you progress, you’ll find that your soil becomes healthier and better able to feed your crops.
Read more about vegetable gardening and growing delicious, beautiful vegetables:

