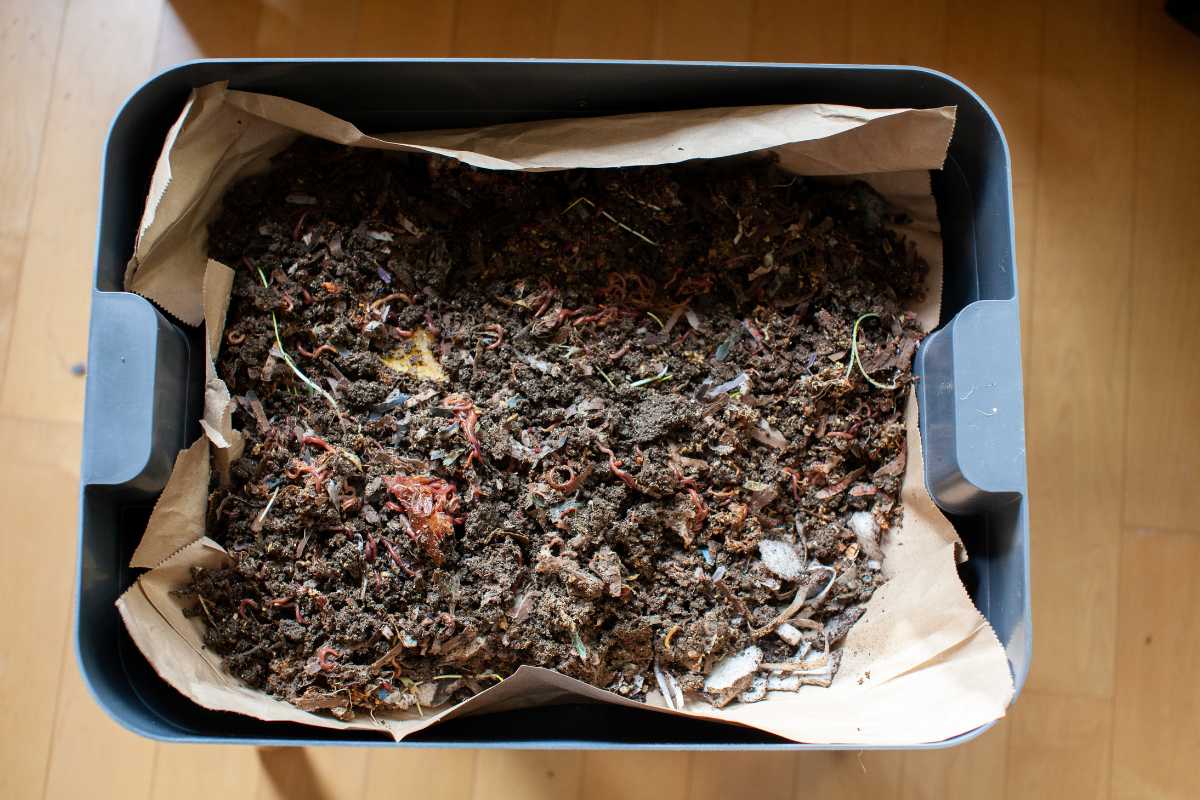
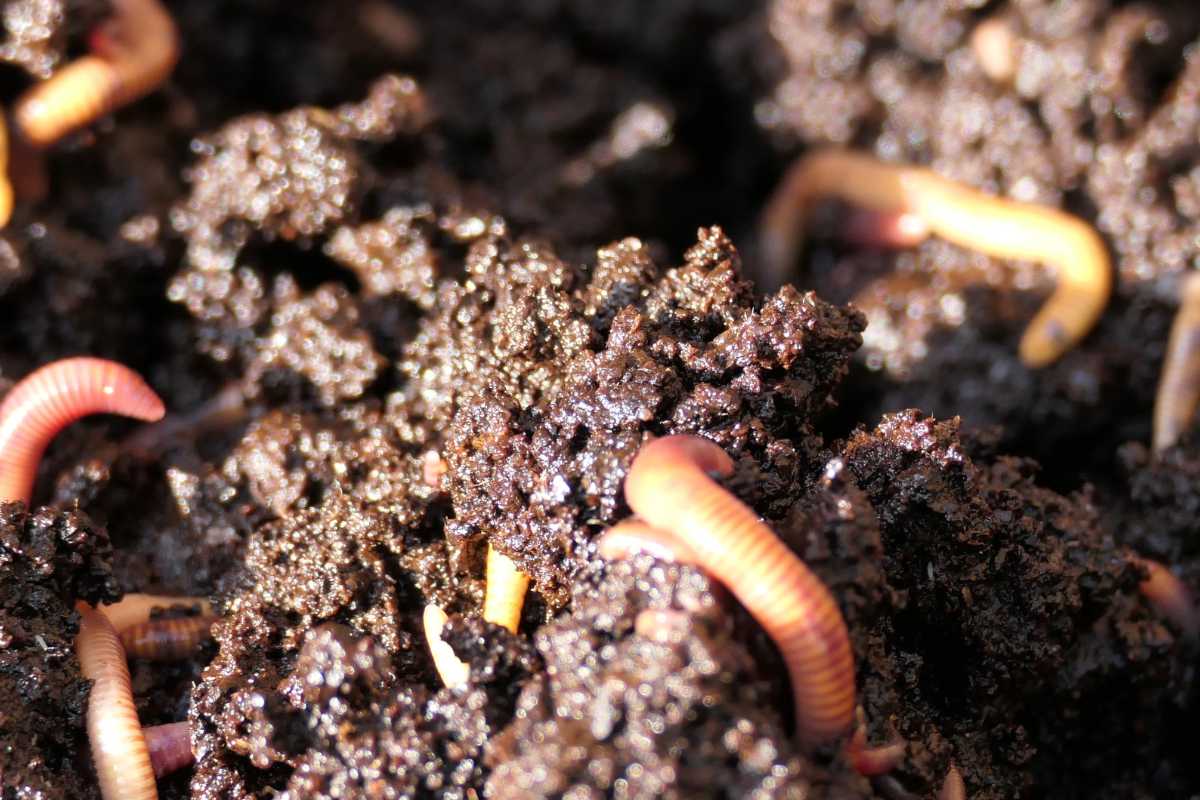
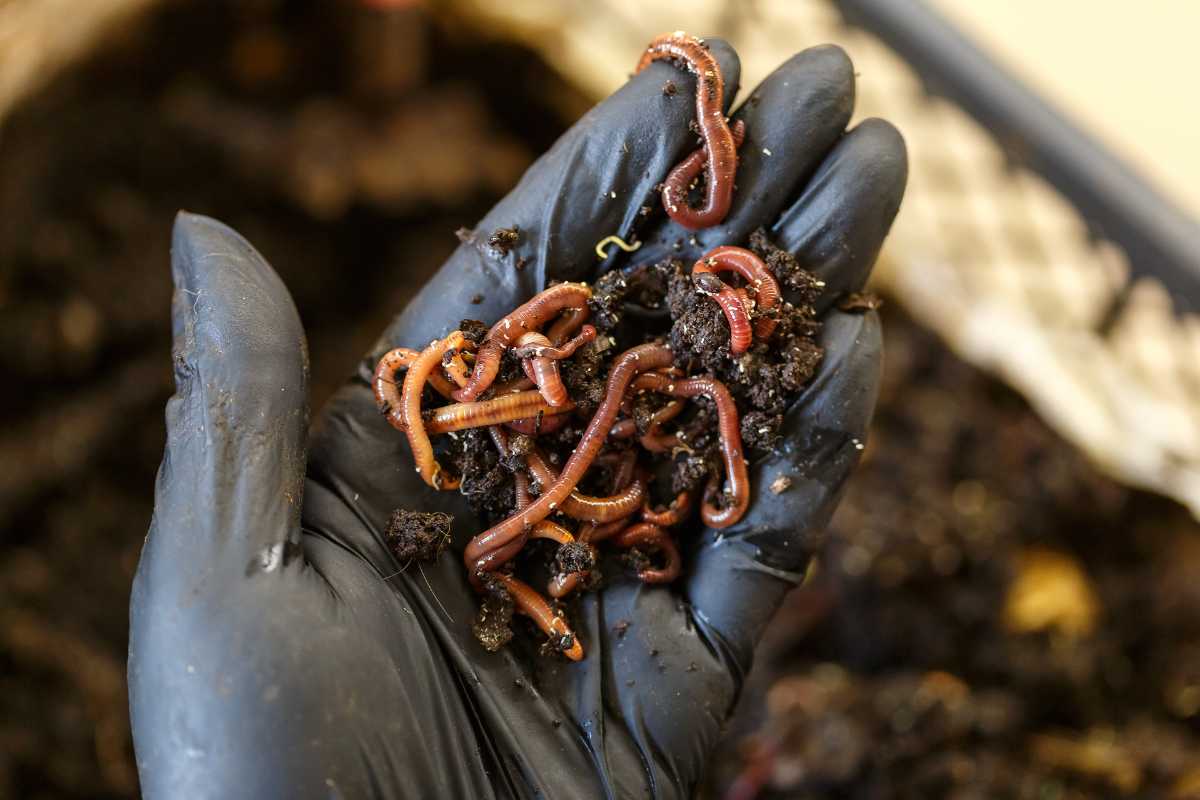
Worm castings are worm poop, plain and simple. Worm castings are defined as such as they sometimes appear in the form of a worm.
Gardeners also class them differently from any other manure fertilizer as they do not have to be left to rot down before you can use them as compost.
For this reason, worm castings are best used fresh; they are an excellent and nutritious feed for your plants, but what happens if you have too much to use immediately?
If you have a worm composter, there are many reasons you might have too many castings. Perhaps your worms are producing more than you can use, or you don’t have any use for your castings during the winter months. Maybe you have brought a bag of castings, and you haven’t used it all.
Whatever the reason, you won’t want to throw away this wonderful and nutritious black gold! So, if you have excess worm castings on your hands, read on to find out how to store them.
In this article, I will go into depth about how you can store worm castings.
How to Store Worm Castings

Worm castings contain various nutrients, but they are also choc-full of beneficial bacteria and microorganisms. When not using the castings immediately, you’ll need to keep this bacteria alive and well to maintain the potency of your castings.
To preserve castings effectively, you will need to give them moisture and air. This advice may seem counterintuitive as we are used to storing things in airtight containers to keep out the dampness and oxygen!
It’s best to think of your castings as a living entity rather than a substance you need to preserve.H olding on to the moisture is essential for keeping the castings “alive.”
You can store castings in many ways, but a plastic bucket with a tight-fitting lid would be the most effective. Many solutions, such as burlap sacks or similar, will allow airflow, but they will quickly dry out the castings.
When storing your castings, it is crucial to keep the air flowing. The solution is to use a tub with a lid and put air holes in the top. The sealed tub will keep the moisture in, while the air holes provide enough oxygen that your castings won’t get moldy.
Your local restaurant or café will often have large tubs used to store mayonnaise or sandwich fillings, and they will probably be willing to supply you with a few good used tubs free of charge.
Drill about 6-8 holes in the top of the bucket part. You can drill them in the lid, but if you plan to have more than one bucket, you may want to stack them when you store them.
If the holes are in the lid, you won’t be able to stack anything on top of your tub without blocking the airflow. So putting the air holes high up on the sides of the containers will be best.
When drilling your side air holes, make sure you put them high enough that you won’t have to worry about the castings falling out, and don’t fill the bucket above those holes. It would be best to leave about an inch between the top of the castings and the air holes.
When putting your castings into the tub, it’s important not to pack them down as they need airflow. Aeration won’t be possible if the castings are too compacted.
Next, cover the castings with wet newspaper. The paper should be damp but not dripping with water. Around four sheets of a newspaper is perfect as they keep in the moisture but don’t restrict the airflow. Ensure your newspaper is not blocking the air holes in any way.
Put the lid on, and your tub of castings will stay nice and fresh. It is a good tip to put the date on the side of the tub, so you know how long the castings have been stored.
How Long Do Worm Castings Last?

While worm castings are best used fresh, if they are properly stored as described above, they can be kept for up to a year.
Generally, worm castings don’t go “bad” unless stored incorrectly. If your castings have dried out in storage, you still don’t need to throw them in the trash. There’s still a use for dry castings.
Use the dried worm castings as mulch, or add them to your composter if you have one. While dry castings won’t be the hotbed of beneficial microbial activity that fresh castings are, they still will contain many beneficial nutrients.
If your worm castings emit a foul odor, then you should discard them. Bad smells are usually a result of too little airflow and too much moisture. Worm castings should only ever smell like rich earth.
Tips for Storing Worm Castings
1. Keep Them Moist
The microorganisms and bacteria in worm castings will thrive in a damp environment. However, this does not mean wet. Too much liquid will restrict the airflow and cause issues with your castings.
2. Airflow
To keep your worm castings fresh, you must have airflow in the container. However, you should restrict the airflow somewhat, as the castings can also dry out quickly.
While you can still use dry castings, your plants and soil will benefit much more from fresher worm castings.
3. Check Your Castings Every Couple of Months

If you intend to store castings long-term, it’s a good idea to check on them now and again to make sure they are still doing okay.
4. Avoid Temperature Fluctuations
If possible, store your worm castings indoors as temperature fluctuations in sheds or garages may be enough to kill the microbes living in the castings.
5. Date Your Storage Tubs
Putting the date on your storage tubs is an excellent tip if you regularly save your castings. By writing that day’s date on your tub, you can make sure you use the oldest castings first when the time comes that you need them.
Even if you only have one tub, it’s a good idea to keep an eye on how long they’ve been in there, as we all know how quickly time flies!
Store Worm Castings Final Thoughts
All in all, storing worm castings is easy, and you’ll find yourself using them often. They’re great for adding nutrients to your garden beds, and they can even help improve your compost pile.
Check out these other composting articles to learn more about best practices:

