Meta description: Unlock the secrets of growing beautiful spiderettes with your spider plant! Our guide provides simple, easy-to-follow tips on how to keep your plant slightly root bound, provide it with enough light and darkness, and feed it with a suitable fertilizer. Get started today!
Spiderettes are the babies of spider mother plants and they are an excellent way to propagate these plants. This can be done by cutting the spiderettes and placing them in soil or water until they are established.
To ensure that your spider plant grows many spiderettes you should keep it root bound, fertilize it, and provide 12 hours of darkness every night.
- Related article: How Do Spider Plants Grow
Now, are you ready to give spiderettes care a try? Less talk about it today.
What Are Spider Plant Spiderettes?

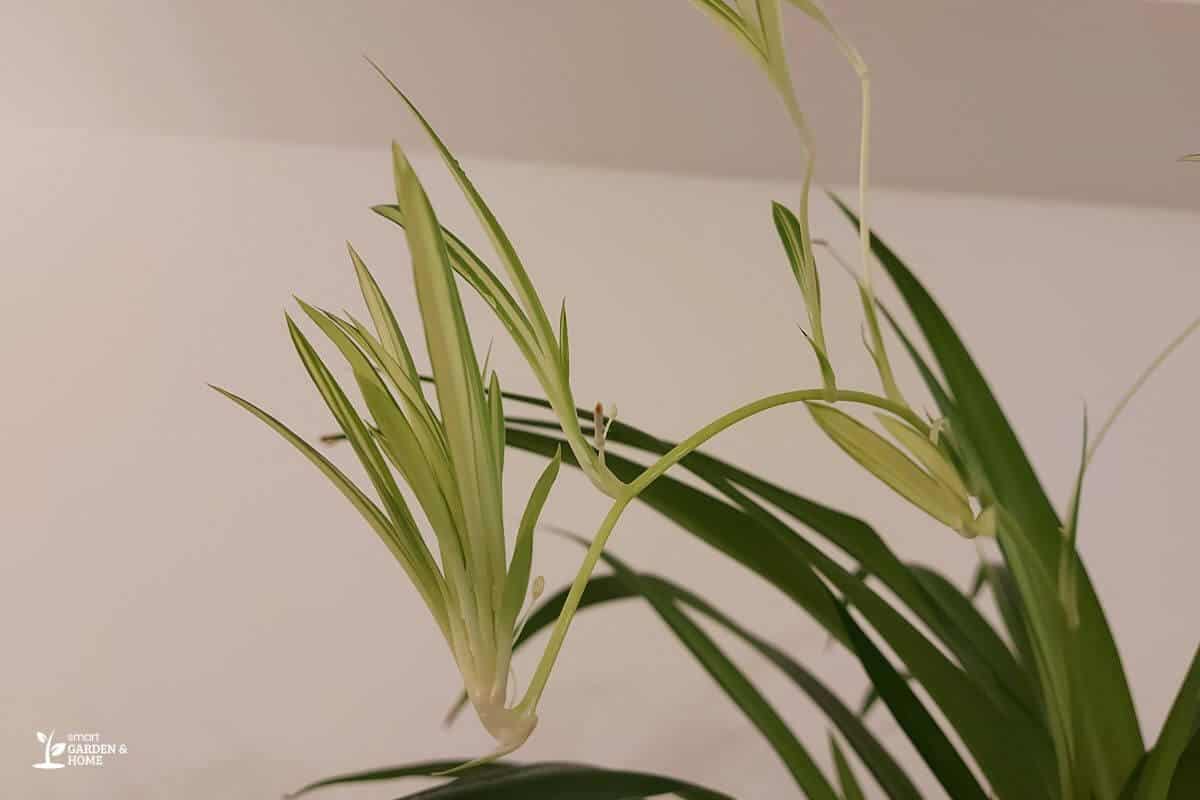
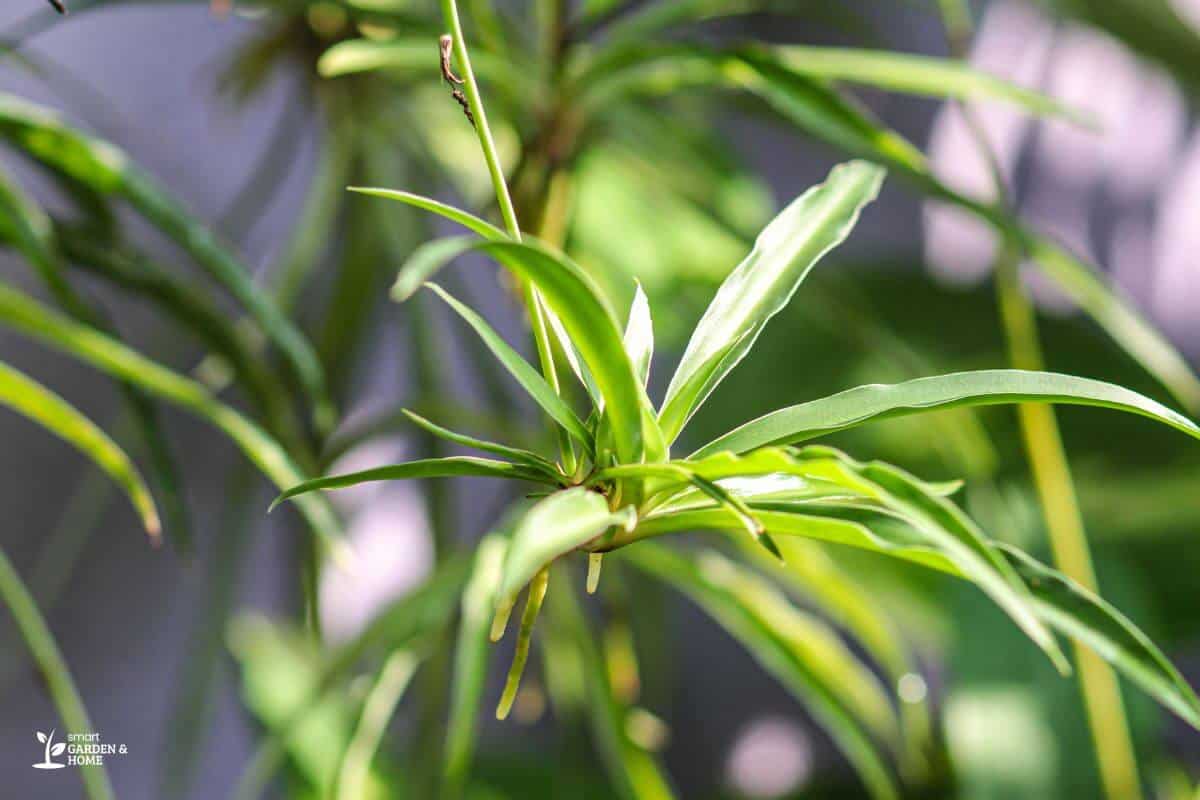
Spiderettes are also called spider plant babies, plantlets, offshoots, spiderlings, pups, or runners. They are identical offsprings of the parent plant and can be used to propagate it.
In nature, these offshoots hang down from the mother plant and rest on the ground, where they form roots and eventually grow to be independent plants.
They only form if the flowers don’t get pollinated, as they are an alternative way for spider plants to reproduce.
Spiderettes look like miniature spider plants and are very easy to identify. They grow at the bottom of long wiry stems that dangle down from the main plant.
Spiderettes are basically entire plants that just need some soil in order to grow and thrive.
How to Cut Spider Plant Babies

Spider plant babies need to be cut away by clipping the stems at both sides, as close as possible to the mother plant and the offshoot.
Although they would naturally fall off on their own, it’s more practical to help the plant and just remove them yourself.
When clipping off any part of the plant, make sure you use scissors or pruning shears that are sharp and clean.
This is because there are pests and illnesses that can spread from one plant to another through contaminated tools.
How to Propagate Spiderettes
Spiderettes are the easiest way to propagate spider plants. This can be done in three main ways:
1. Propagation Before Cutting
This is probably the simplest method as it imitates what happens in nature.
You can simply leave the spiderettes attached to the mother plant and they will eventually grow roots, but the best way to encourage root growth is to have the bottom of the offshoots resting on the ground.
Their roots actually grow pretty quickly but it will take a couple of weeks more until they are of the right length to be moved. And depending on the season, this may change.
If it’s summertime, you can position your spider plant outdoors so that the spiderettes are in contact with the soil. Otherwise, you could arrange small pots all around the main one, one for each baby spider plant.
Once the spider plantlets are well established, they will start growing new leaves. At this point, the spider babies can be separated from the mother plant and moved wherever you wish.
The main advantage of spider plant propagation in this way is that there is no transplant shock for the plant, unlike with other methods.
2. Propagation in Soil After Cutting

For this method, you will have to make sure that the baby plants are mature before you cut them away from the parent plant. You can tell they are ready if the beginnings of roots are starting to emerge from their tiny bottom knobs.
After cutting, plant the spiderettes in 4-inch pots. Make a tiny hole and press the soil a little to stabilize them and help the spider plant babies stay upright.
Have a regular watering schedule to abundantly keep the soil moist but avoid soaking the soil excessively. Place the newly planted cuttings in bright indirect sunlight, just like you would for spider parent plants.
This propagation method results in the strongest and more resilient plants. The only downside is that it will take them longer to form roots compared to water propagation.
3. Propagation in Water After Cutting
Just like for soil propagation, you should wait to cut the spiderettes away until they show starter roots.
At this point, you can place the plants in water in small transparent containers or bowls. Make sure that only the bottom part is touching the water and that the leaves stay dry, or they will rot.
To ensure that the plantlet will stay upright, you can use a tall thin vase.
After a few weeks, the plantlets should have developed enough roots to start growing new leaves. It’s best to move them into the soil at this point.
Even if they can survive for months in water, they probably wouldn’t grow much and you would have to provide all the nutrients that they would normally get from the soil.
In any case, the water should be changed regularly and the vase should be exposed to bright indirect light. Avoid direct sunlight as these plants are still very sensitive.
The downside of this method is that it entails the biggest shock for the tiny plants when they are moved from water to soil. The plantlets are also more delicate than the ones grown through soil propagation, but they root much more quickly.
How to Encourage Spiderettes

Many people enjoy it when their spider plants grow plenty of spiderettes, mostly for decorative reasons. Others want to grow them to fill their home with beautiful spider plants or to gift them to friends and neighbors.
Whatever your reason, here are a few ways you can encourage an airplane plant spiderettes’ growth:
1. Keep Your Spider Plant Slightly Root Bound
When spider plants are in pots that are too big for them, they don’t produce as many spiderettes. This is because their energy will be redirected to root growth instead of producing airplane plant babies.
The best way to make sure your plant is always slightly root bound is to only repot it about once a year or when it starts growing roots out of the drainage holes.
When repotting, make sure to be very careful as a spider plant’s fleshy roots are fragile and might break off. Also, use a pot that is just one size bigger than the previous one.
2. Feed Your Plant Just Enough
Fertilizer is important to ensure your spider plant has enough energy to produce offspring. You should be careful not to exaggerate with fertilization though, as spider plants get easily burnt from excess nutrients and can result in brown leaf tips.
Moreover, they will be encouraged to grow more leaves rather than spiderettes if they are fertilized too much.
For optimal spiderettes growth, you can add worm compost to the top of the soil or use a suitable standard houseplant fertilizer that has been diluted to reduce its strength.
In general, fertilizer should be applied every two weeks during the spring and summer months, but always read the instructions for the specific product you’re using.
3. Provide at Least 12 Hours of Darkness Every Night
Spider plants have adapted to form flowers once they know it’s the time of the year with the right conditions.
That’s why you should imitate what happens in nature and make sure your spider plants are in the dark for 12 hours without interruptions, for at least three weeks.
If your spider plants are in a room where the light may get turned on during the night, you could cover them with a light-excluding cloth.
This will make sure that your spider plants will grow flowers from which tiny spider plant babies will develop.
Final Thoughts on Spider Plant Spiderettes
Spiderettes are a rewarding and easy way to propagate your spider plant.
As long as you wait until the plantlet has started to develop roots and provide it with bright indirect light, you should have no problem in growing healthy baby spider plants.
All you have to do is keep your spider plant slightly rootbound, feed it with a suitably diluted fertilizer, and make sure it gets enough darkness every night.
These perennials love regular room temperatures and humid air.
If learning about spiderettes kept you entertained, then we think you should give these other reads a try:
- How to Trim Spider Plant Spiderettes
- Houseplants That Look Like Spider Plants
- Spider Plant Health Benefits
- How to Water Spider Plant
- How Long Does a Spider Plant Live
Sources:
- https://www.collegian.psu.edu/news/campus/5-types-of-plants-to-keep-in-your-home-away-from-home-opinion/article_0c568a56-ed88-11ea-b1c5-afeba7d7163a.html
- https://marriott.byu.edu/magazine/feature/office-greens
- https://www.collegian.psu.edu/news/campus/5-types-of-plants-to-keep-in-your-home-away-from-home-opinion/article_0c568a56-ed88-11ea-b1c5-afeba7d7163a.html

