Noticing that your peace lily isn’t as bright as before? It might be time to repot it. This step is important for keeping your plant happy and healthy, especially if it has been in the same pot for a while.
Let’s look at the signs that say, “I need a new home!” You might see roots sticking out of the bottom or notice that it’s not growing well. These clues mean it’s time for a change. I’ll also share simple tips for repotting so your peace lily gets the fresh start it needs.
Are you ready to give your peace lily the care it deserves? Let’s get to learn about repotting and help your plant thrive again.
- Related article: Growing Peace Lilies 101
7 Key Takeaways When Repotting Peace Lily
- Peace lilies may need little care but they still require repotting to stay happy and avoid being rootbound.
- Watch for signs of needing a new pot. If you see roots peeking out from drainage holes, surfacing from the soil, or circling the bottom, it’s time for a repot.
- Soil can wear out. Over time, the soil may drain too quickly, meaning your roots have taken over. Fresh, quality potting mix will help your peace lily thrive.
- Act fast for root rot. If you spot black, mushy roots or smell something off, repot immediately using well-draining soil to bring your plant back to health.
- Spring is the best time to repot. This is when your peace lily is growing strong, but don’t hesitate to repot anytime if roots are crowding.
- After repotting, give it some love and care. Make sure your peace lily gets indirect sunlight and consistent moisture, while keeping an eye out for any signs of shock.
- Stay alert for signs of trouble. Always check for yellowing leaves or slow growth to keep your peace lily healthy, allowing you to enjoy its stunning white flowers for years.
5 Signs Your Peace Lily Needs Repotting
It’s typical for home gardeners to repot new houseplants fresh from the nursery. However, some species do better when their root systems are somewhat crowded, and they are a little rootbound.
Many plants also experience repotting shock and have difficulty acclimating to repotting. Houseplants should only be repotted when necessary.
So, what are some of the signs that your peace lily will use to tell you it’s time to repot? Look for these following signs.
1. Roots Peek Out from the Container’s Drainage Holes
If the plant roots are growing out of the pot’s drainage holes, that’s your first sign to repot. Roots need space to grow and expand. They gradually move through the soil bed in a container and will begin to circle the inside of the pot while searching for more space.
If there is no more space available, they begin to move out of each drainage hole to continue growing. This is a symptom that the root system has outgrown the plant’s container.
The soil will most likely be compacted, so the roots move out of the holes to search for water and nutrients.
Peace lilies don’t mind being a bit crowded in their containers, so when they pop out of the drainage holes, your plant is in danger. Roots will not absorb sufficient water or nutrients and will also have difficulty receiving oxygen. The plant will gradually suffocate and die.
If roots are growing outside of drainage holes, your plant is well overdue for repotting. You need to intervene immediately with a repot.
2. Roots Peek Out of the Soil Bed’s Surface
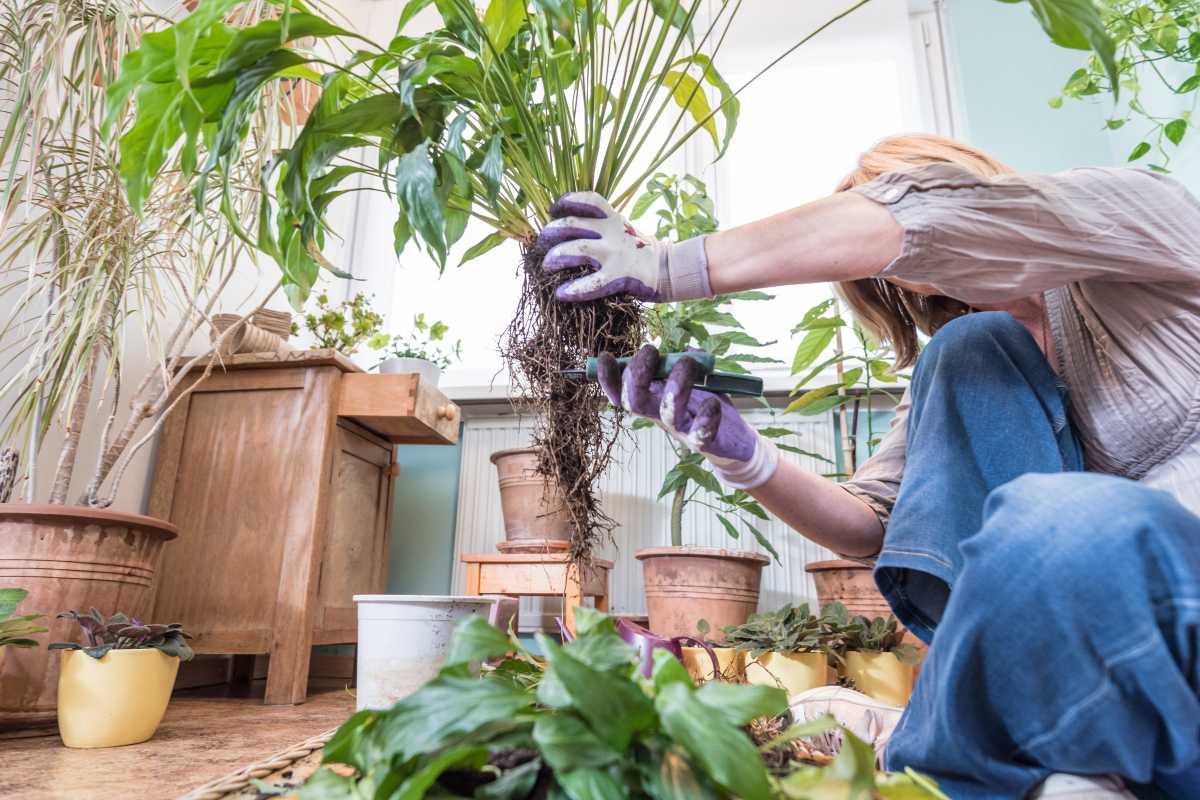
Crowded roots will not only peek through drainage holes, but may also appear on the soil bed’s surface when space is lacking.
When roots grow upwards, it is because they have no other options when searching for water and nutrients. This can happen when a plant is not receiving water correctly.
Some home gardeners will water a little daily, but it is preferable to drench your plant weekly or every couple of days. By watering very little every day, only the top layer of the soil bed will receive water.
The bottom portion of the soil will dry out, so the roots will move upward in search of water. They will be exposed and in danger.
In this case, your plant needs to be repotted immediately. When repotting, gently free tangled roots near the surface so that they can grow downward again.
3. Roots Circle the Container’s Bottom
Plants are often referred to as “rootbound” when roots circle around the bottom of their container numerous times. With a rootbound plant, it needs to be repotted because roots will have difficulty absorbing water and nutrients.
You will know your peace lily is rootbound when the leaves start to turn yellow and wilt.
Rootbound plants are common when containers are round or circular. Once the root system comes into contact with the pot, it will grow along the wall of the container.
To check the roots, allow the soil to dry out more or less. This will make lifting the plant out of the pot more easily. You will be able to see if the roots are circling and mimicking the pot’s shape. If that’s the case, repot.
4. Plant Container Drains Too Rapidly
Even if you don’t notice exaggerated root system growth, a pot that drains immediately indicates that you may have more roots than soil.
Soil degrades over time. If the pot drains too quickly, roots have probably taken the place of soil in the pot. If that happens, the soil left probably no longer has the capability to retain moisture.
You’ll want to add more quality potting mix for water retention, but still well-draining, so you don’t end up with water logged soil.
5. The Plant Is in the Same Pot Since You Got It…Years Ago
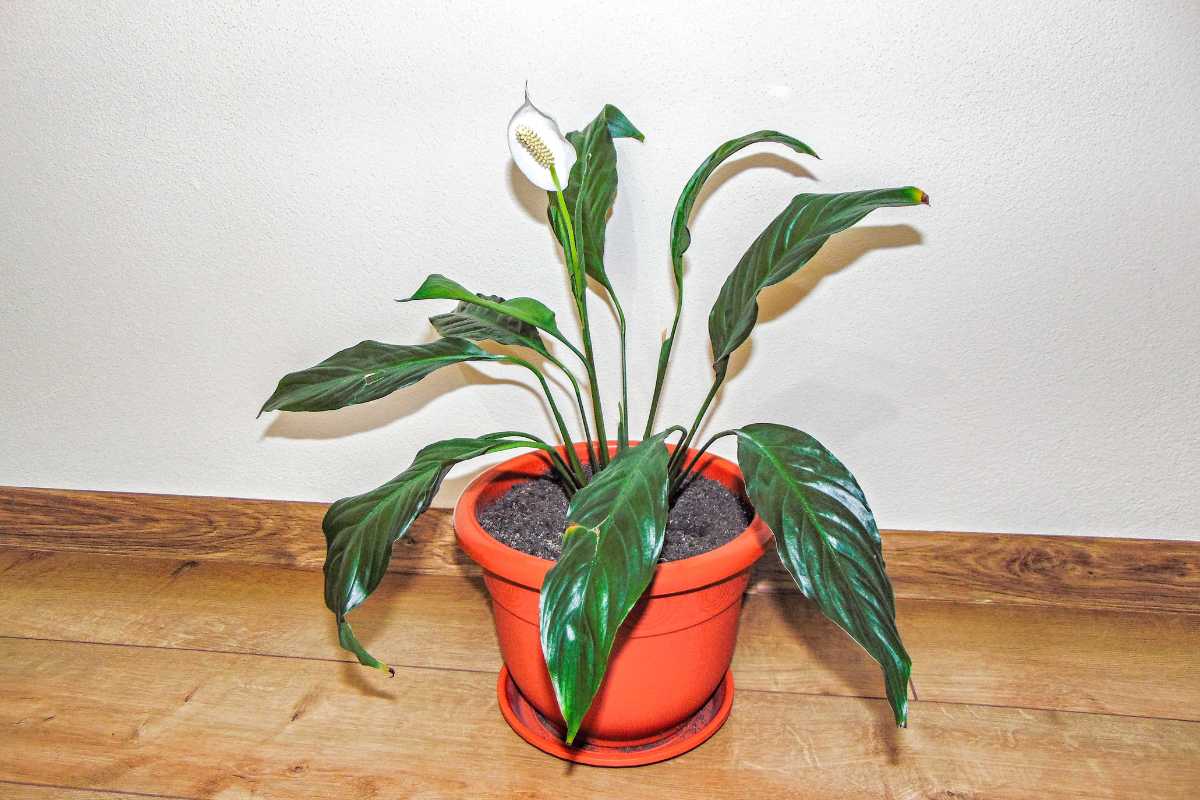
Soil degradation is to be expected, especially after three to four years. Plants are born to live in the ground and not in pots. So when obliged to remain in the same pot for years, that means it’s not receiving proper growing conditions.
If your peace lily is still in its original pot, without any addition of soil, it’s time to repot. Fertilizer can support it for a while, but your plant will need fresh soil to thrive and continue growing.
When to Repot a Peace Lily
The best moment of the year for repotting is in the spring just as the growing season begins. But you can repot your plant at any time of year if your plant is struggling, particularly in the case of extensive root crowding.
How to Repot a Peace Lily
Follow these steps to repot your peace lily plant and its white flowers.
Step 1 – Prepare Fresh Soil
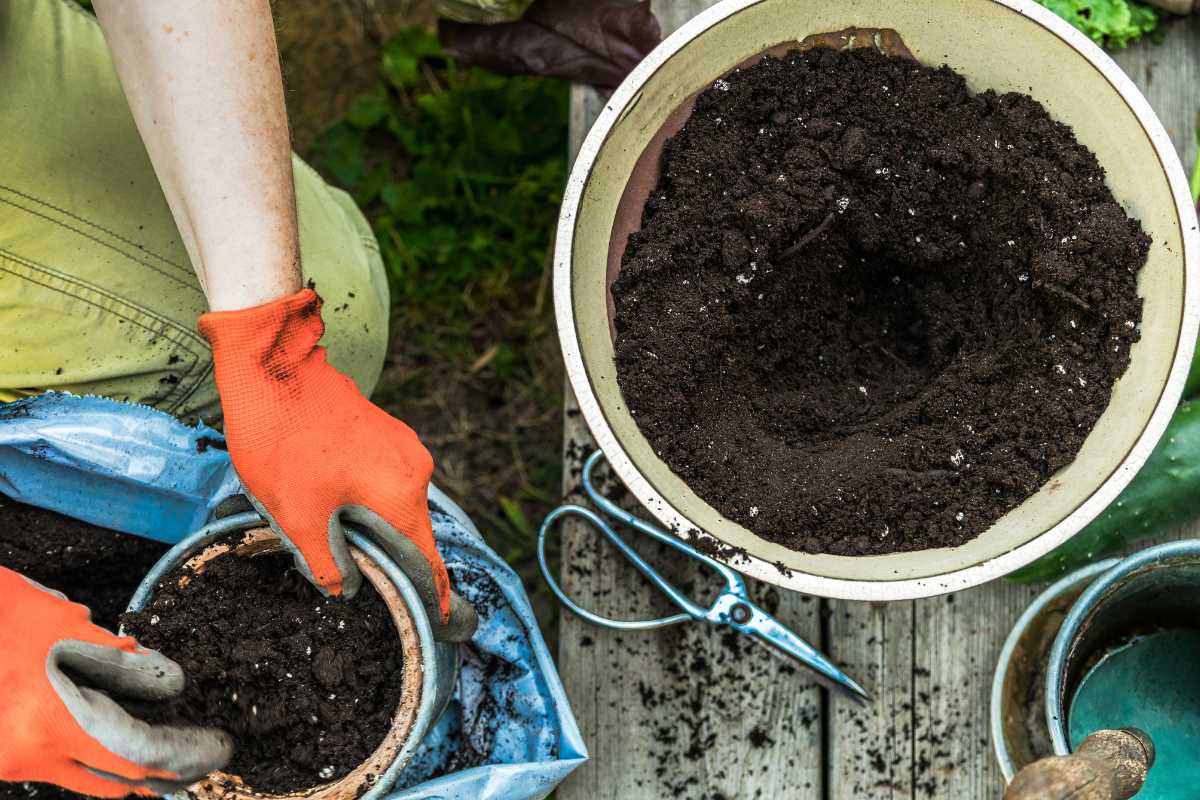
Use potting soil instead of soil from your outside garden. Mix two parts of potting soil with one part perlite, and one part coconut coir or similar.
The addition of coir and perlite will help keep the soil bed aerated yet moist, so your plant isn’t at risk of root rot.
Select a new pot that is one size, or at the most, two sizes, larger. Fill 1/3 of the new container with your soil mix. Set the pot aside.
Step 2 – Remove Your Peace Lily
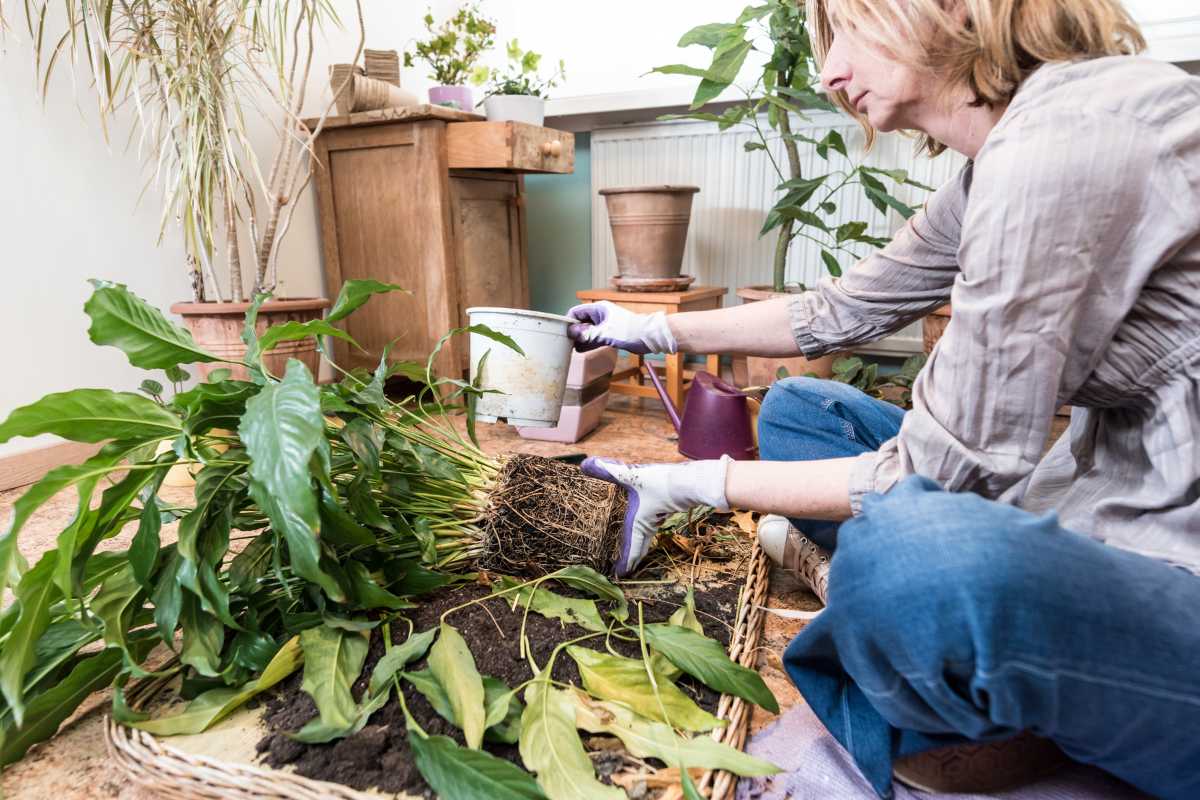
Remove your peace lily from its current pot. When you plan on repotting, avoid watering your plant for several days beforehand to have dry soil.
If the pot is plastic, squeeze the sides to help ease the plant out. In the event of a terracotta pot, use a knife to gently circle the plant around the edge of the container to free any soil sticking to the pot.
Gently slide your peace lily out.
Step 3 – Remove Soil and Divide Roots if Necessary
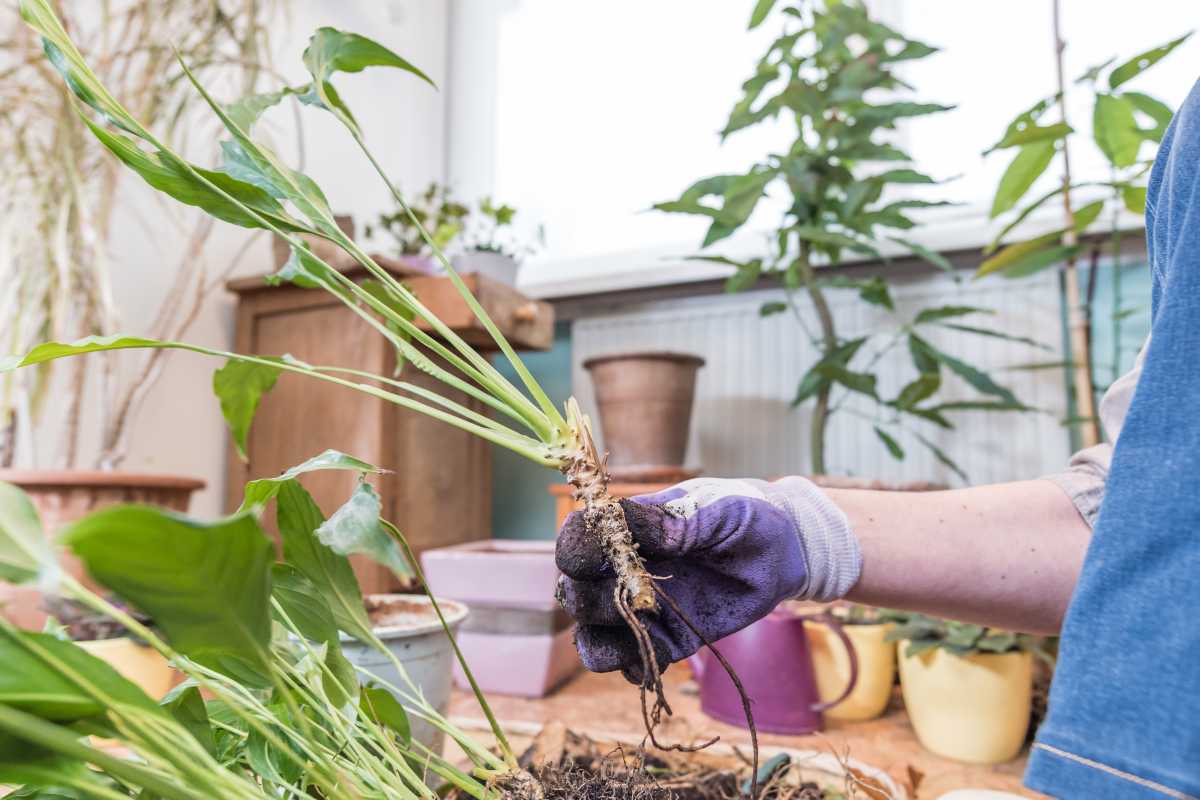
Gently remove the old, excess soil from around the plant’s root ball. Examine the root ball for signs of root rot, fungal infection, or disease. If necessary, trim away damaged root parts, while leaving the healthy roots.
If you want to propagate a second peace lily plant, now is the time to do so. Divide your plant and its root ball into sections. Gently pull them apart from one another.
If the root ball appears to be heavily tangled or intertwined, split it using a very sharp and sterilized knife.
Step 4 – Repot the Peace Lily
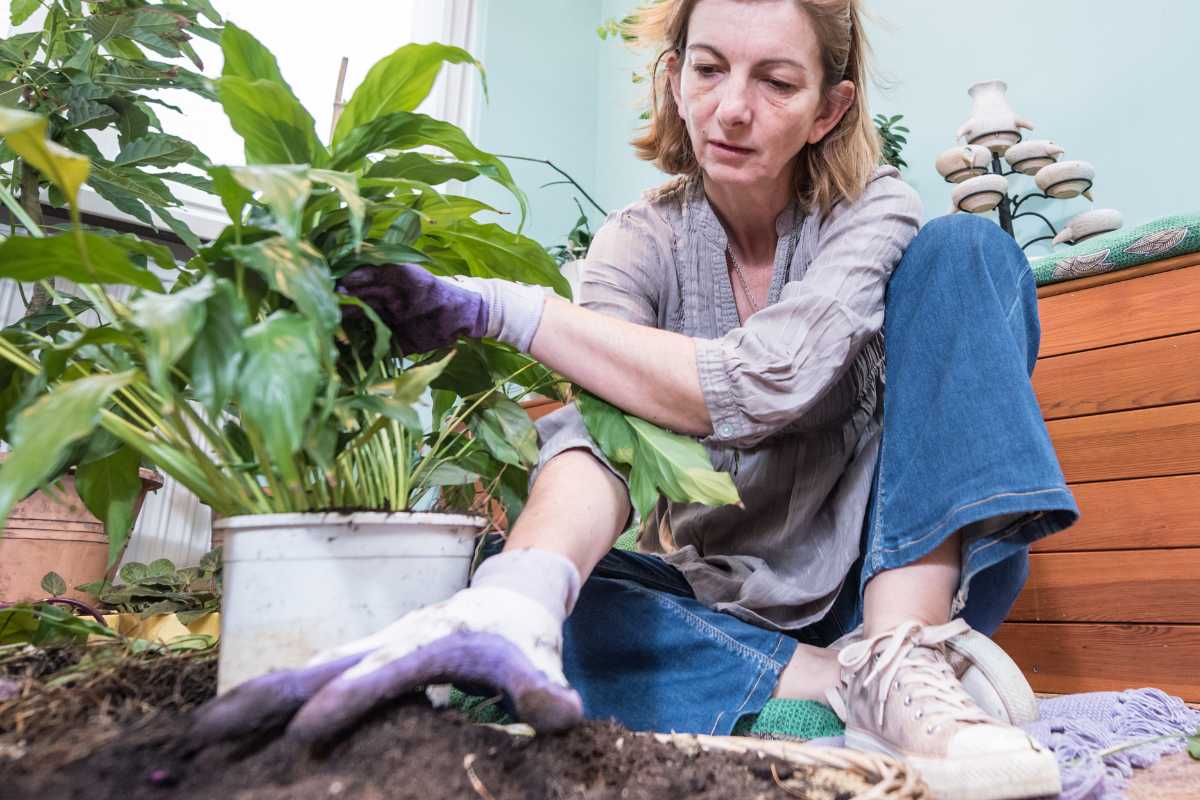
Whether you are repotting your peace lily or are repotting two or more sections of the plant, position your tropical plant in the center of the new pot with the previously prepared layer of soil.
In the event of more than one plant, you will need several containers, each 1/3 full or your potting soil mixture before putting in the new plant divisions.
Fill in the empty space around your centered plant with more of your potting soil mix all the way to the plant’s original soil line. Leave a little space at the top of the pot for watering.
When you have completed filling the space around the plant’s root ball, gently press the top of the new soil down to eliminate air pockets. Water your plant thoroughly, allowing it to drain excess water, and then place it in indirect bright light.
Tip: Watch your plant carefully for the next two weeks as it may experience transplant shock, showing yellow leaves. It should spring back to health once it has acclimated to the new pot and soil.
Peace Lily Repotting Final Thoughts
Repotting your peace plants is easy and will help your plants continue to grow and thrive. The key is to prepare fresh soil before planting your peace lilies.
To learn more about the peace lily and caring for it, here are other articles you might be interested in:

