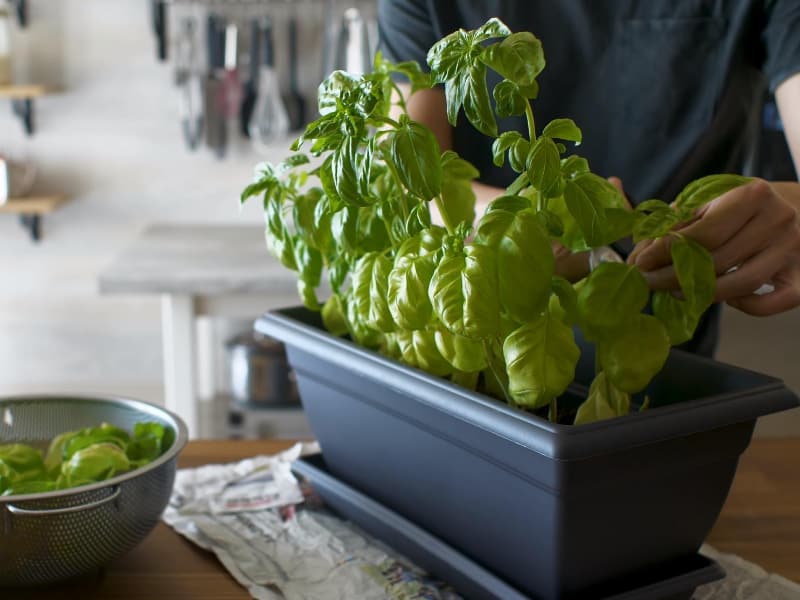
Mint is a great herb that many people grow in an indoor or outdoor herb garden. It can be used for cooking, flavoring and making mint jelly.
When harvesting mint, it’s important to know how to harvest mint properly or you risk damaging the stems or roots and killing your mint plant.
This article will help you learn how to harvest mint without killing the plant.
If you’ve never harvested mint before, then you’ll probably want to read this article first. Then, once you understand the basics, you can move onto harvesting mint yourself.
How to Pick Mint Without Killing the Plant
If you’ve ever grown mint, you’ll know just how voracious a grower it can be. So much so that if you don’t keep the roots contained, it can spread all over your garden.
Mint is a great beginner’s herb to start you on your gardening journey as it is easy to grow, smells great, and has lots of uses.
Mint is a perennial herb, meaning that it dies off in the winter and re-grows in the spring. The mint flowers and will produce seeds, then it dies back to prepare for the dormant season.
You might think you have killed your mint, but it may still come back the next year. That being said, mint is not invincible, and harvesting it without care can kill it off.
The three main keys to harvesting mint leaves without killing the plant are:
- Don’t Damage the Roots – The roots are how the plant gets its water and nutrients. If you pull up a mint plant making its roots come loose, it can cause the plant to wither and die.
- Don’t Damage the Stem – The stem is the conduit from the roots to the leaves, and damage like bruising or snapping the stem stops the plant from being able to send nutrients and water to its leaves.
- Don’t Pick All the Leaves – The leaves of the plant are essentially how the mint plant breathes. Carbon dioxide is released that changes the water into glucose, which the plant uses as energy. By picking all the fresh leaves from a plant, you are taking away its source of energy.
In all honesty, it takes a lot to kill mint, but by harvesting it incorrectly, you can limit the quality and quantity of mint.
So how do you harvest mint to ensure you have a continual summer-long crop? Let’s get into the details of a successful mint harvest.
When to Harvest Mint
Timing is most important when harvesting mint leaves. Young or newly planted mint should be given around fourteen days to establish themselves before you take any leaves from the plant.
Mature plants can be harvested more vigorously than younger plants, but common sense comes into play here. By looking at a plant, you should be able to tell if and how much it can be harvested.
When done properly, you can start harvesting mint in spring, once the plants have sufficient leaves, and continue to harvest into Autumn, or the mint bolts (produces flowers.)
When your plant is ready to start harvesting, pick the leaves in the morning. As the heat of the day causes the water content of the plant to drop.
By picking in the morning, you can ensure you are getting the freshest leaves with the highest essential oil content.
Or, if you want to make it a bit more magical, you can harvest the herb under the light of a full moon!
Don’t Pull Your Mint Leaves to Harvest
When harvesting mint, don’t pull off the mint leaves. That can damage the plant, as well as degrade the mint leaf flavor.
Pulling on a bunch of mint leaves is a sure-fire way to damage the stem and roots, leaving the plant struggling and susceptible to pests and disease.
Any pressure applied to the plant will likely bruise the stems and the leaves. Bruising the leaves will rob you of the mint’s flavor and freshness, and bruising the stem can damage the plant.
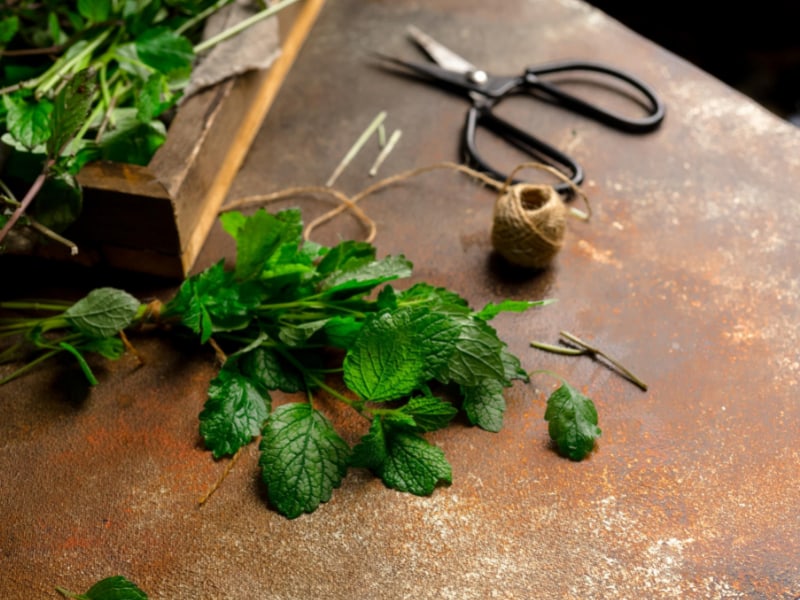
What Tools are Needed to Harvest Your Mint
Aside from something to gather the leaves in, a good pair of scissors is the only tool you will need to harvest mint.
Using scissors is the best way to harvest the leaves from the plant, as any pressure from your hands will bruise the leaves.
You can use garden shears, but ensure they are clean and have not been used on any other plants in the garden before harvesting. Kitchen scissors are usually the better option, as they will be clean and more hygienic.
How Much Mint to Harvest Each Time
The good news is that the more mint you harvest, the more the plant will grow back. Harvesting mint can actually stimulate the plant’s growth, making the plant bushier.
However, if you’ve harvested from one plant, it’s good to wait until the plant has re-grown before taking anymore. You should always leave two-thirds of the leaves on the plant, although you can take around half from a mature plant.
The more plants you have, the more you can harvest. But as mint is such a great plant for continuous harvest, you should only take what you will use immediately – unless you plan on drying the mint for storage.
How to Cut The Leaves to Harvest Mint
Harvesting the top young leaves will give you a better quality leaf with more flavor, but it also stops the mint from flowering too soon.
Cut the stem just above the leaf node – where two leaves come out to the side of the stem. Cutting above a leaf node will encourage more growth and usually results in two new branches forming.
You should only cut new growth, as cutting through a woody part of the stem causes issues with the plant, and it won’t be able to re-grow as easily.
Also, don’t take leaves from the woody part of the stem, as they won’t have the same flavor as the young leaves.
What to Do When Your Mint Dies Back
As a perennial plant, mint will die back every fall and re-grow again in the spring. It is recommended to cut the dead mint stems back to around two inches from the ground in winter.
Cutting it back will help stop any pest or disease issues, as some bugs will overwinter in the stems. Cutting back the hard, brown stems will also neaten up your mint patch and encourage more growth in the spring.
If you want to move or propagate mint, winter is a great time. As the mint is dormant, you can easily dig it up and transplant it.
How to Store Mint
Fresh mint has a very short shelf life, so it is recommended that you only pick as much as you want to use at any one time.
However, there are some ways to extend the shelf life and keep your mint fresh.
- In a Vase – Using a small jar or glass, you can pop your harvested mint into the water just as you would with fresh flowers. Change the water as needed, and your mint will stay fresh for about a week, if not more. If you’re lucky, the cuttings will grow roots, and you can replant them in your garden! You can store your “vase” of mint on your counter or put a plastic back loosely over the leaves and store it in your refrigerator
- In Damp Paper Towel – Along the same lines as above, you can wrap the mint in a moist kitchen paper towel, place it in an opened plastic bag or an air-tight container, and store it in the fridge. Although the mint may wilt slightly, it will stay usable for up to three weeks. Be sure to rinse and dry the mint before storing it in a paper towel.
- In Ice Cubes – Wash, dry, and chop the mint leaves. Put them into an ice cube tray and fill the tray with water. Freeze, remove the cubes from the tray and store them in a plastic bag or other container in the freezer. This method is great for use in smoothies, mojitos, to cool down mint tea, or to chill drinks in the summer. The applications of this method are more limiting, but the mint will stay usable for six months.
- Freeze Whole Leaves – Wash and dry the leaves before spreading them out on a baking sheet and putting them in the freezer. Once the leaves are frozen, add them to an airtight container and keep them in the freezer. Freezing whole leaves gives you more possibilities for use, as you don’t need to thaw them to use them.
How to Dry Mint
Drying mint leaves may be the best way to store them, as they can last for up to a year when dried and stored properly.
Mint can be air-dried or dried in a food dehydrator or oven.
The mint should be washed and dried first with all of these methods. Wash the whole stem with leaves attached, then leave them in a warm, airy place to dry. If possible, keep them out of direct sunlight.
1. How to Air Dry the Mint
To air dry, bunch the leaves and hang them in a dry, warm, and airy place. It’s best if there is little to no natural light as this can bleach the color from the leaves.
To stop the dried leaves from falling off the stem and onto the floor, loosely put a paper bag over each bunch.
Alternatively, you can use a drying rack. Drying mint this way can take anywhere between one week and a month.
2. How to Dry Mint With a Dehydrator
Using a dehydrator is a quick and easy way to dry mint leaves.
Dry at 105 degrees Fahrenheit for around four hours until the leaves become brittle. Then allow them to cool before storing them.
3. How to Dry Mint in an Oven
To dry mint in the oven, set your oven to 150°F and lay the leaves on a baking sheet. Turn the leaves at least every hour, and allow the moisture to escape the oven periodically.
Cook until crispy, then allow them to cool before storing.
Dried mint is best stored in an airtight container or glass jar out of direct sunlight.
Top Tips for Harvesting Mint
Here are some of my top herb harvesting tips when it comes to mint:
- Be Sensible – Don’t take too much from one plant, and wait for plants to establish themselves before harvesting.
- Be Gentle – Try not to bruise or break the plant when harvesting, and use clean scissors to snip new growth.
- Be Frugal – Unless you want to store a lot of mint in containers(which is usually a good idea as fall approaches), only take what you need.
Harvesting Mint Final Thoughts
All in all, I love using fresh herbs in cooking and drinking, but I also like having a few different ways to preserve the bounty that comes along with growing mint.
I hope you’ve now learned how to harvest mint without killing the plant!
Here are other gardening articles that might interest you to learn more: